Bring on the marbling, speckling, dripping and spraying! Today’s post is dedicated to creating ’80s-style texture and pattern around your home. And the methods we feature couldn’t be easier! The one requirement: you just have to go for it. Which shouldn’t be hard, since the materials you need are very affordable. In other words, if you don’t like the results, you can easily try again without breaking the bank. Today on the blog I shared photos from a Palm Party that I threw last month with my friend Jon of Happy Mundane. To prepare for the event, we created a series of decorative objects using simple materials such as thrift store vases:
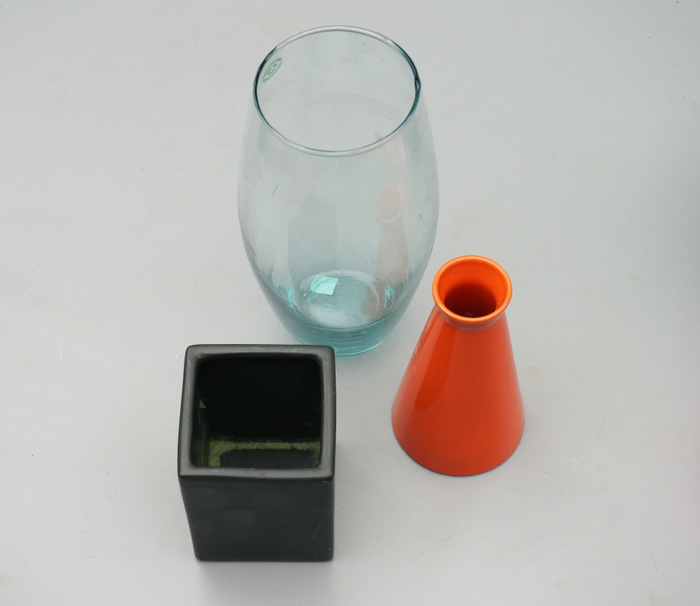
We transformed them with spray paint and added a few other special touches to create a sense of texture and pattern.
Spraying time for these projects is minimal, so if you’re not a fan of spray paint fumes, rest assured that the process goes quickly. And you’ll love the payoff!
Read on for 4 easy, ’80s-style DIY projects that you can create at home…
A Marbled Vase
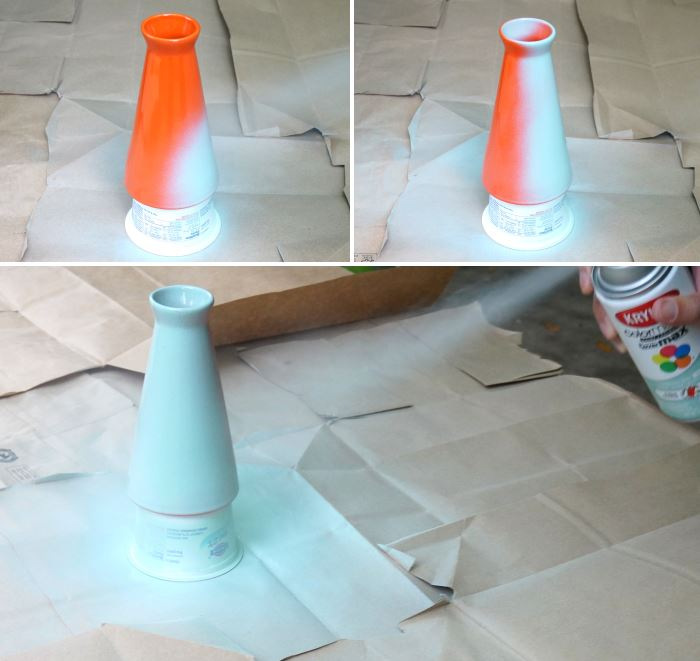
When I learned that Krylon now offered a Marbelizing Spray, I couldn’t contain my excitement! Jon and I purchased a can in black and experimented with the spray on a water bottle (which we painted pink first for contrast):

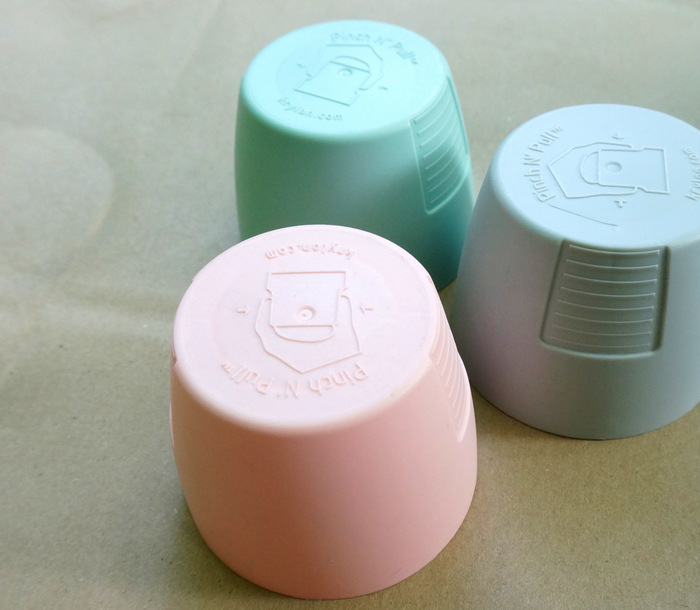
You can see the spray below, along with the mint and chalky gray hues we bought for our projects… [photo by Jonathan Lo]

We began with the tall glass vase, covering it in a few coats of Krylon Chalky Finish paint in Misty Gray. Next we used the Marbelizing Spray to create designs across the surface of the vase! As you can see in the montage below, the “spray” comes out of the can in web-like wisps that cover the item(s) in its path. It’s pretty cool…in a Spidey sort of way!
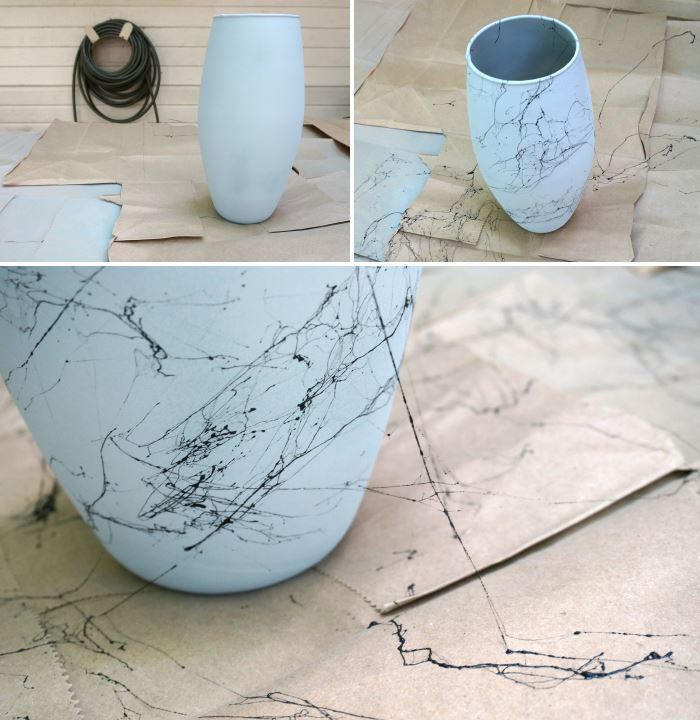
Here are a few tips for marbleizing a vase:
- Choose a contrasting color for the background and make sure the paint is dry before you add the marble finish.
- When using the Marbelizing Spray, hold the can about a foot and a half from the surface of the object you want to cover.
- Shake the can well before use.
- Read the instructions on the can–it definitely helps to spray in “sweeping bursts”, which lets the wisps fall onto the object in a marble-like pattern!
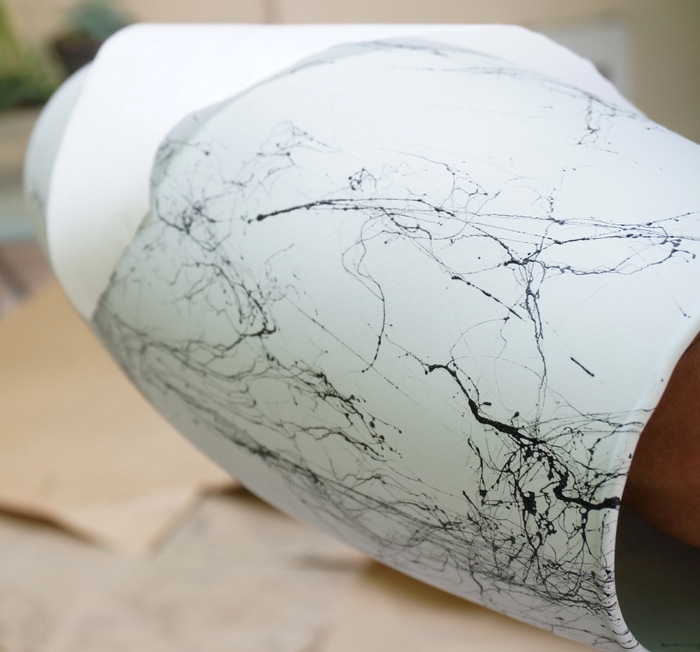
- You may need to “pat down” filaments/wisps that are not quite sticking to the object. We used parchment paper between our hands and the vase (shown below).
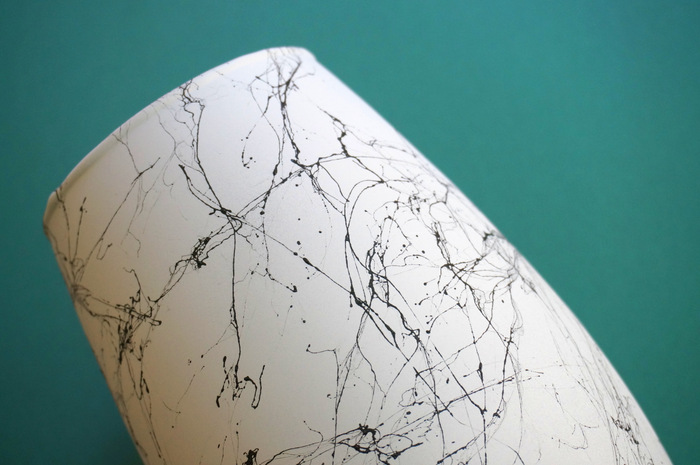
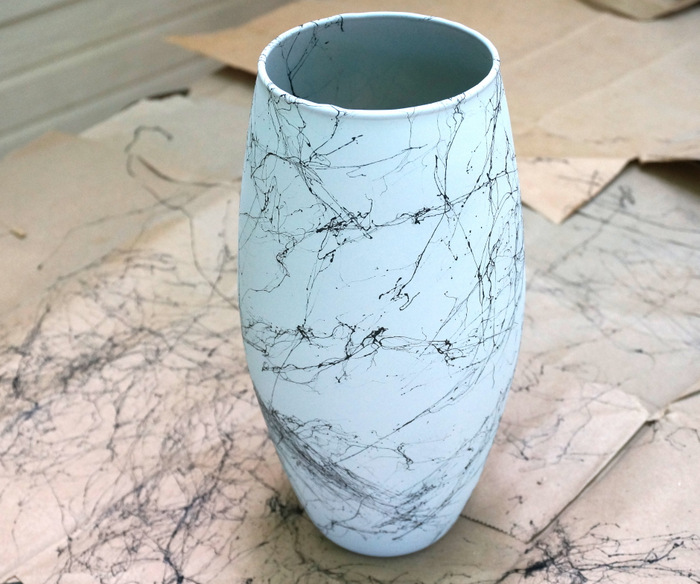
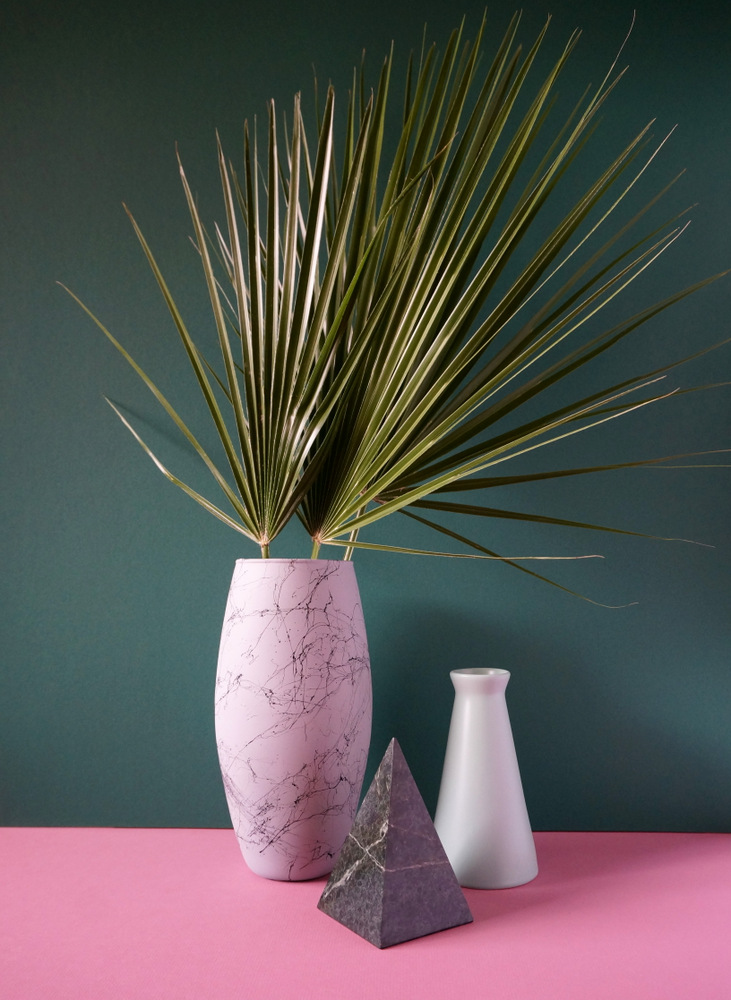
Below we see the finished vase, which channels the look of marbled veins, as well as the general “splatter paint” aesthetic of the 1980s. So fabulous!
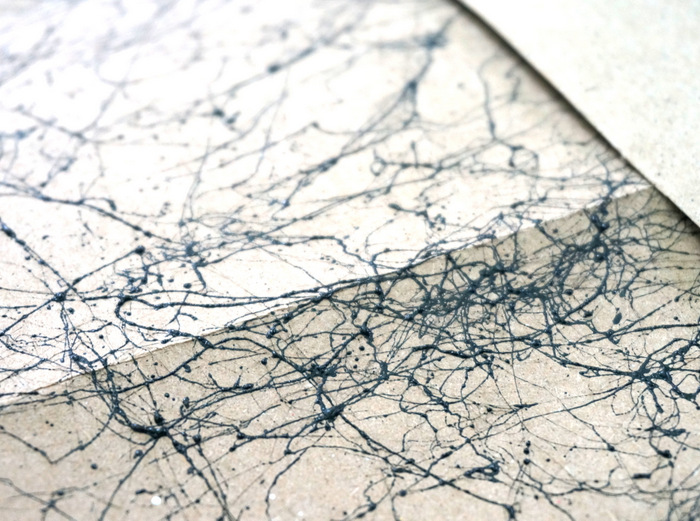
And I just had to snap a photo of the scrap paper we put down to protect the table once we’d finished spraying:
Here’s a vignette from our Palm Party, which features another sculptural vase (coated in Krylon ColorMaster spray paint in Satin Catalina Mist), as well as a marble pyramid:
The best part: I have some Marbelizing Spray left, and I can’t wait to use it for another project. I’ll share the results on Instagram once I decide which lucky object gets to be transformed next…
Paint Drip Party Cups
For our Palm Party, Jon and I had an amazing collection paper goods from Harlow & Grey. We wanted to add a few of our own party cups to the mix, so Jon came up with a colorful paint drip design that would add a bold dose of yellow and pink to the table.
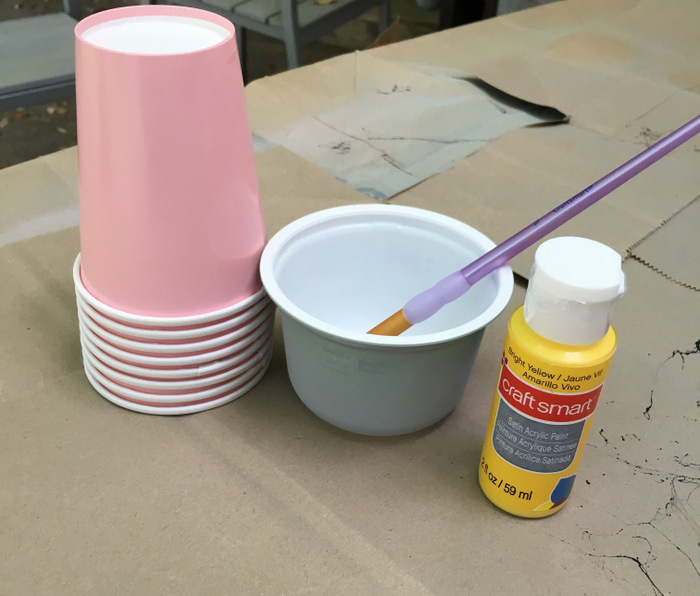
Here’s how to create your own:
- Mix acrylic craft paint with water until the paint is runny enough to drip down the side of the cup.
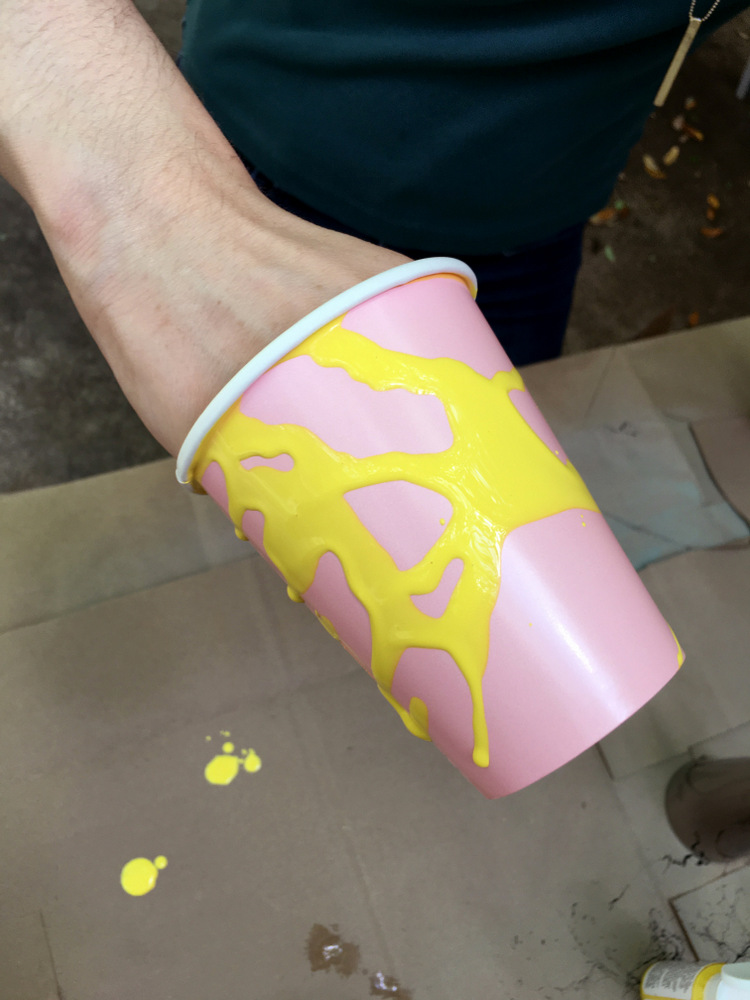
- Work with a partner. One of you will place the cup over your hand, suspending it over a protected surface (the paint WILL drip).
- One person will drizzle paint over the cup while the other rotates the cup to keep the paint moving/dripping.
- When the cup is evenly covered with drizzled paint, let it dry right-side up. Any extra dripping will only add to the style!
- Repeat the process with the rest of the cups.
- Lift them from the surface from time to time as they dry to prevent them from sticking to the protective paper.
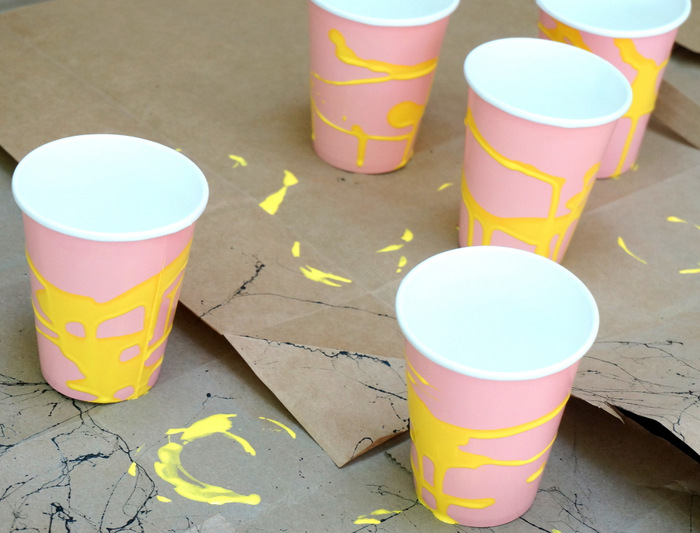
We loved the way our batch turned out! Don’t aim for perfection here. Not every part of every cup will be perfect, but the beauty of this project lies in the imperfection:
Here’s a snapshot of the cups at our Palm Party. You may not want to stack them since the outsides of the cups are covered in dried acrylic paint, but the insides are clean and ready to fill! We couldn’t help but stack our cups for a stylish shot…

These cups are meant to be disposable, but if you like the “paint drip” look, choose a vase or another decorative object to embellish. That way you can keep it on display for as long as you like!
A Speckled Vase
Ah, speckling…my new favorite DIY technique! I’m seriously crazy about the speckles, especially since you can easily create them with a toothbrush, some paint and your finger! [photo below by Jonathan Lo]
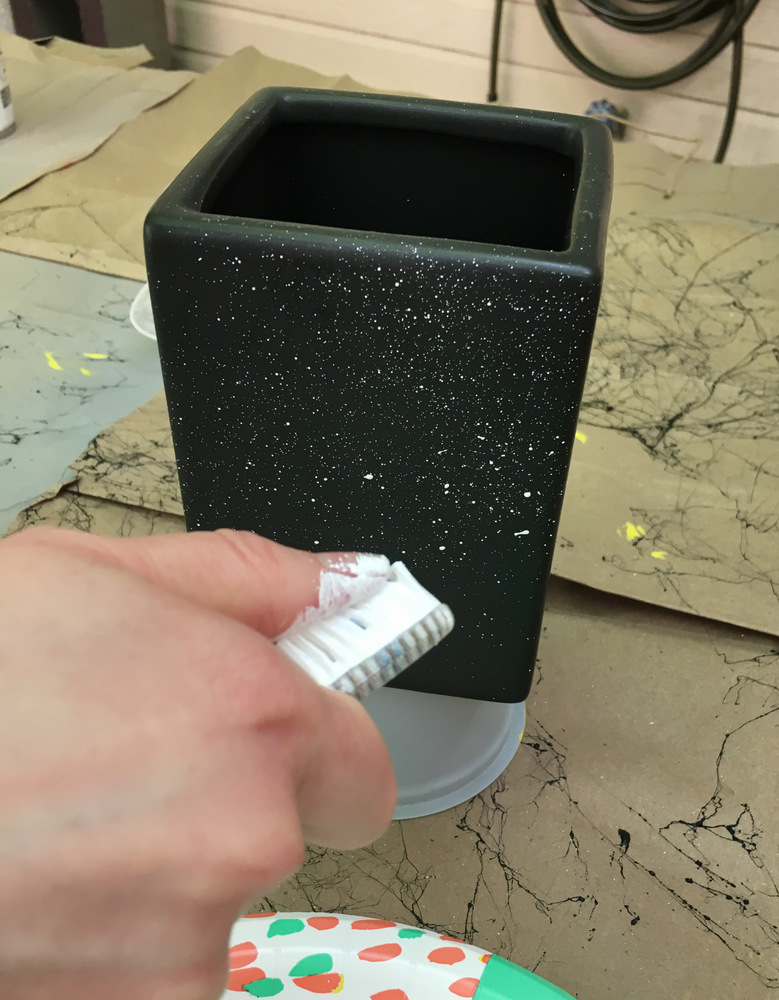
How to speckle a surface:
- Begin with an object in the background color of your choice (we purchased a black vase at Goodwill for a few dollars, and we loved the color).
- Dip a toothbrush in some craft paint, such as acrylic paint.
- Run your finger along the toothbrush (the brush part) from end to end, pointing it in the direction of the object you are speckling.
- As the paint splatters, move the brush around to cover different areas of the object, or to create more speckling as needed.
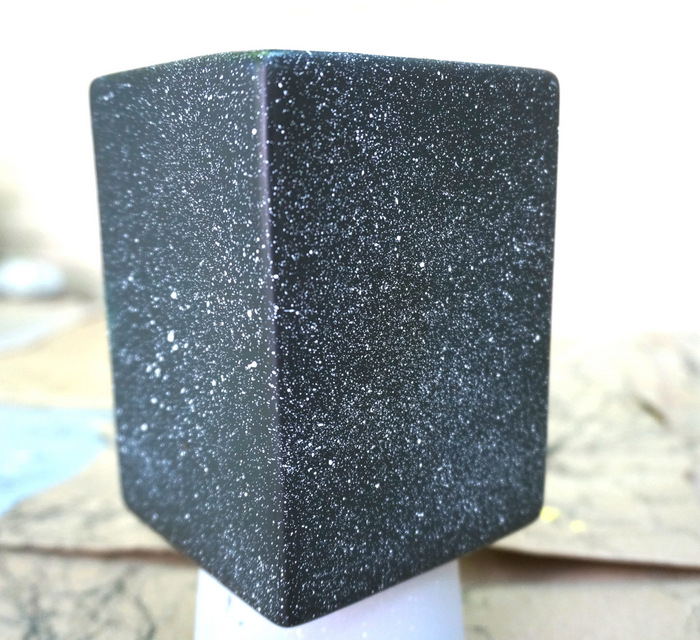
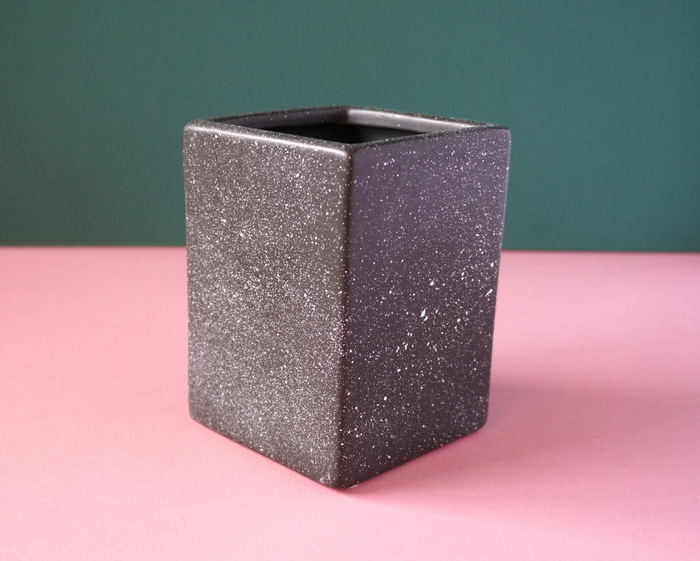
I’m officially obsessed with this speckled vase. It currently resides in my display cabinet (along with the marbled vase). You can see a photo at the bottom of this post, which features a tour of my living room.
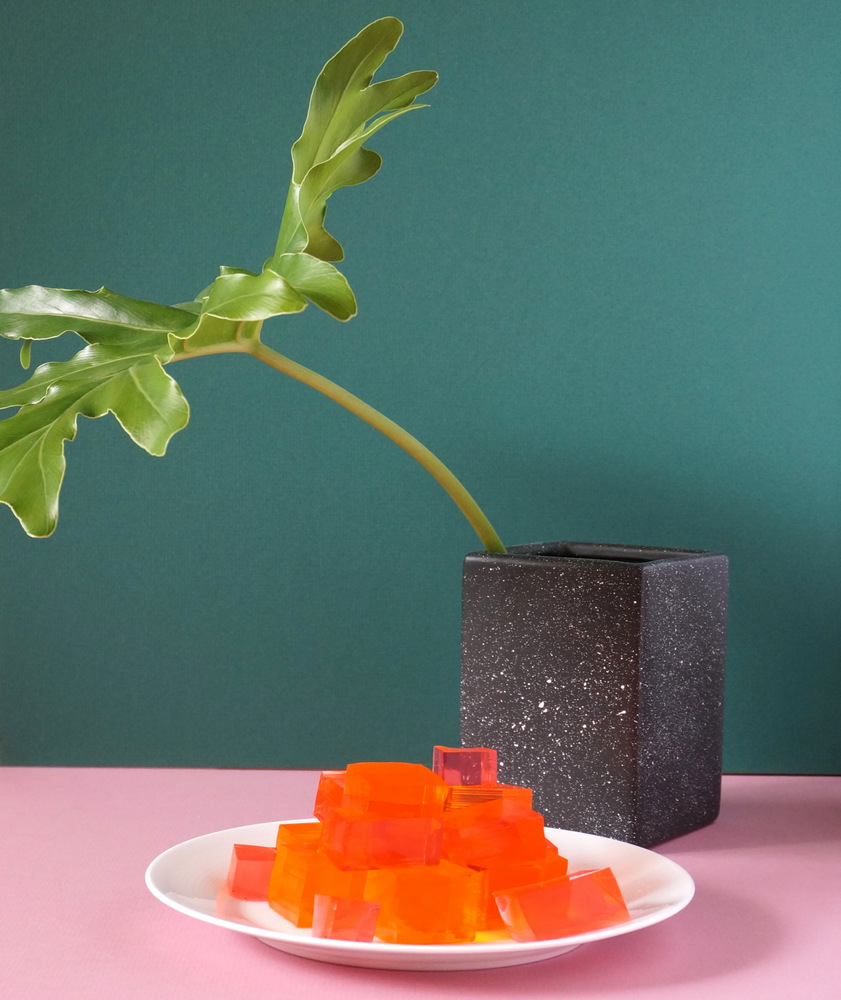
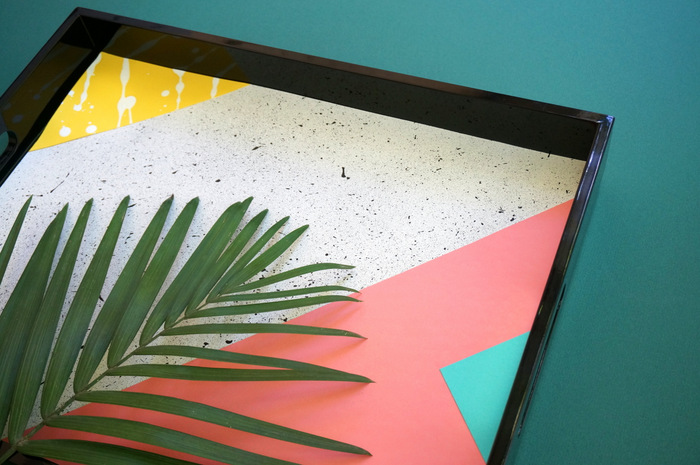
And here is the vase at our Palm Party, filled with a snipped leaf from my Philodendron plant. Plus, you’ve gotta love that neon jello!:
Ready to speckle more? I know I was! Read on for today’s final featured project…
A New Memphis Tray
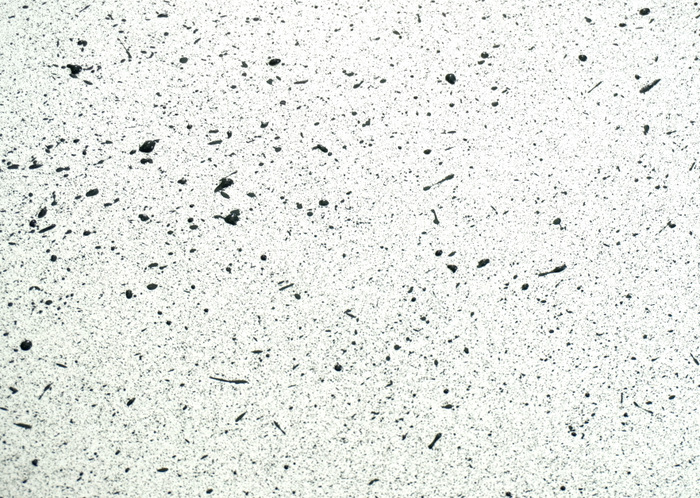
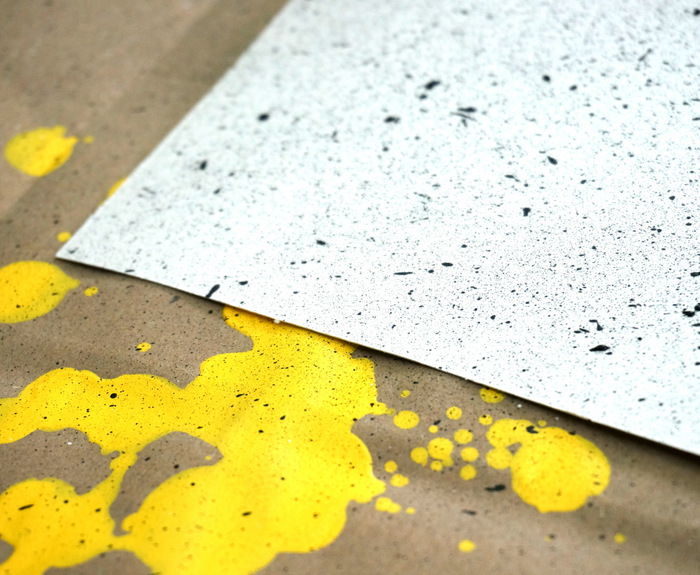
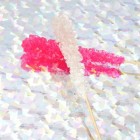
Last but not least, Jon and I created a serving tray with Memphis-Milano style. We decided to line a black lacquered tray (purchased at World Market) with art paper. But not just any paper…paper we embellished with pattern and texture! First up: we speckled some white paper, once again using a toothbrush. So. Much. Fun.
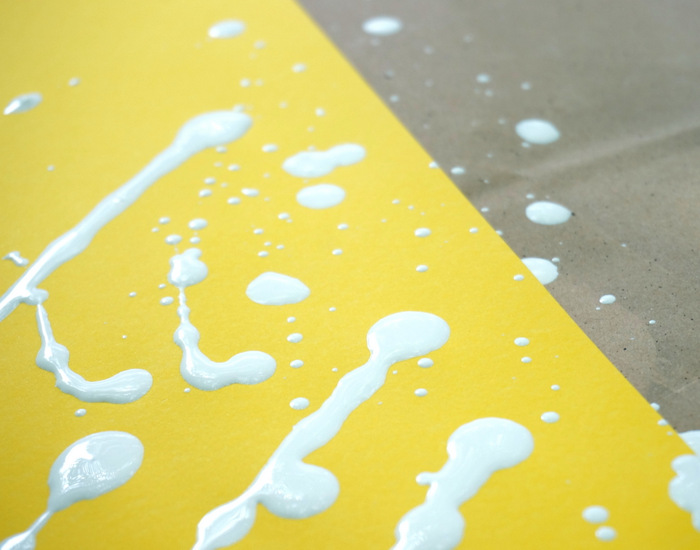
Next we drizzled some white acrylic paint over yellow art paper, shown below:
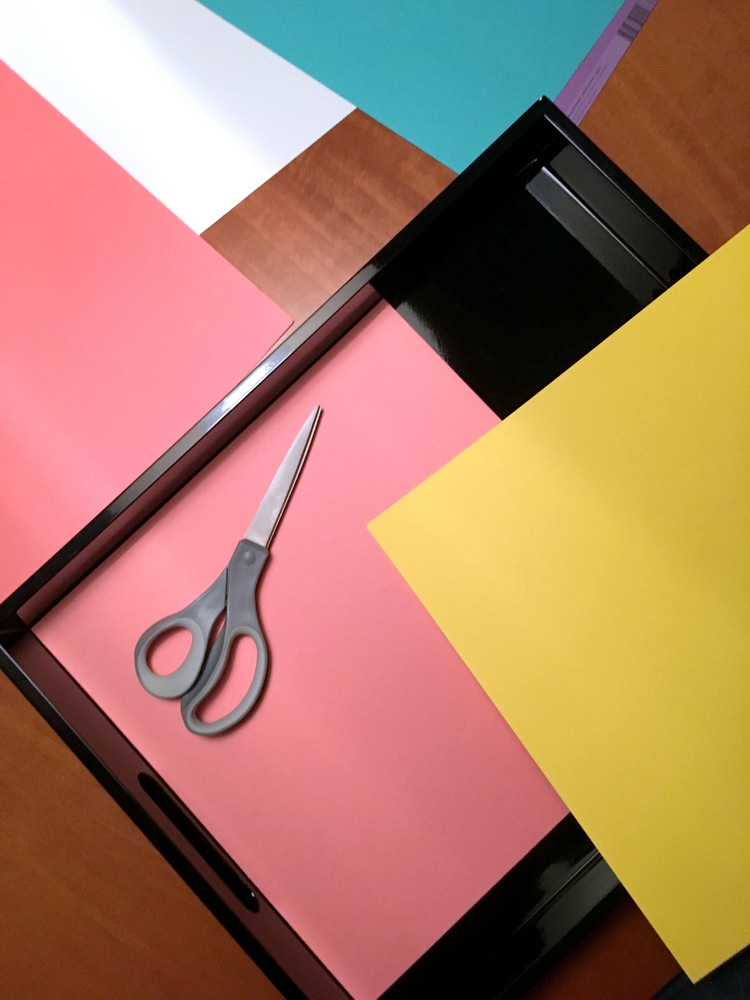
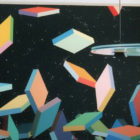
Jon then planned out the design for the tray, considering color, form and fit. [photo below by Jonathan Lo]
Here’s a glimpse of the finished product, and you can see this tray in action by checking out our Palm Party festivities:
Read on for a quick guide to creating your own New Memphis party tray:
- Begin with the tray of your choice.
- Purchase art paper in a variety of colors, which you will use to embellish the tray.
- Before trimming the paper, speckle and paint it to create pattern.
- Plan a design using the art paper, carefully measuring to make sure it fits the dimensions of the tray.
- Now use an X-ACTO knife to cut the paper into the desired shapes.
- Attach the paper to the tray with the adhesive of your choice (use double-sided tape if you don’t want the design to be permanent)
Now who’s ready to add ’80s style to every vase, tray and surface in your house?! Can you imagine the possibilities for furniture?!!! A special thanks to my friend Jon of Happy Mundane for teaming up with me to create these fun pieces. And for letting me keep them since he didn’t want to take them back with him on the plane. The tray is currently the centerpiece of my bedroom dresser vanity! Check out Jon’s take on these projects here. Happy crafting! XOXO, Kate


The BEST blog of the internet and universe! hahahaha!! THANKS from Brazil!!
THANK YOU for making my week, Sophia!!! So glad you enjoy the blog. 😉
I always come back to check your blog whenever I’m looking DIY’s for some 80’s decoration!!
What a nice thing to say! Thank you for your kind words. Your music inspires me!