
When the holidays ended, my daughter and I weren’t ready to pack up the tree. The worst of the winter weather was still to come. Not to mention, the beginning of a new year isn’t always the clean slate that we hope for. Sometimes it comes with its share of challenges. Why have a dark corner in the living room when the warmth of lights is needed more than ever?!
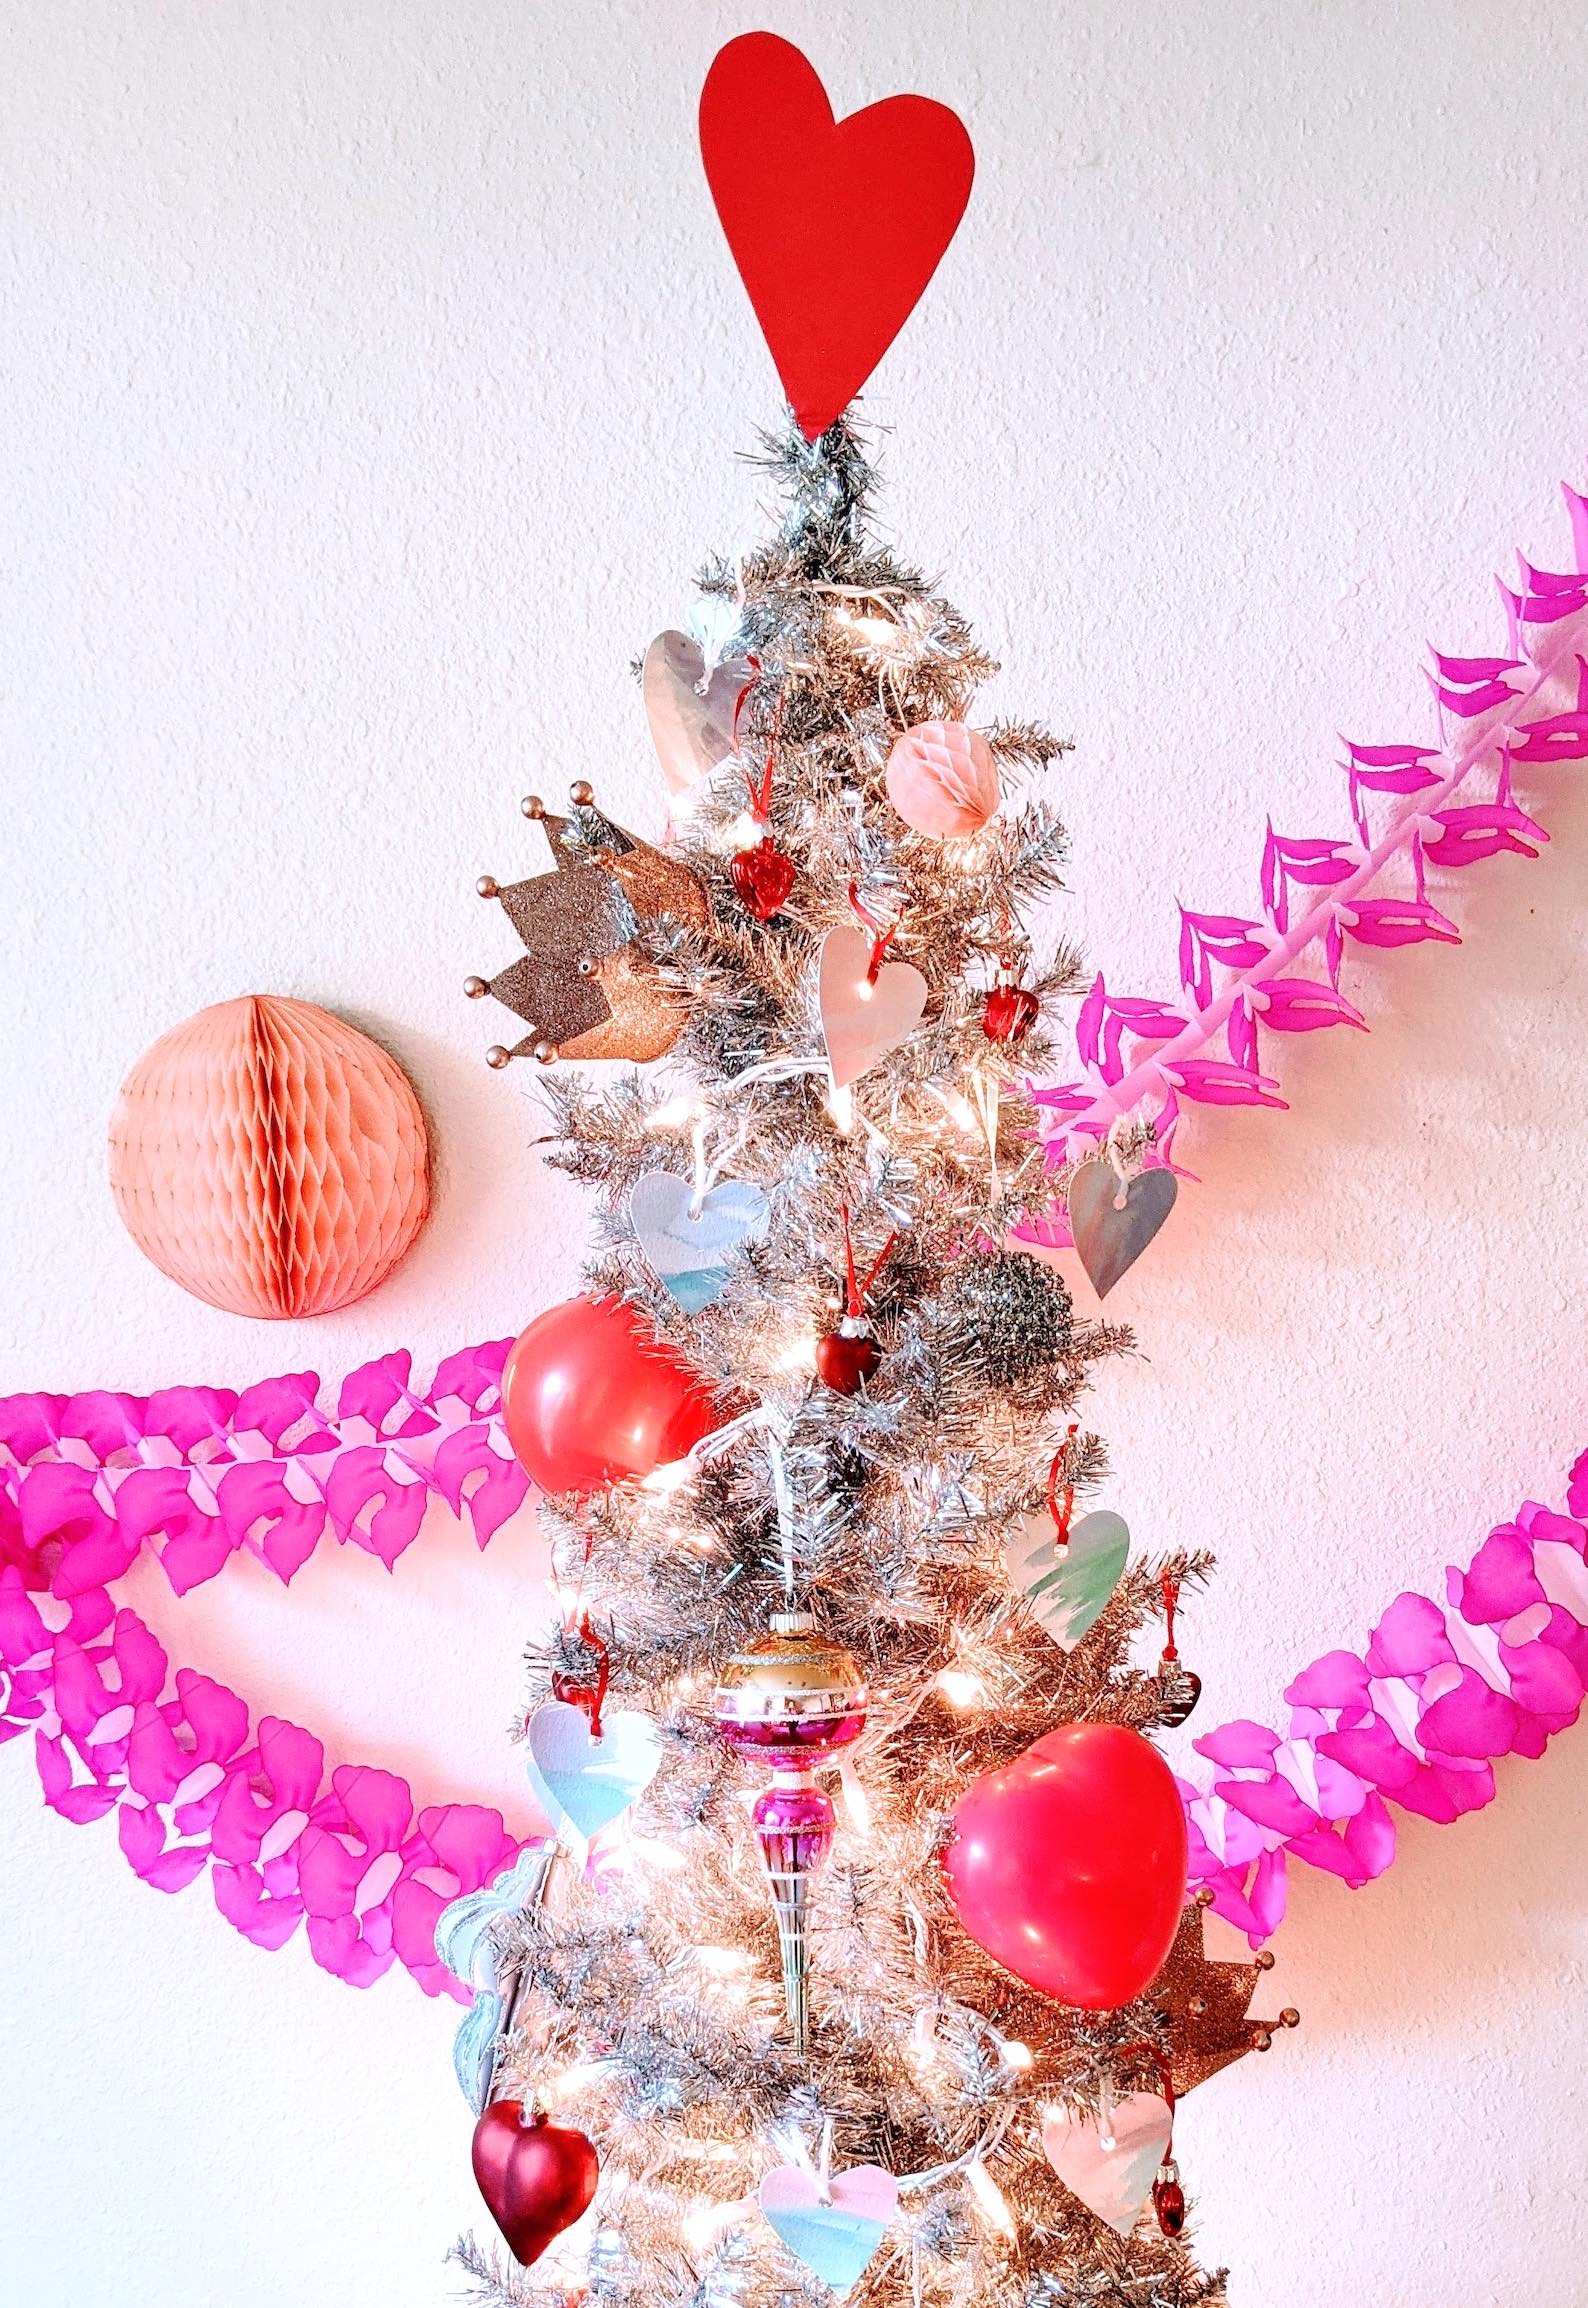
I got the idea to leave the tree up and cover it with a different type of holiday decor: hearts. When I looked online for inspiration, I discovered that the Valentine’s Day tree is a legit trend, rapidly gaining popularity. While our tree has more of a whimsical vibe, you can totally take this in an ’80s direction with brush strokes, splatter paint and more. Here’s how I brought our tree to life on a budget…
1. Use Ornaments You Already Own
Before I packed up my holiday ornaments, I set aside any that would work for Valentine’s Day, focusing on a red, pink and white color palette, plus anything that sparkles.

2. Make New Ornaments
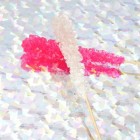
I decided to use cardstock and watercolor paints to make our own heart ornaments. This is a great project for kids as well. My daughter and I used fast and free brush strokes to add pink, red, teal, blue and purple paint to white cardstock. As paint dried within a few minutes, I layered on more for a sense of depth and dimension.
I then cut a basic heart stencil and traced it all over the paper before cutting out the hearts (which you can see at the top of the post). A simple hole punch and some ribbon easily converted the simple paper hearts to ornaments.

3. Purchase a Few Ornaments
To add a dose of Valentine’s Day red, I purchased this set of glass heart ornaments. It was a great way to bring in “something new” without spending large amounts of money. In addition to ornaments, you can add faux flowers and other arrangements (found at craft stores) featuring sparkly beads, hearts and blooms in little sprays that can be spaced out around the tree.

4. Special Touches
For some larger bursts of color, I added heart-shaped balloons to the tree, which you can see below. If you’re considering this, be careful not to place them near twinkle lights. Hot bulbs + balloons = a bad combo. For a finishing touch, I cut a heart out of cardstock and place it at the top of the tree. Easy, fast and budget-friendly.

As mentioned, you can customize this tree to make it more retro. Try a pastel approach, add a touch of Memphis-Milano style, you name it! Cheers to repurposing your holiday tree and keeping a warm glow in your home through the coldest part of winter.


Such a cute idea! Love the blog, keep up the great work!
Thank you, Marie! You’ve made my day!!
Hi again! Nice post of Valentine decorations.<3 I've been thinking myself of what if you keep the tree up (plastic tree) and decorate it with other things like for example Valentine or Easter. My tree is in the cellar now but I have nothing in my corner now except for a lots of cables to the wi-fi and tv. But it is nice with some inspiration. Will see what will happen with that corner if not some other practical furniture will take place. It's always nice with decorations for any occasion.
Hi Teresa! Thank you for your kinds words! We’re totally on the same page here 🙂 I think we’re keeping this tree up for at least the first part of spring. I ordered a couple of avocado ornaments, and I’m thinking of adding ribbons to a few of my daughter’s felt play food (carrots, veggies, fruits, etc.), then some flowers, etc. Bring on the bunnies too!
In Sweden we have a tradition of picking pussy willow branches and put them in a vase and decorate them with colorful feathers and eggs. Maybe you do it too? International tradition?
I can’t wait for the new post…