Happy October! Today’s frosted pumpkin project is what happens when you take a mini pumpkin and try to turn it into a sugar cereal from the ’80s! While this year’s pumpkins were actually inspired by 1980s pottery, the end result was definitely more in the “looks good enough to eat” category than the fine art realm, thanks to a dusting of thick paint and glitter. Ready to get frosting?…

Frosted Pumpkin Supplies
The secret ingredient for this project isn’t sugar, and it isn’t glitter. It’s actually wall paint, which added a certain thickness and texture to the final product. However, any thick paint will do, so use what you have on hand.
Here’s what you’ll need to get started…
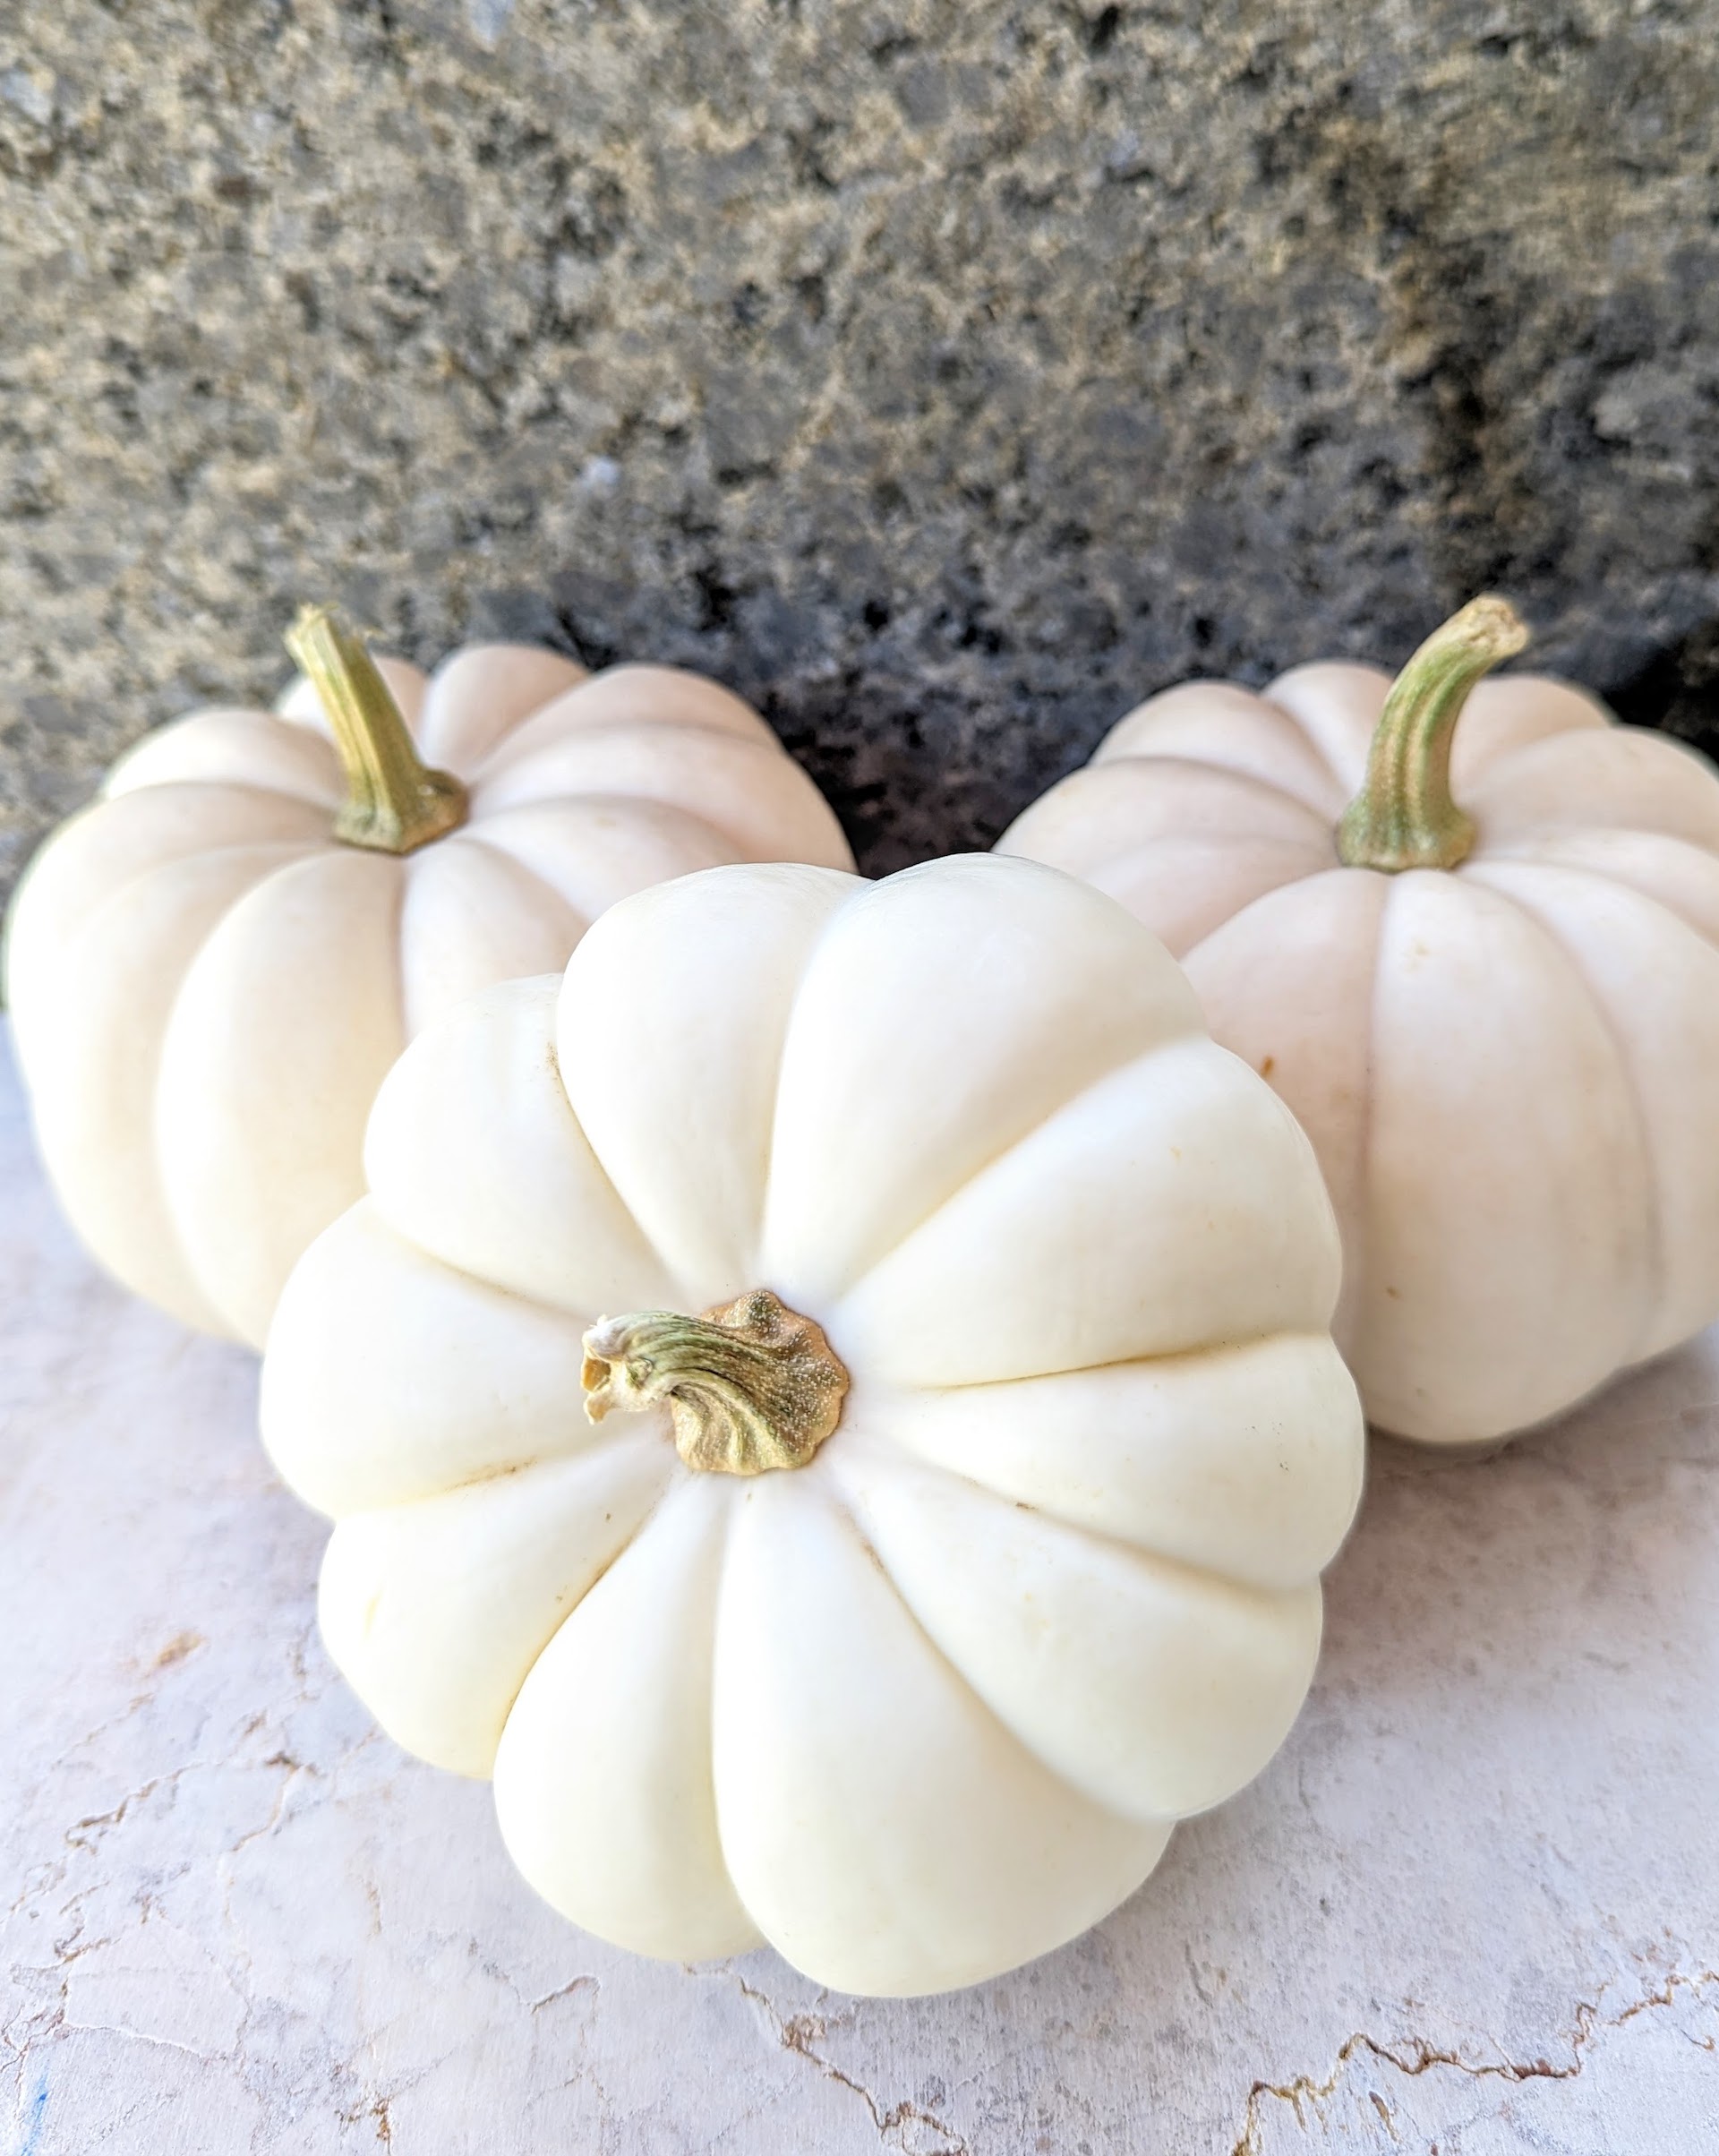
- white mini pumpkins
- thick white paint
- craft paint in the colors of your choice
- glitter
- paintbrushes
- paint pen (optional)
![]()
DIY Frosted Pumpkin Project Steps
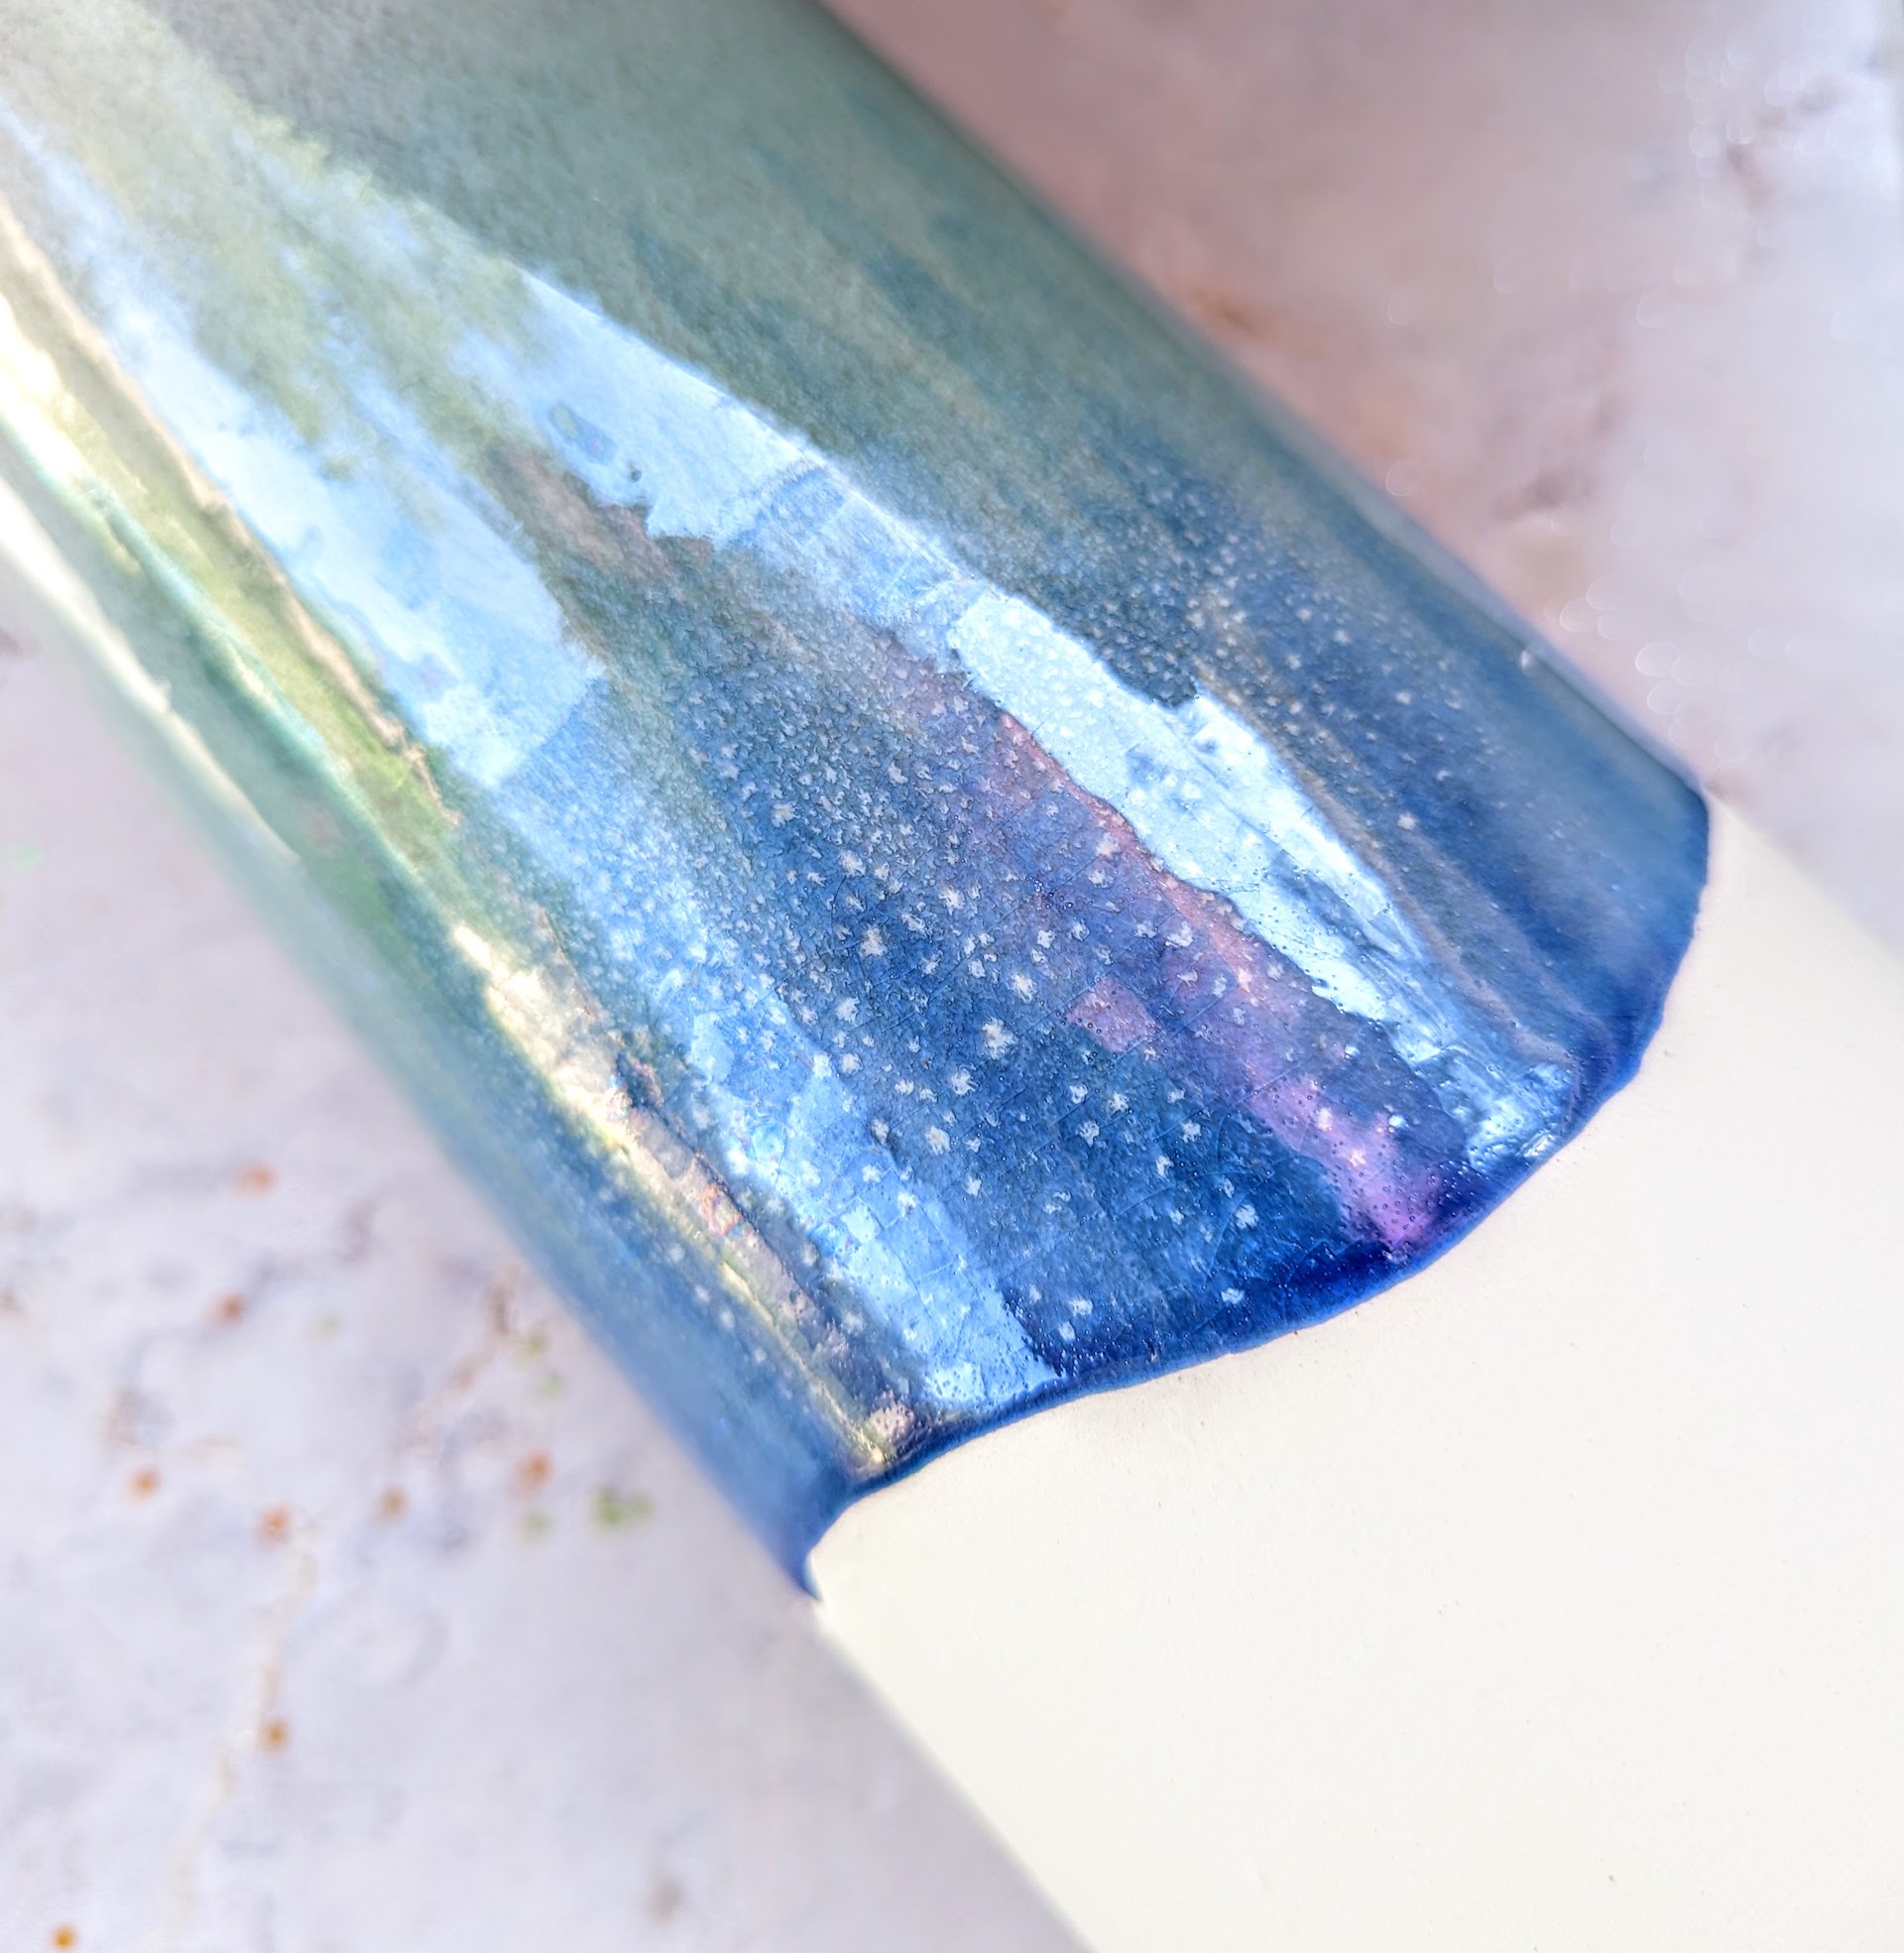
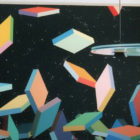
Before we begin, here’s a sneak peek of the Crate & Barrel vase that inspired today’s “glazed pumpkin” project. It has an ’80s pottery look that reminds me of shopping at galleries with my mom when I was a kid:
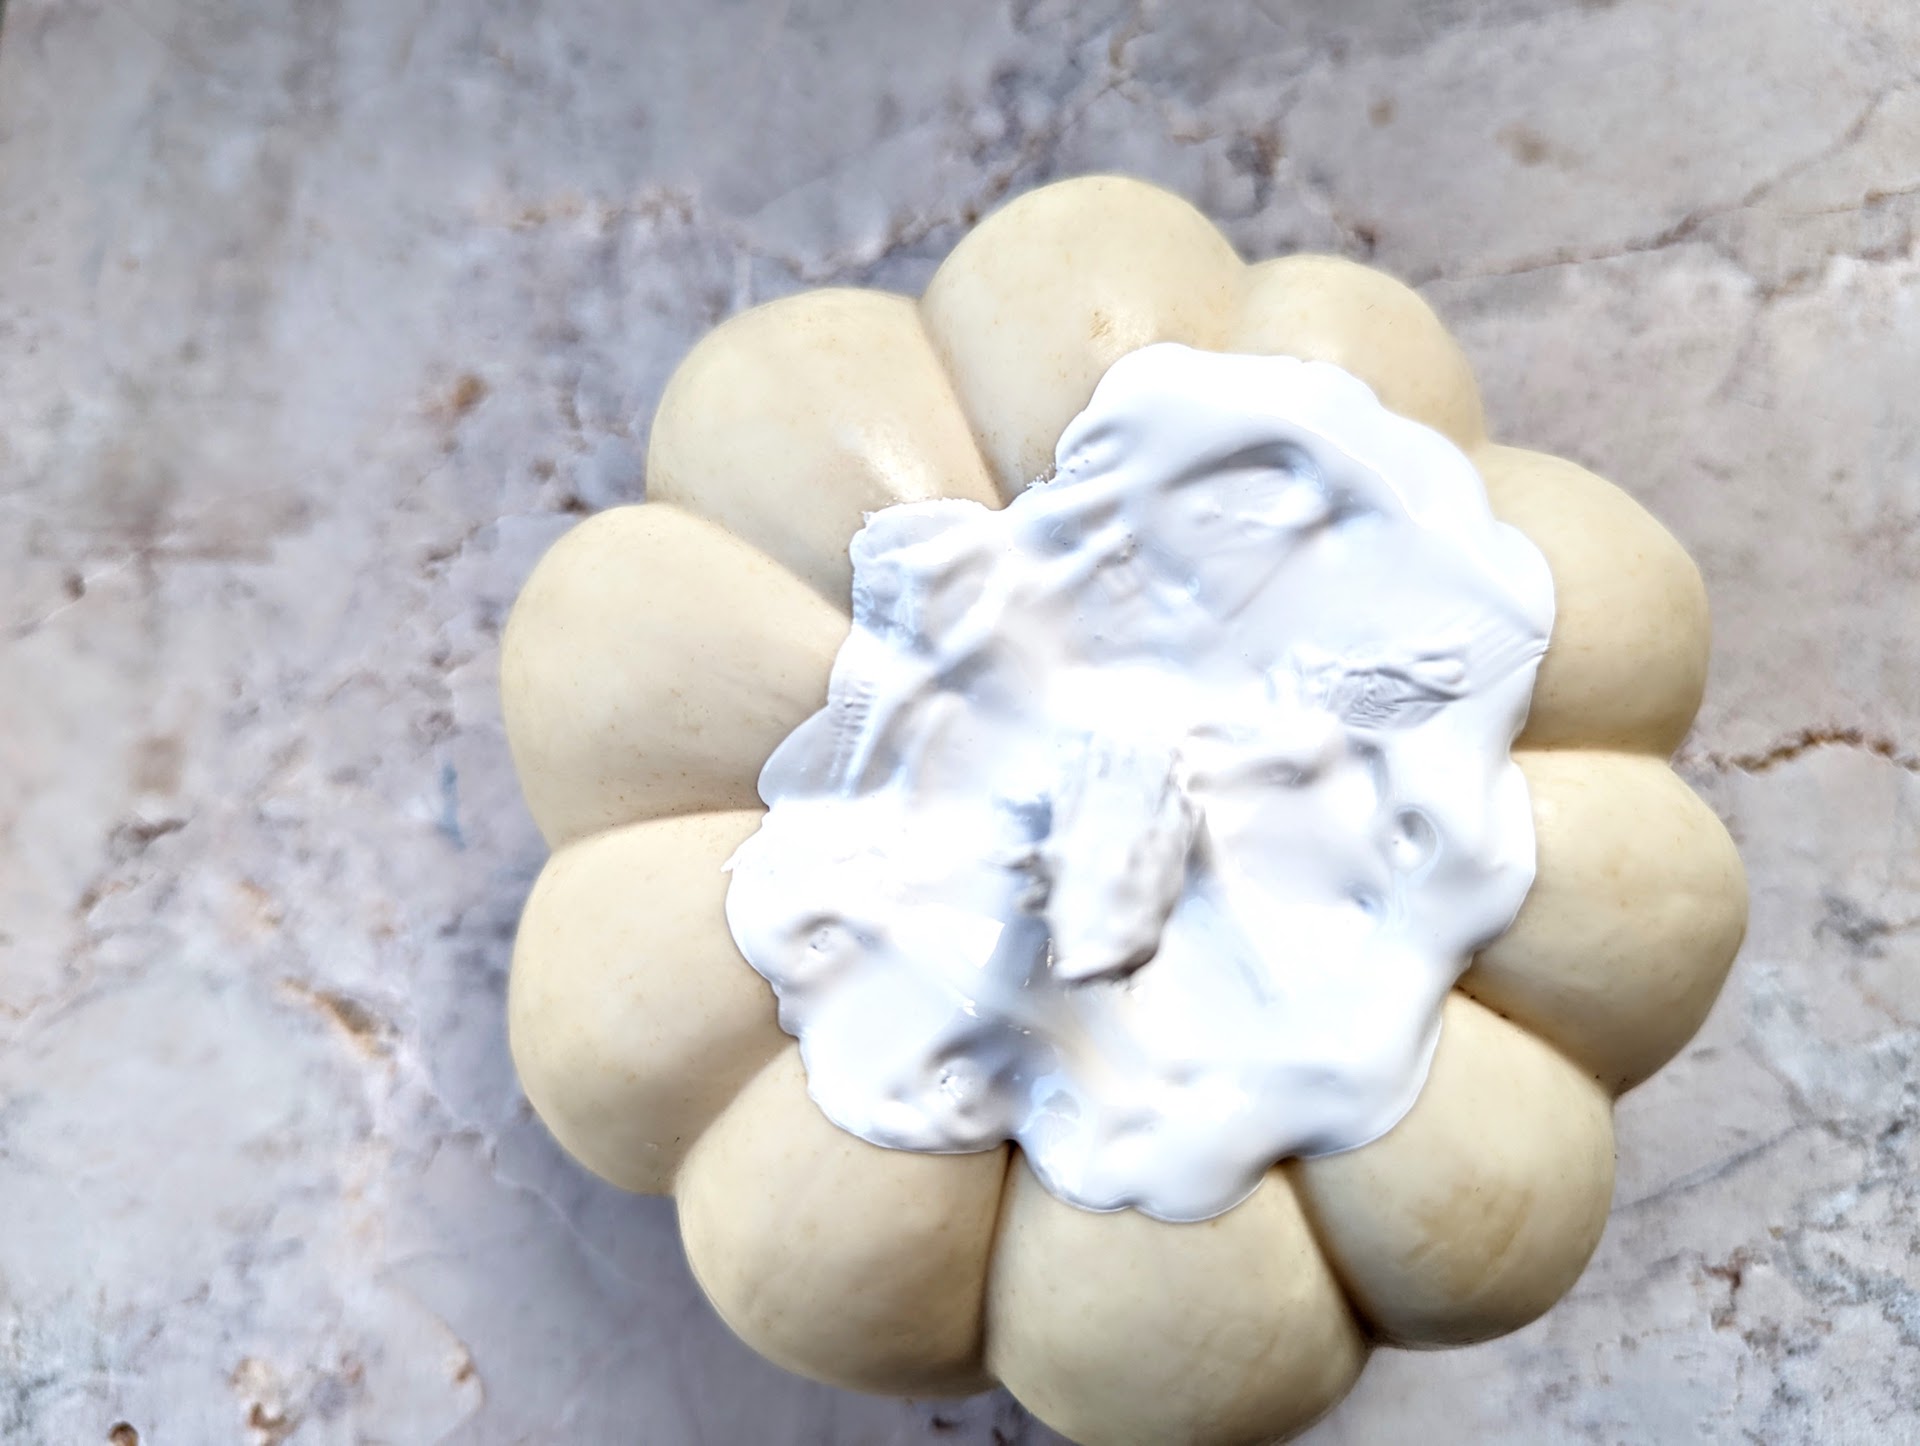
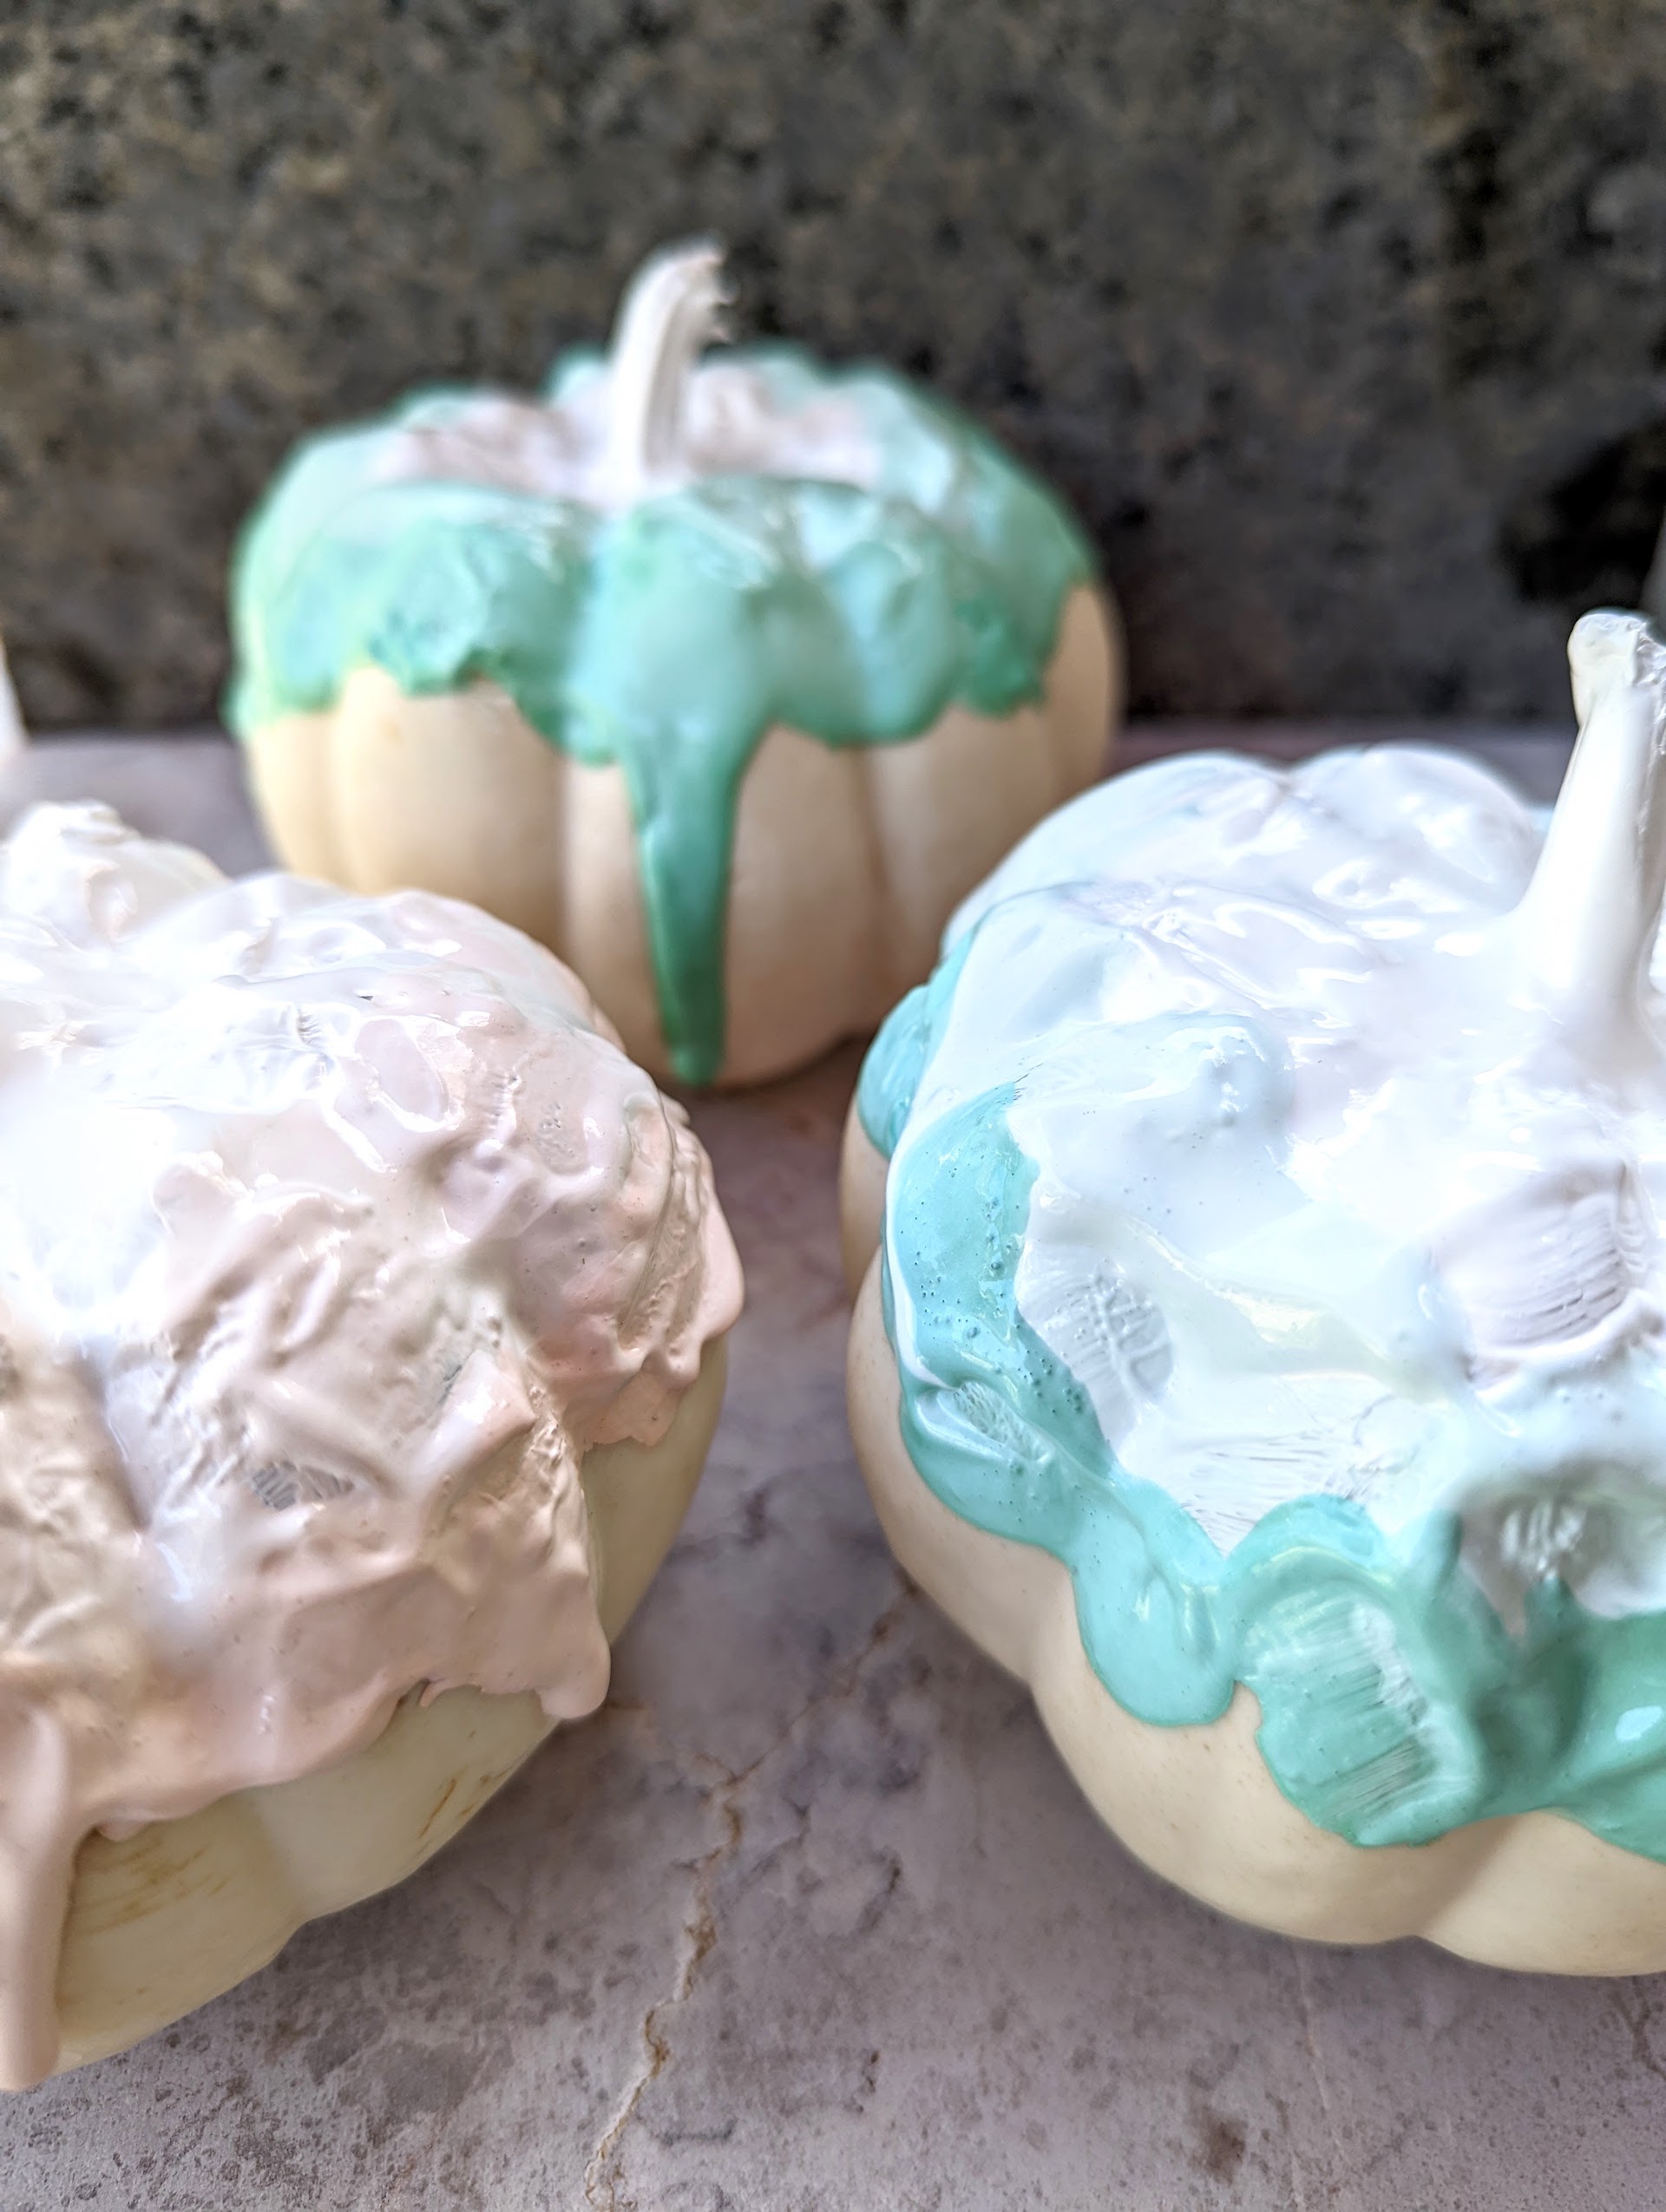
Step 1: Using a thick paintbrush, apply white paint to the top of the pumpkin.
Don’t be afraid to let the paint get thick, but you can avoid paint cracks by taking care not to heap the paint on in ultra-thick layers.
Step 2: Use the white paint to mix up a variety of dark-to-light shades in a couple of your favorite hues.
If you’re truly going for a gradient effect, opt for about two shades of each color. Below you can see that I mixed up both dark and light mint paints, plus a light peach. Not pictured: an even lighter shade of peach that I used as well. The colored paint that I added to my white wall paint was simple tempera paint from my daughter’s art cabinet. Acrylic craft paint would work great as well.

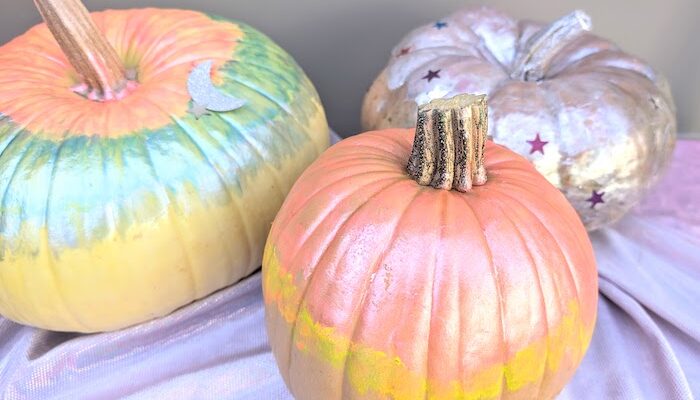
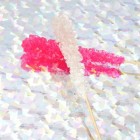
Step 3: Paint thick rings of paint around the pumpkin, going from the lightest to darkest shade (the darkest will be the bottom ring). Don’t be afraid of drips!
As you can see below, the paint looks a bit gloppy, and while it will dry with a texture, some of this clumping will definitely even out as the paint dries. As mentioned, don’t be afraid to welcome the drips! They will add character.
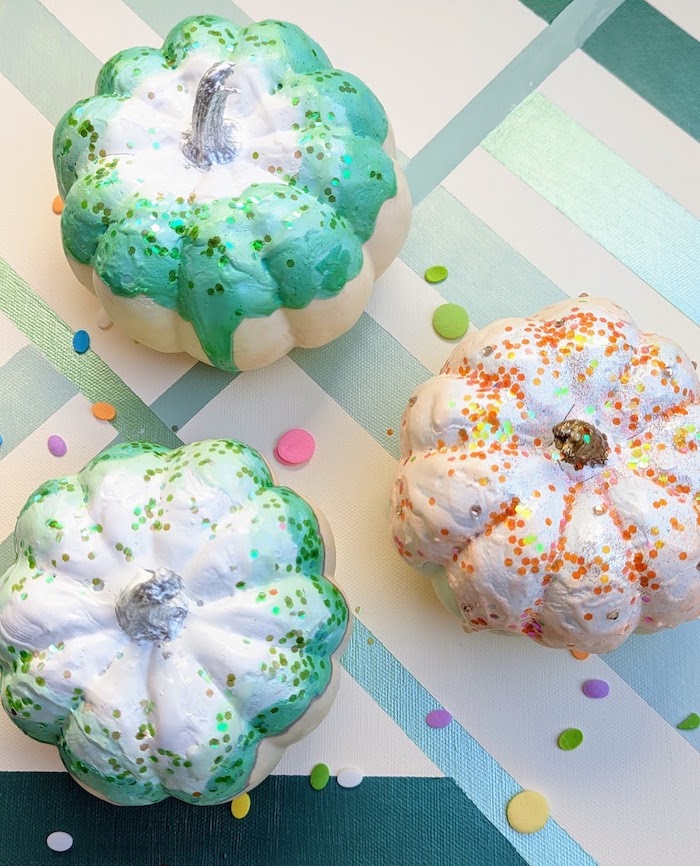
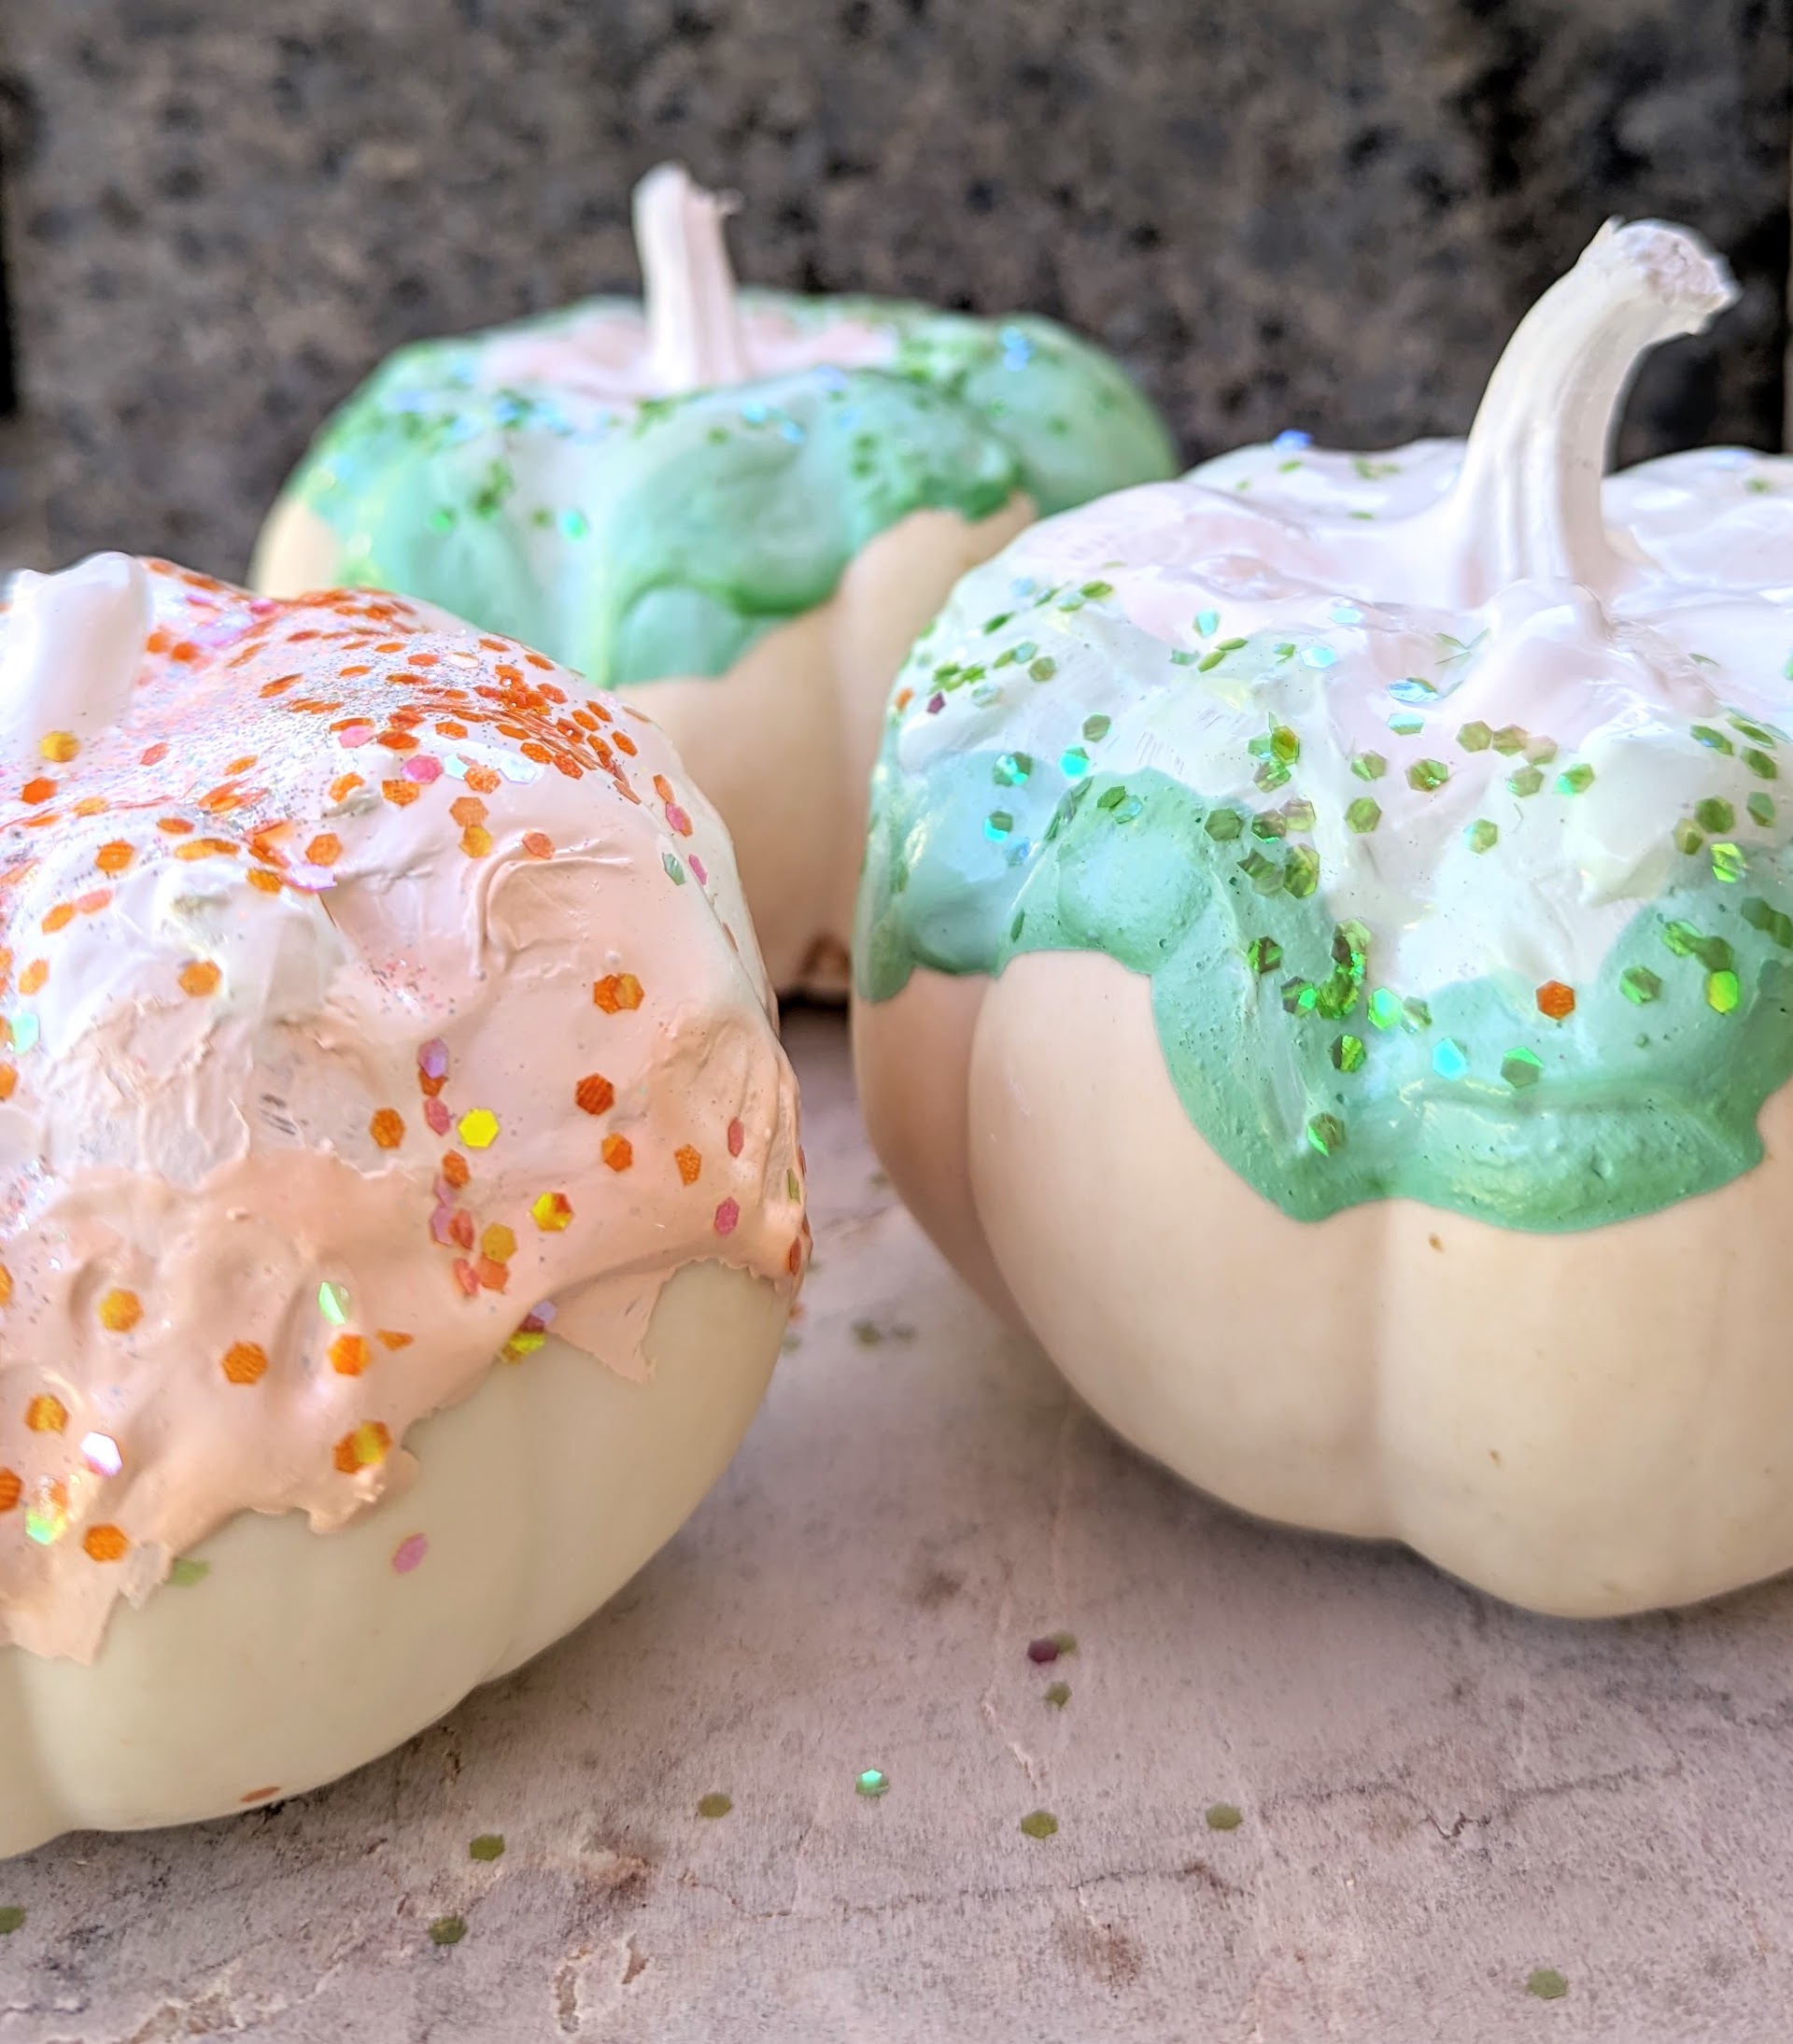
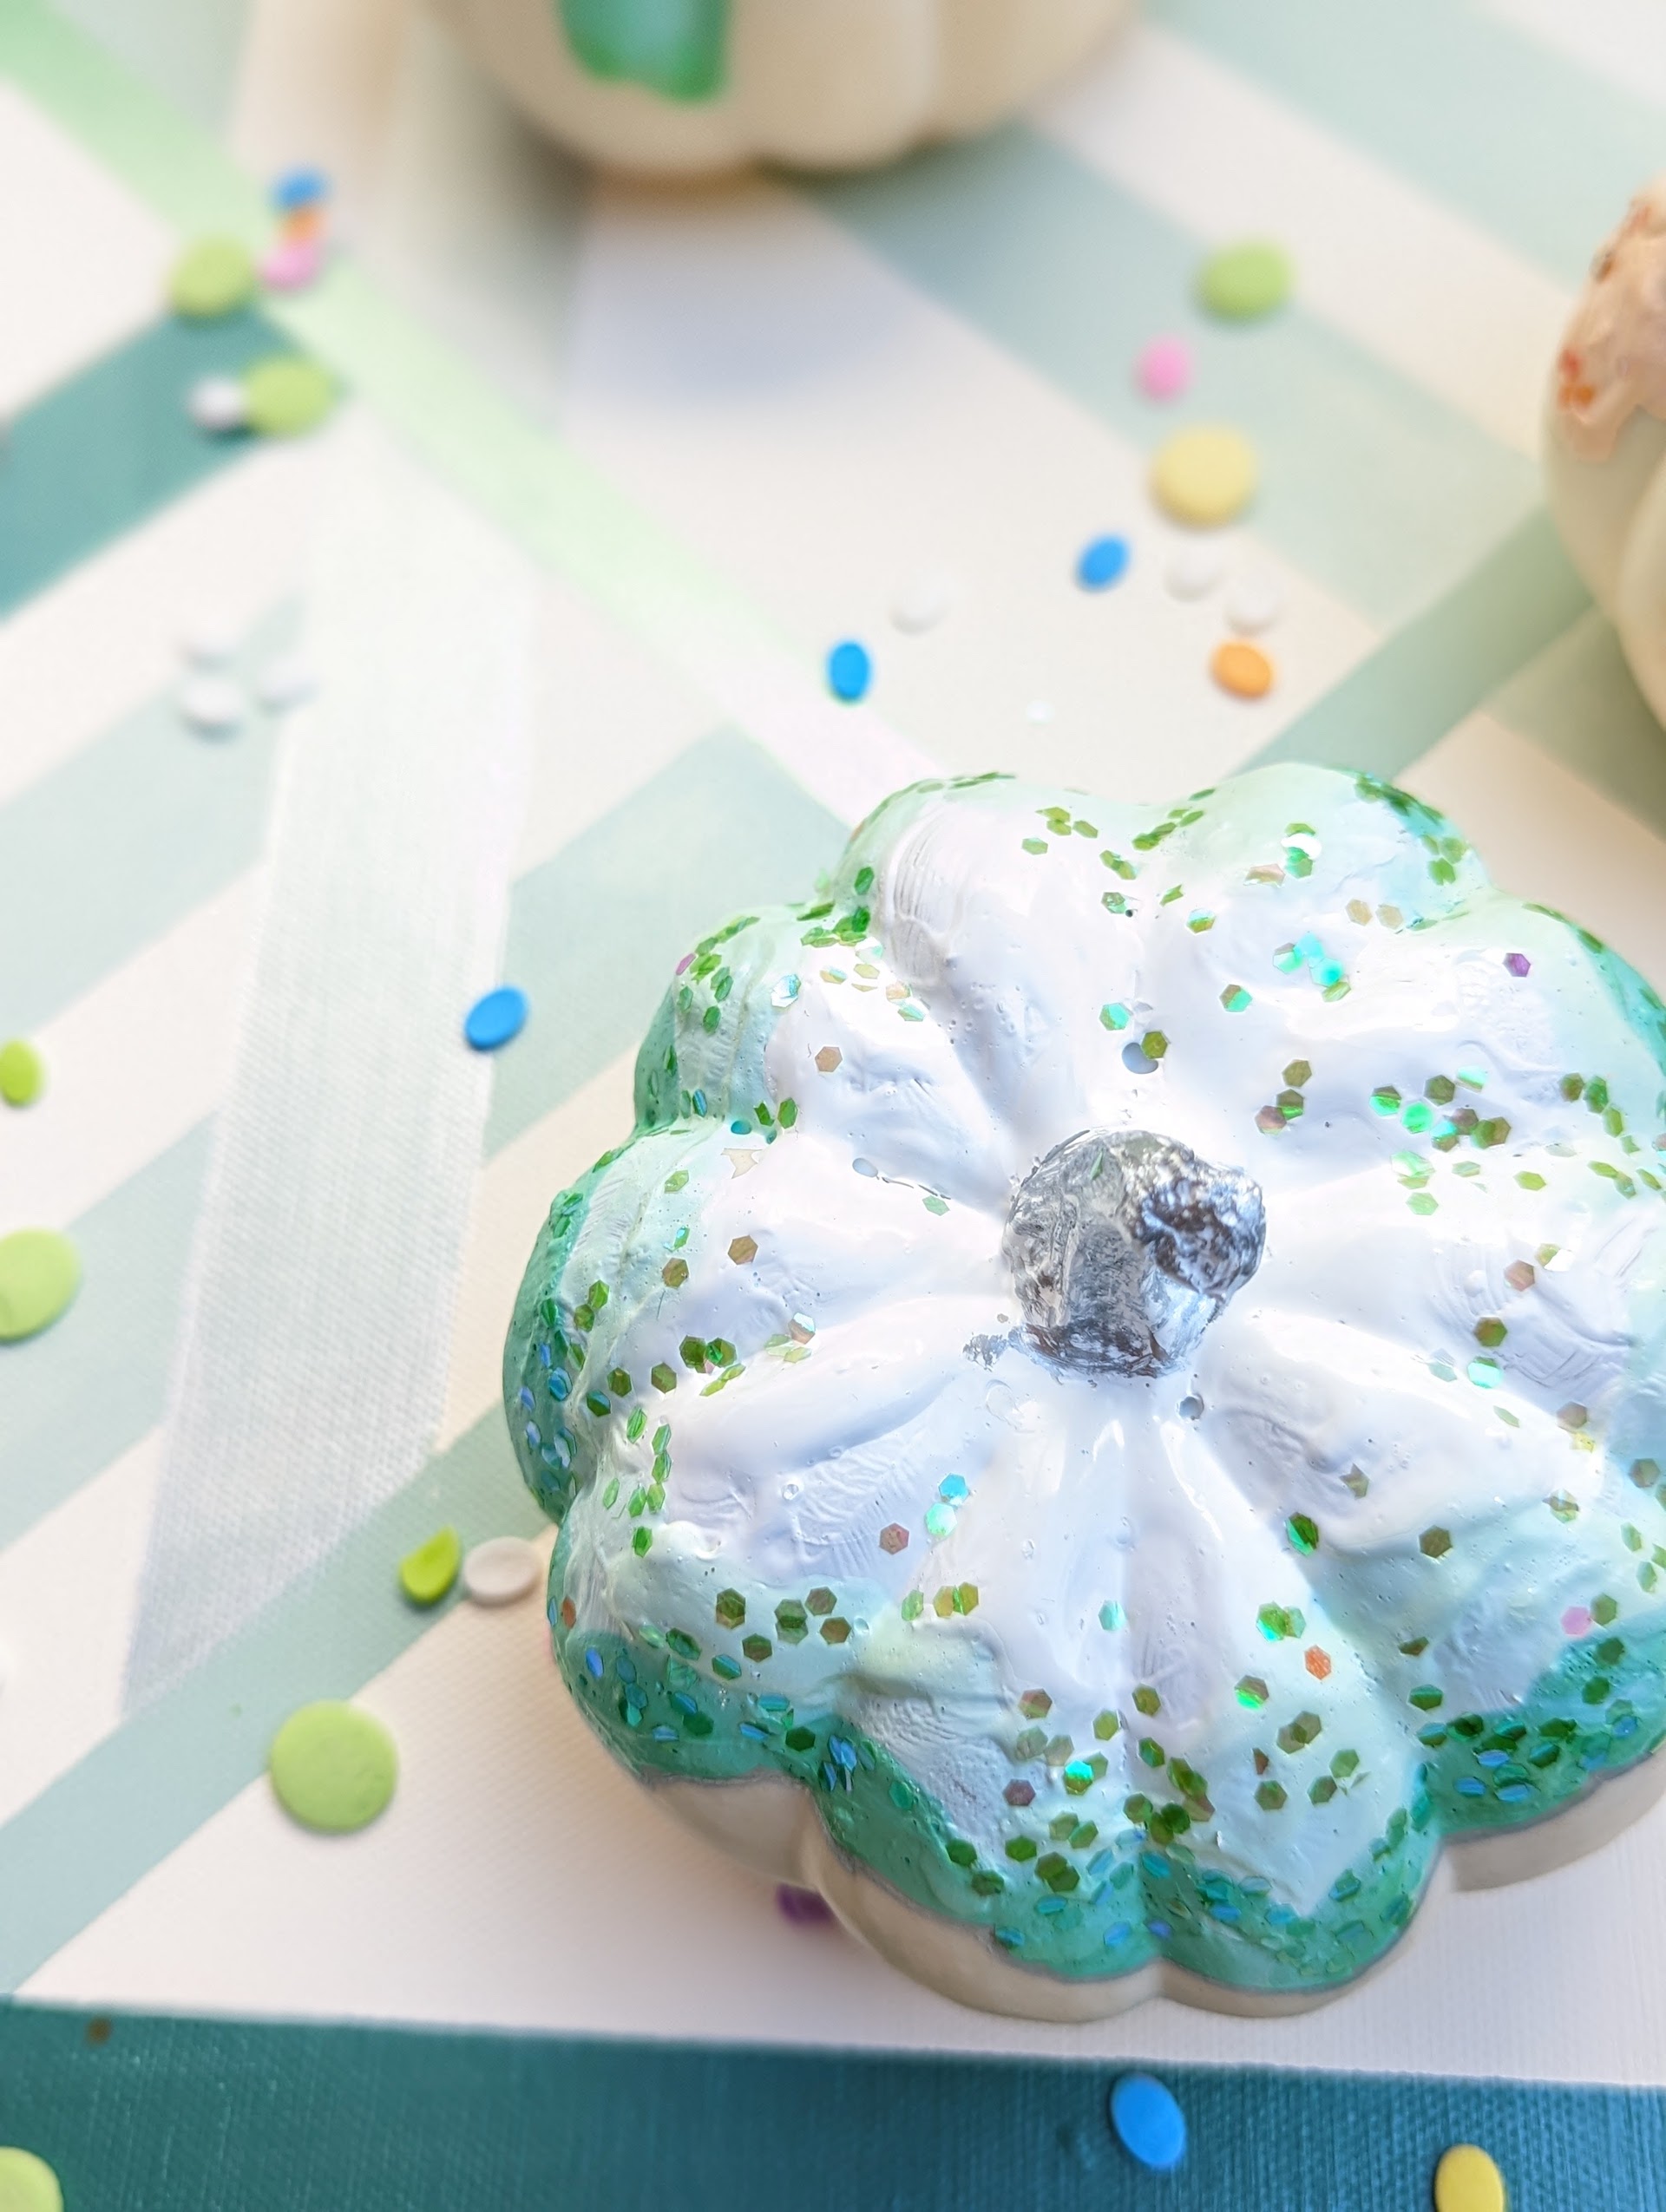
Step 4: Before the paint dries, sprinkle glitter on the pumpkins.
You can sprinkle the glitter at the top to add interest, or you can concentrate it around the darkest part of the paint for added vibrancy, playing up the “ombre” effect.
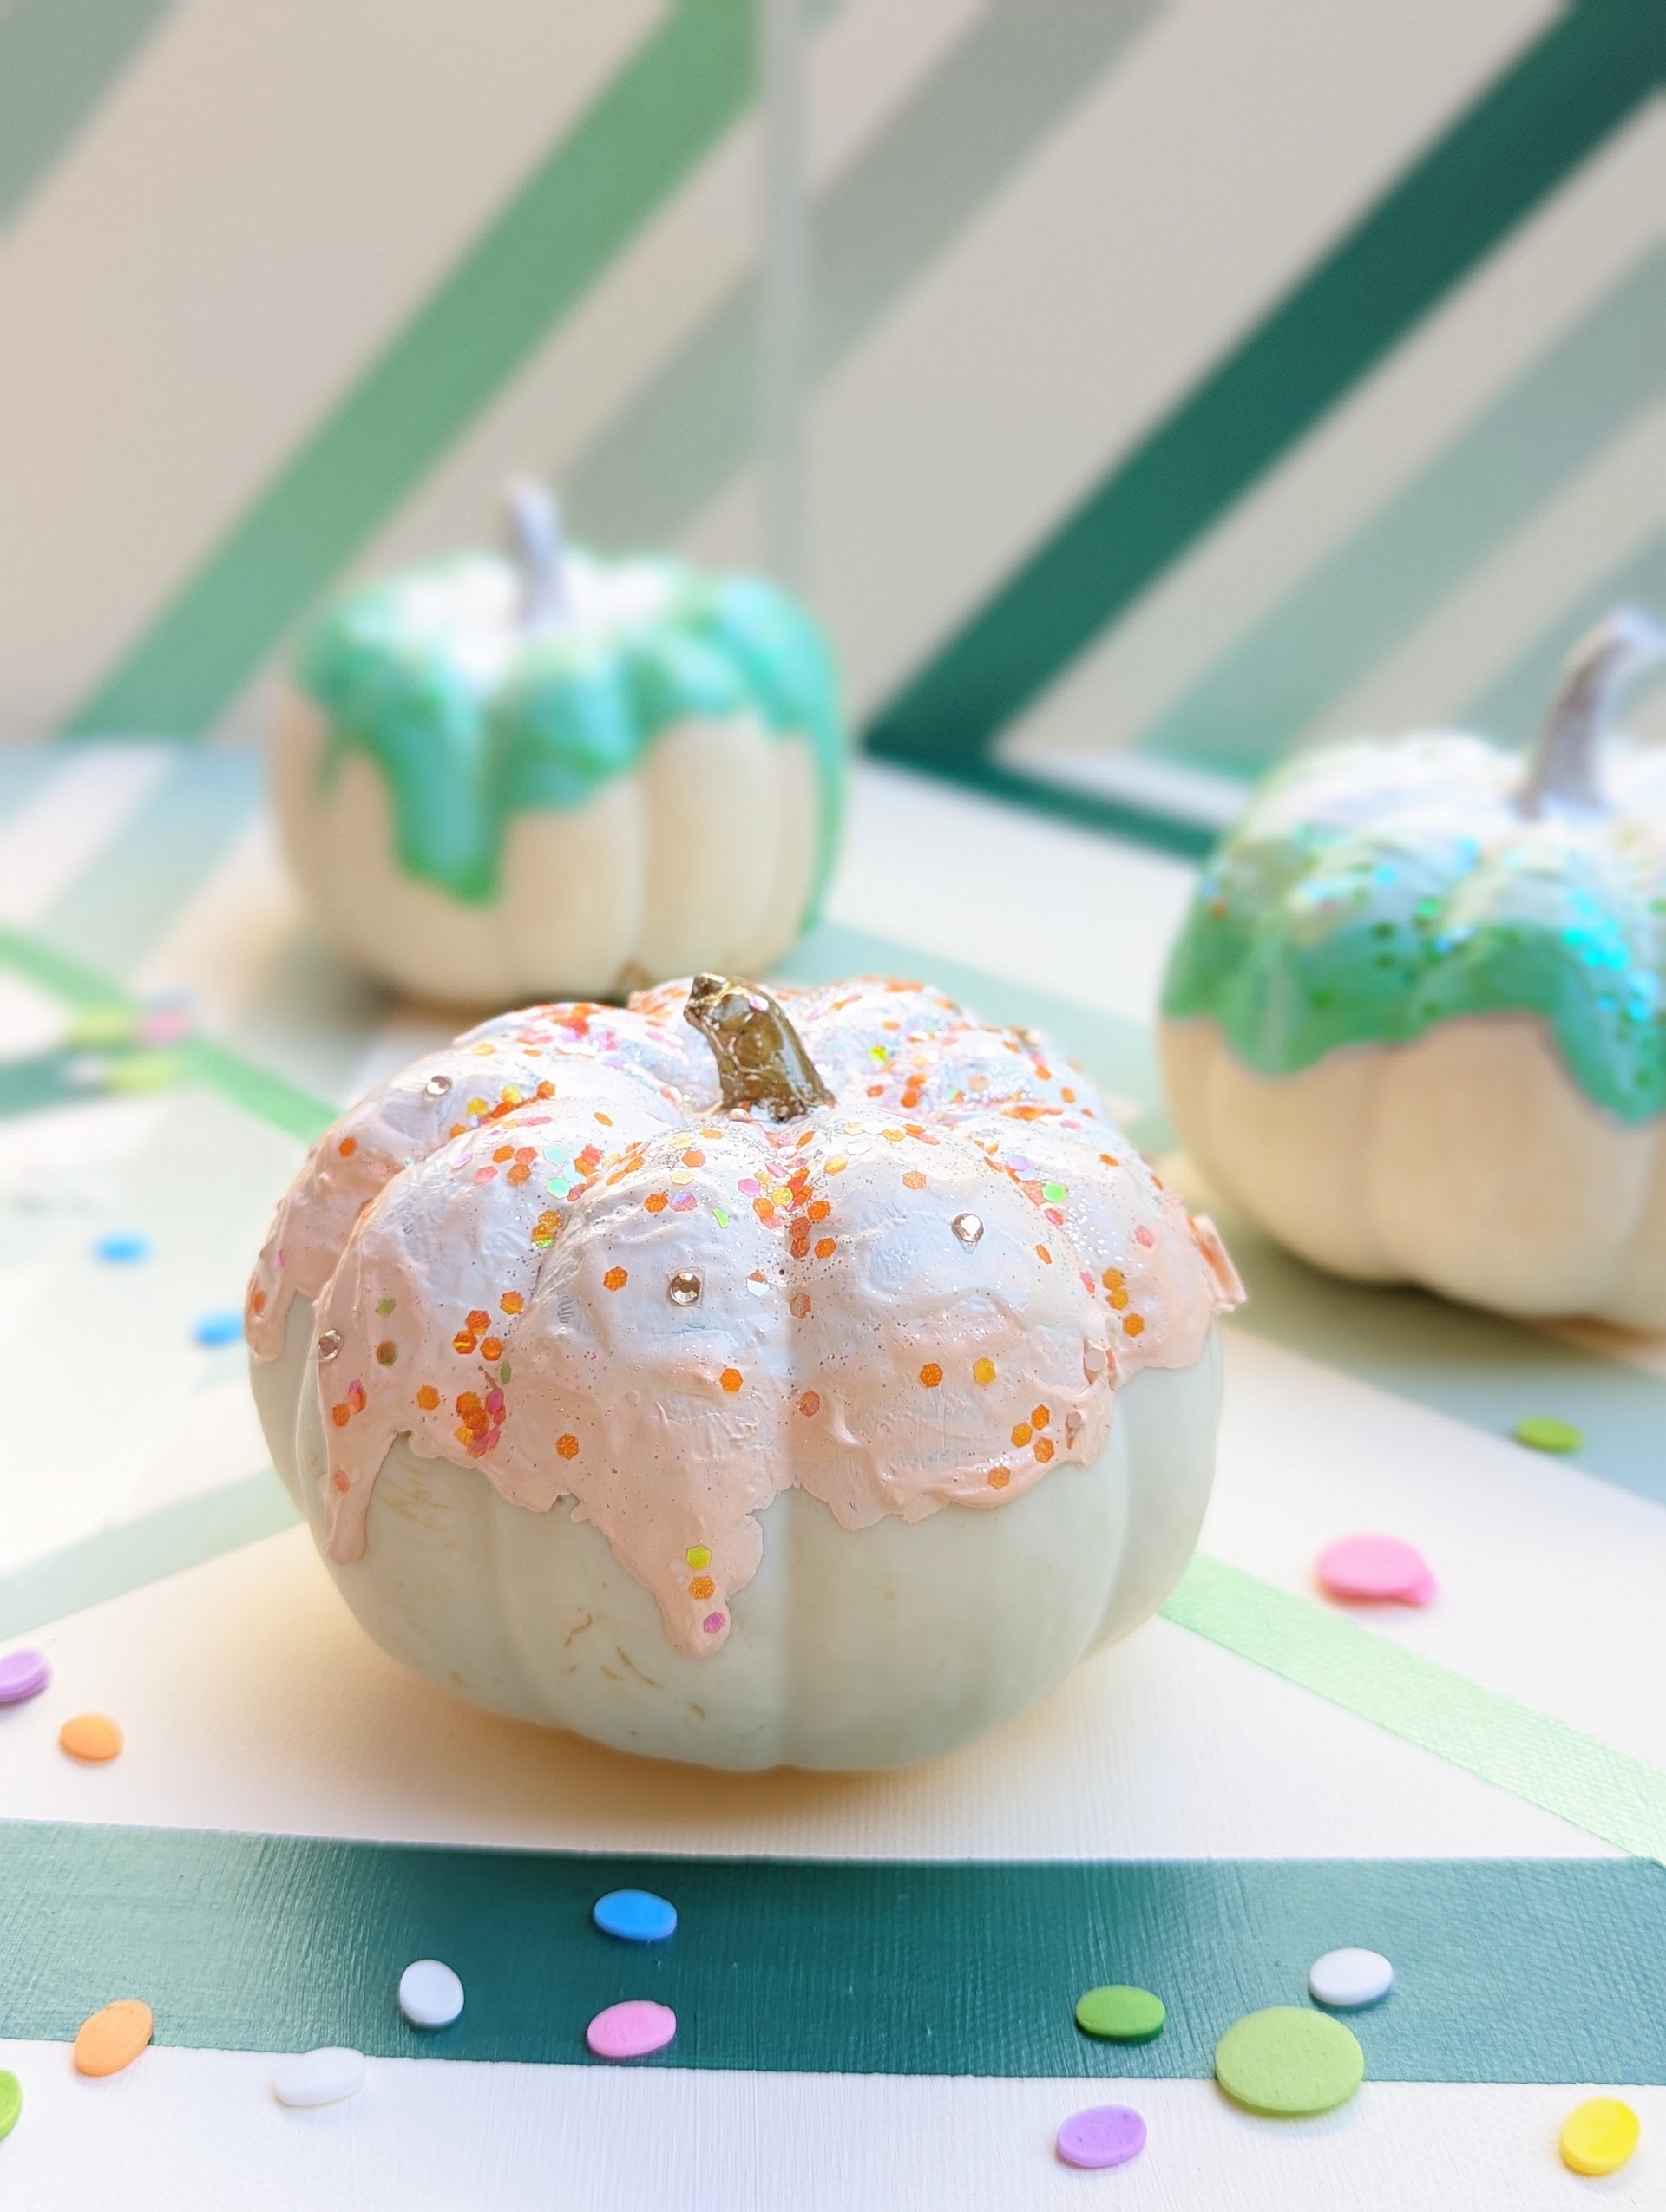
Step 5: Add definition with a paint pen.
This step is totally optional and creates a more outlined effect. I used a silver paint pen on one of the three pumpkins (shown below). I also used the paint pens on the stems of my pumpkins for added metallic shine.
If you want a smoother look for these pumpkins, try pouring the paint rather than applying it with a paintbrush. It will make the paint harder to control, but sometimes letting go is just what we all need, right?! 😉 Here are a couple more pics of the finished pumpkins:
Wishing everyone a fun October. This is my favorite time of the year, and I hope it’s a memorable one for you as well! Check out more pumpkin projects from over the years here. Cheers, and thanks for reading!!


They look great! They look like yummy meringues but they are frosted pumpkins. So cool! Lovely colors also. Thank you for sharing!
Have a wonderful october 🙂
Teresa, you brighten my day with your comments!! Happy October to you!!
Glad to hear! Your website is great!
Take care!