
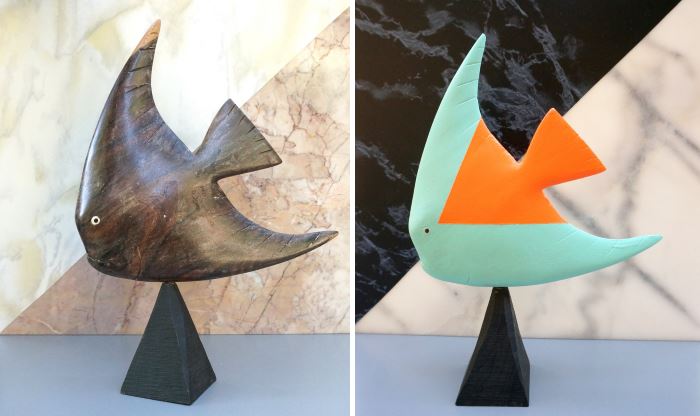
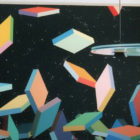
Last month I headed to Texas AntiqueWeekend and scored some amazing retro finds, including a wooden fish figurine with some major potential. Read more about my scavenging adventure here, and check out additional pics on Instagram. My favorite thing about my retro fish: the bold lines and curves. Don’t you love that pyramid base?! I knew I wanted to paint this piece, and today I’m showing you exactly how I got the job done. Below we see side-by-side before and after shots:
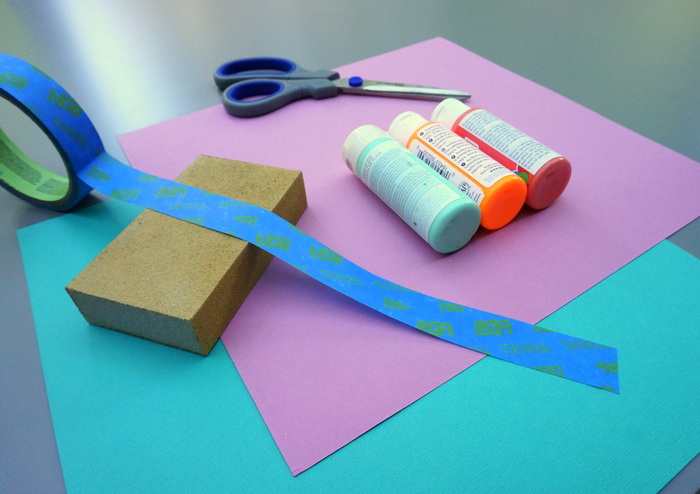
Here’s what you’ll need to get started:
- the retro figurine of your choice
- acrylic craft paint
- aluminum foil or a container for holding paint
- foam brushes
- painter’s tape
- scissors
- sandpaper or a sanding block
- paper to protect your work space
Ready to begin?!…
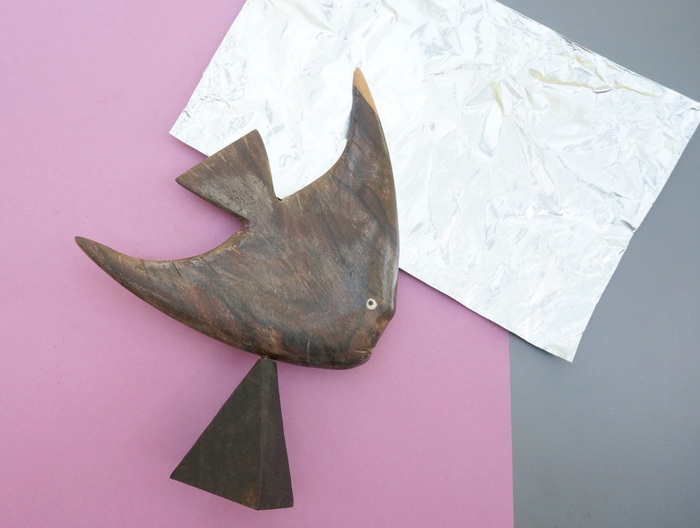
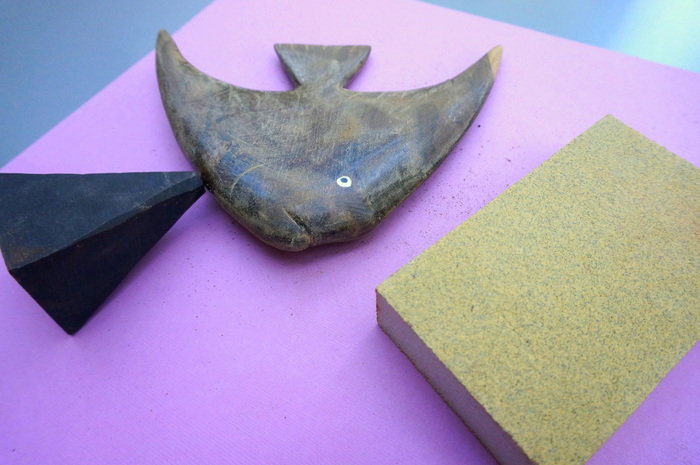
Step 1: Sand your figurine.
Let me start by saying that you can adapt this project to suit any wooden figurine. The first step of the process: sanding. This will help the paint to adhere to the surface of your retro creature! It was important to me to keep the original eyes of this fish, so I made sure NOT to sand them off.
Step 2: Paint your figurine the base color of your choice.
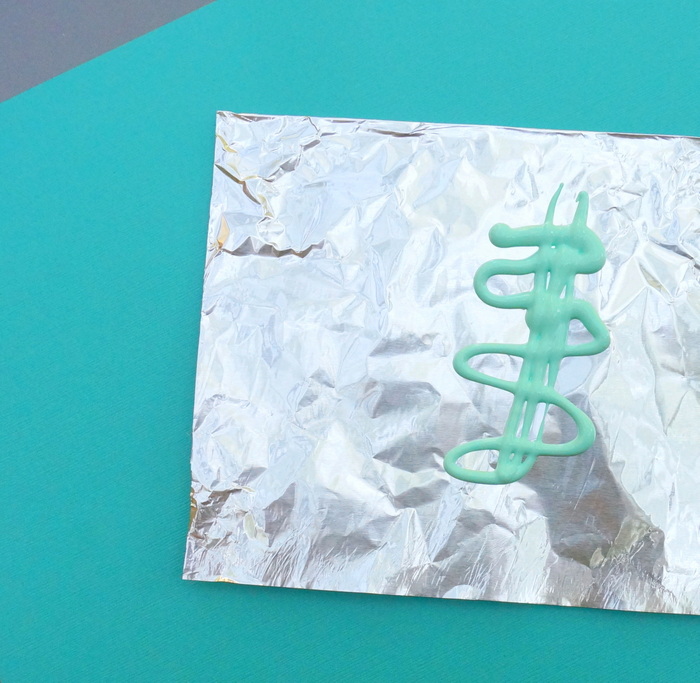
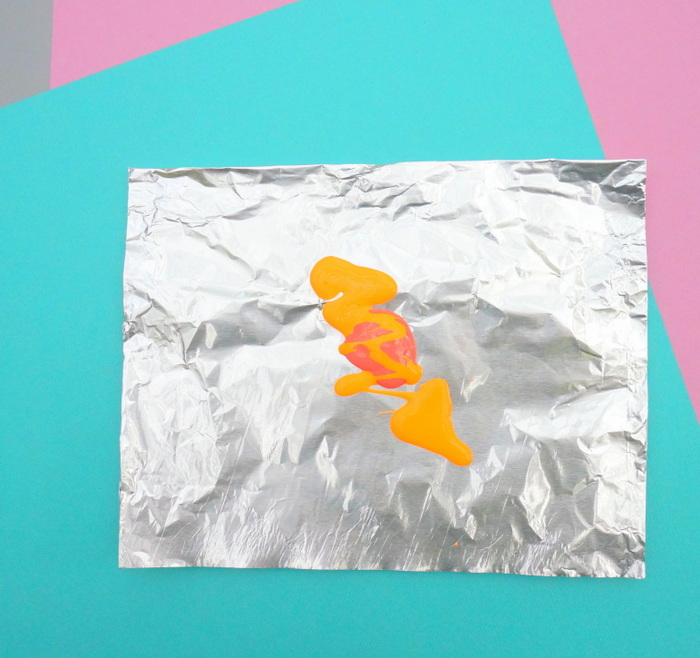
My chosen hue: mint green! Martha Stewart’s “Beach Glass”, to be exact (her paints provide amazing coverage). I used foil to hold the paint–a practical option that provides an easy cleanup.
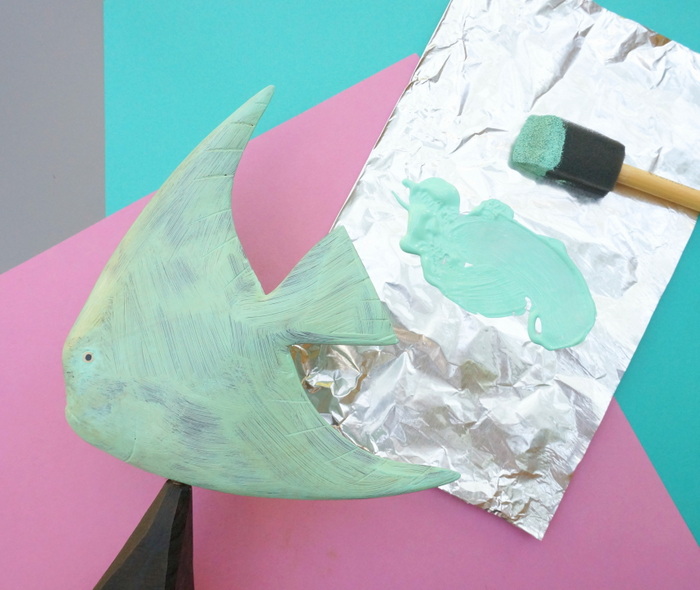
I didn’t use primer on this figurine, but you can if you wish. Either way, you’ll likely need 2-3 coats of paint. Here’s the way the fish looked after the first coat:
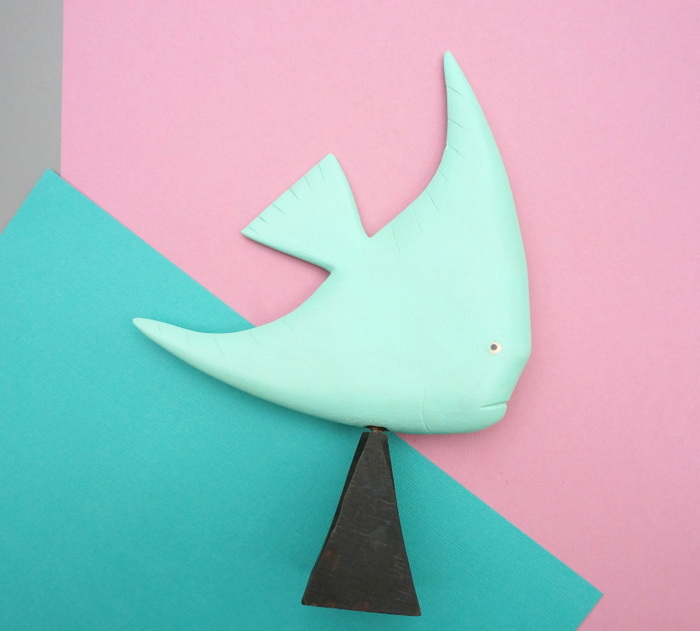
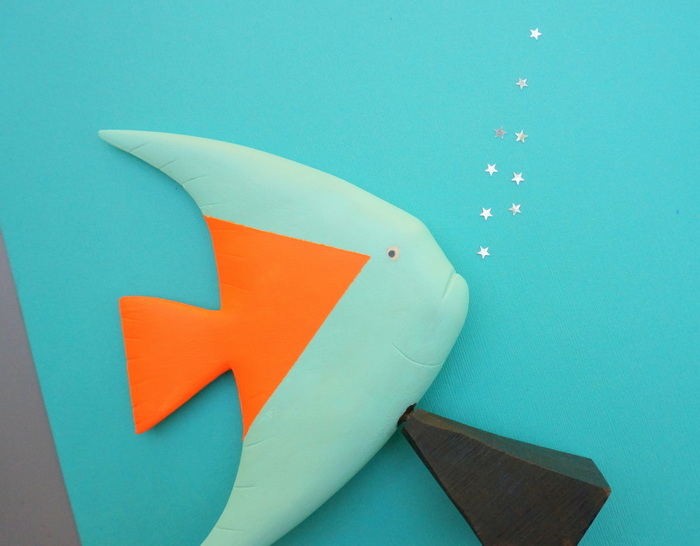
And here it is after the 3rd coat. Note that I took great care not to paint over the eyes:
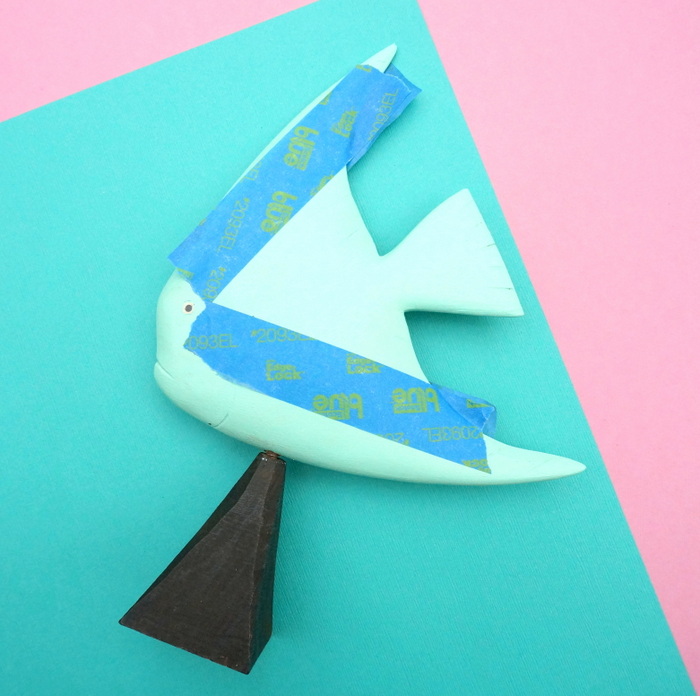
Step 3: Use painter’s tape to section off a triangle-shaped area.
I chose a simple triangle that eventually encompassed the tail of the fish. Be gentle with the tape. It has the sticking power to pull off craft paint, even once it has dried.
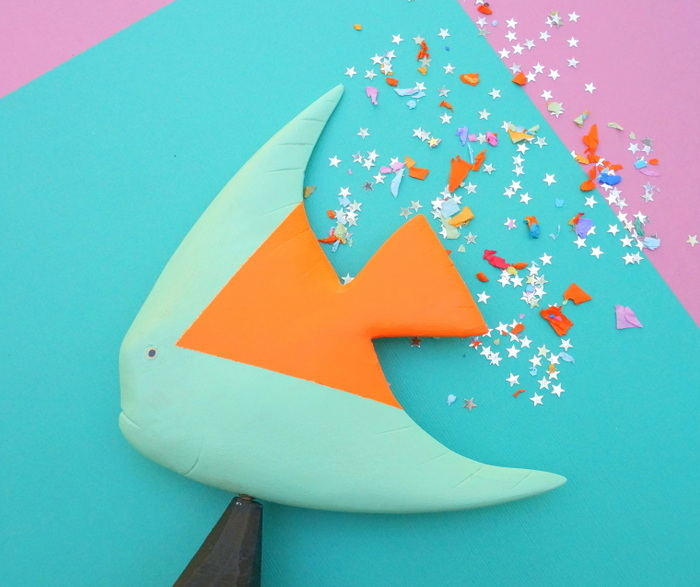
Step 4: Add your chosen accent color.
My accent color: neon orange. A word about neon paint–it’s thin. Very thin. I added some coral paint to the mix to thicken up the neon orange a bit.
I still ended up needing 4 good coats of my accent hue to get the job done. But it was well worth it! Keep reading to see the end result…

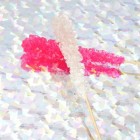
Step 5: Carefully remove the painter’s tape. Use a skewer to define the edges of your design.
When you pull off the tape, don’t be alarmed if the edges aren’t perfect. You’ll likely have some spots where your accent color bled into the base color, and the tape may even pull off some of the base coat. Mine did. I didn’t panic! I got a skewer. I gently scraped away any orange paint that was out of place. I even used the skewer to apply more mint green paint to any small chips or tiny bald spots!
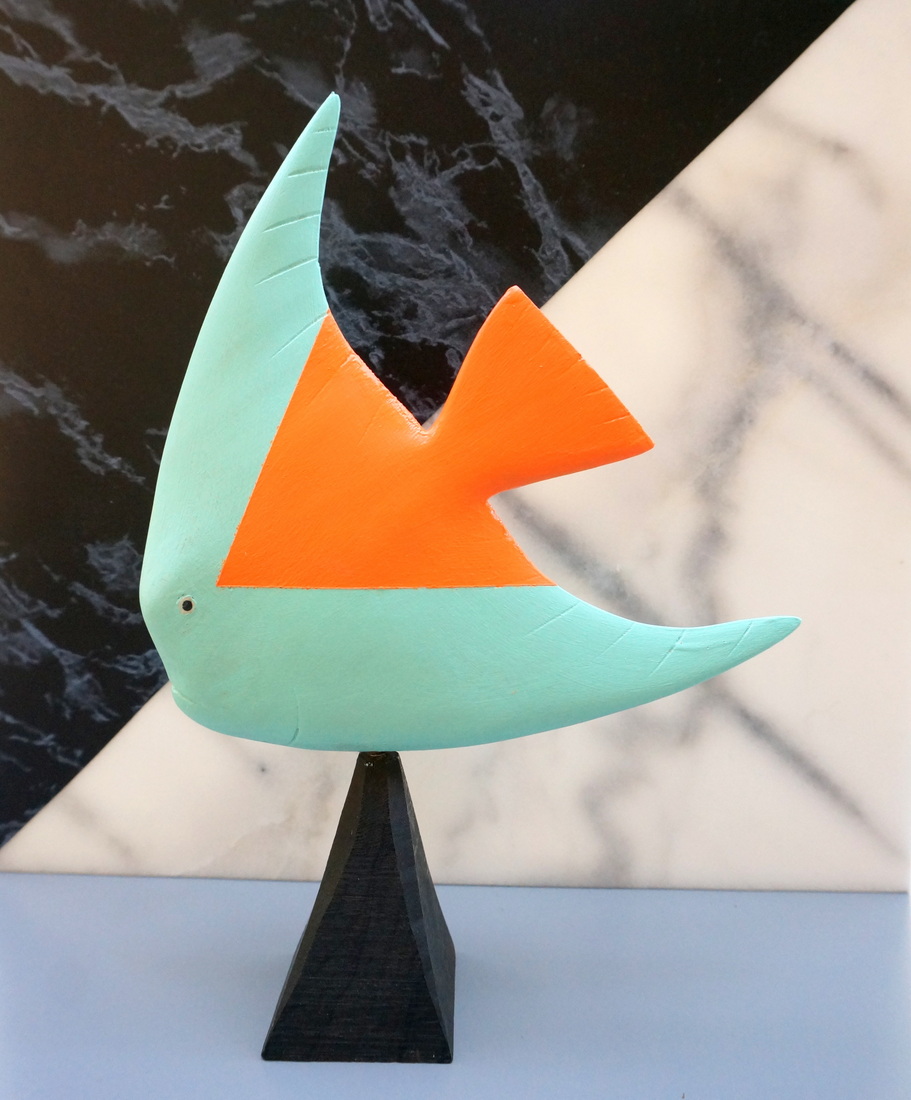
I’m very happy with the final result. So much color! I also think the color change helps accentuate the angles and curves of this wooden retro fish.
I plan to display this piece in my bedroom, which is currently undergoing a makeover. Lots of DIY projects in the works! I promise to post the pics right here on Mirror80 once the redesign is complete.
Thanks for joining me for my latest DIY adventure! Be sure to check out more amazing retro-meets-modern DIY projects here. Hope your next creative endeavor goes swimmingly…


Very nice!! So much better than original, and the colors are perfect. Now I’m going to look for some retro fish myself, since tropical fish are brightly hued anyway. This wouldn’t work too well with my mom’s retro giraffe.
You’re so right–there are many amazing fish figurines in tropical colors. I actually found a few that I loved at a local thrift store, but they were a bit overpriced. Hence my DIY project! Thanks for your comment!