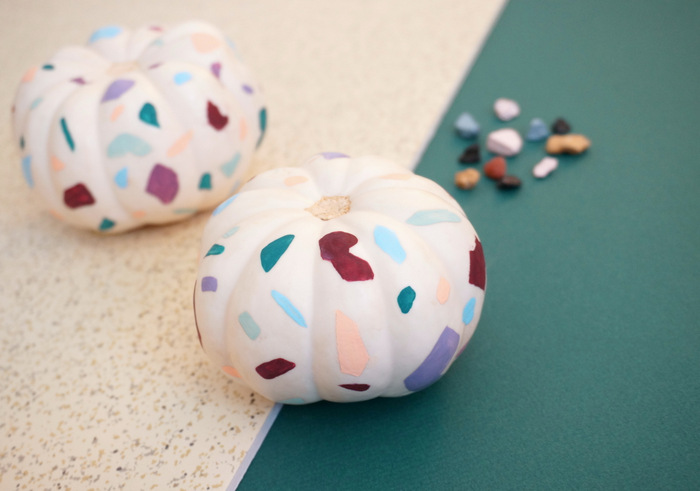
It’s Mirror80’s first DIY project of autumn! Today’s pumpkin painting endeavor was inspired by the current terrazzo trend. “Terrazzo”, as in the flooring material filled with flecks of marble or granite! These days, terrazzo style can be found on everything from flooring and furniture to pillows and jewelry. Let’s see what happens when a terrazzo pattern is painted on pumpkins! First up: check out the look…
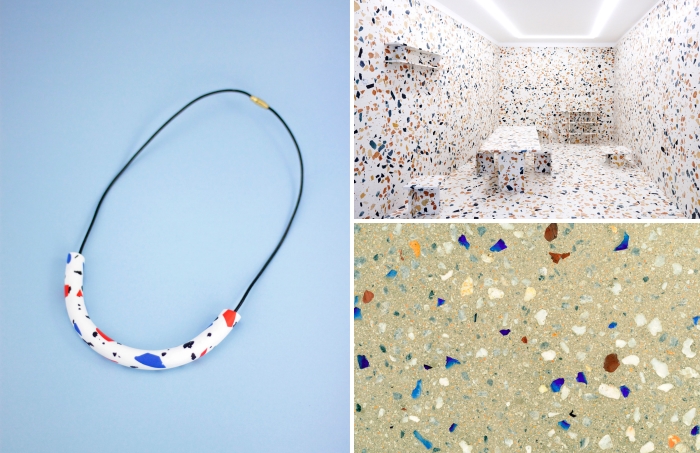
Terrazzo style via Cool Machine, The New York Times and ArchiExpo (clockwise, L to R)
Ready to paint some produce?!
Supplies
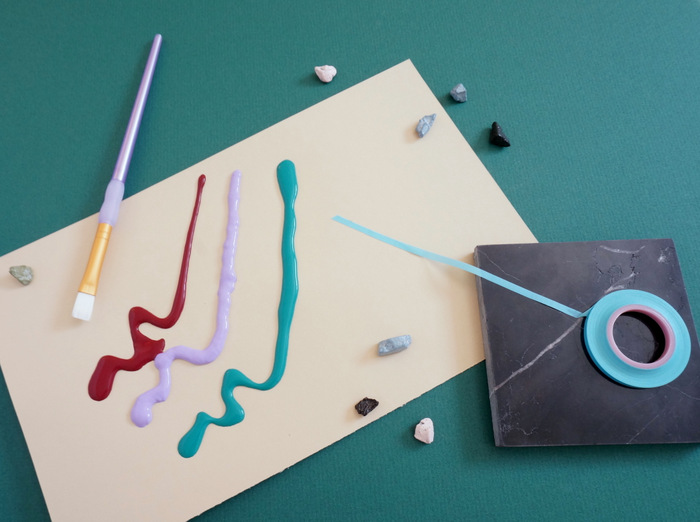
Here’s what you’ll need to get started:
- small white pumpkins
- craft paint
- paintbrushes
- thin tape (optional–I used this selection)
- paper to cover your workspace
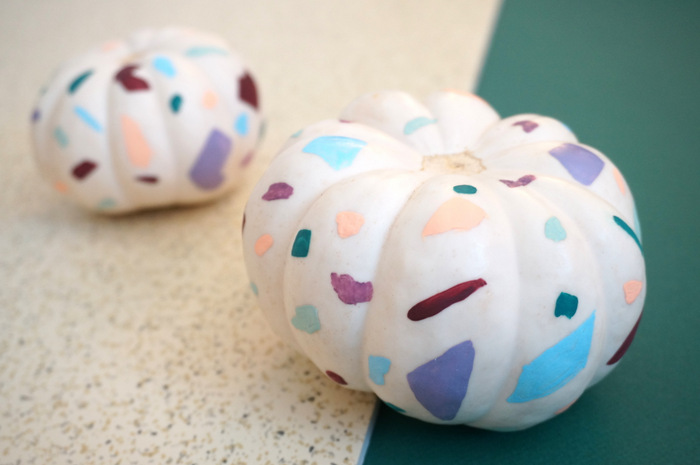
When it comes to the craft paint, I used a mix of glossy and matte, but quickly found that I preferred glossy. It has a more polished look. This project takes a bit of patience, so I highly recommend small pumpkins. You’ll enjoy it more if you aren’t faced with the task of painting large produce! Small paintbrushes are helpful, since you’re wanting to paint “bits” of color rather than large shapes.
Project Steps
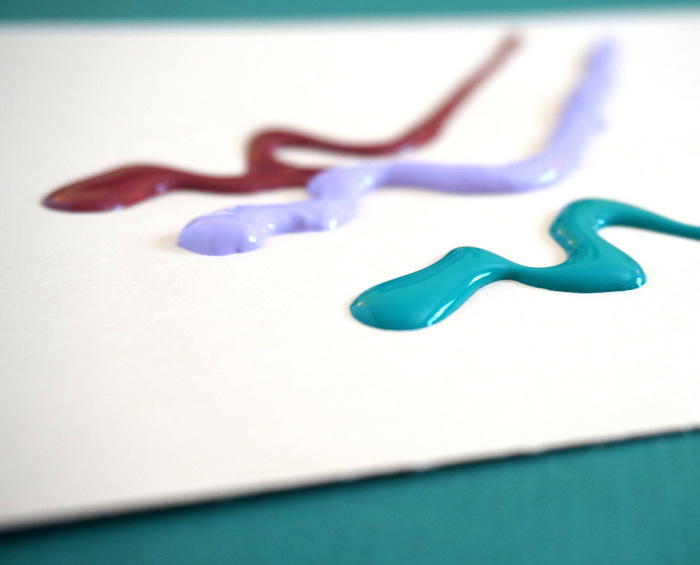
Step 1: Select your paint colors.
I even mixed some custom colors using the paint I had. My palette: fall’s hottest hues, which I wrote about in this post for Decoist. See the fall inspiration board I created for Decoist here. A mix of eggplant-y lavender, wine, peach, mint, dusty blue, and teal was just what the doctor ordered for this pumpkin painting project.
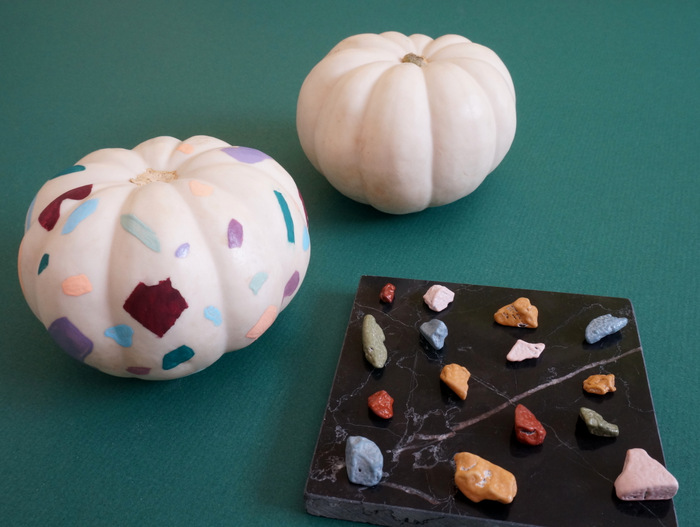
Step 2: Paint terrazzo-style shapes on your pumpkin.
I free-handed most of the shapes on the pumpkins, yet I started by using the thin blue tape (pictured in the previous section) to create a series of taped off geo forms around the pumpkin. Kind of like creating your own stencils! See the peach shape in the center of the pumpkin below? It was originally outlined in thin blue tape. Once the paint dried, I peeled off the tape, and I had a precise-looking “bit” that served as a nice contrast to more of the “blobby” shapes on the rest of the pumpkin. I used tape to help me paint 5 precise shapes per pumpkin. I painted the rest by hand. After all, there’s nothing precise about terrazzo style. The more irregular, the better!
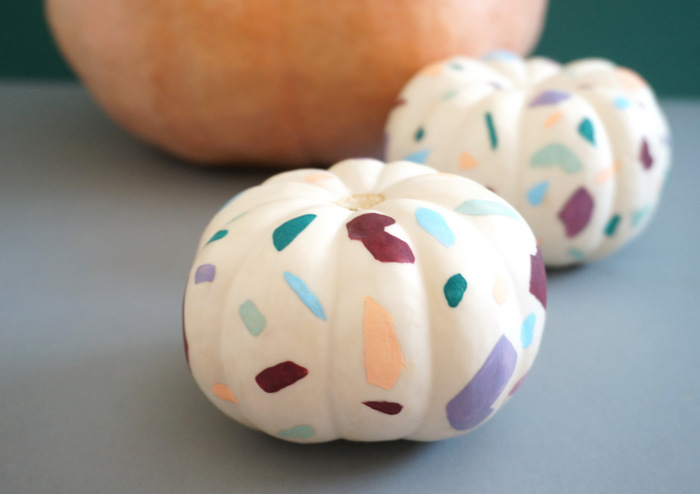
Step 3: Work your way around the pumpkin, spacing out the shapes evenly.
The paint dries pretty quickly, so I was even able to paint all of the lavender shapes, then all of the teal shapes, etc. You will likely need to touch up in places, since some paint colors are thinner than others (for some reason). Toward the end of the painting process, you can fill in any odd gaps by painting smaller pieces in the colors of your choice. It’s a labor of love, but definitely fun.
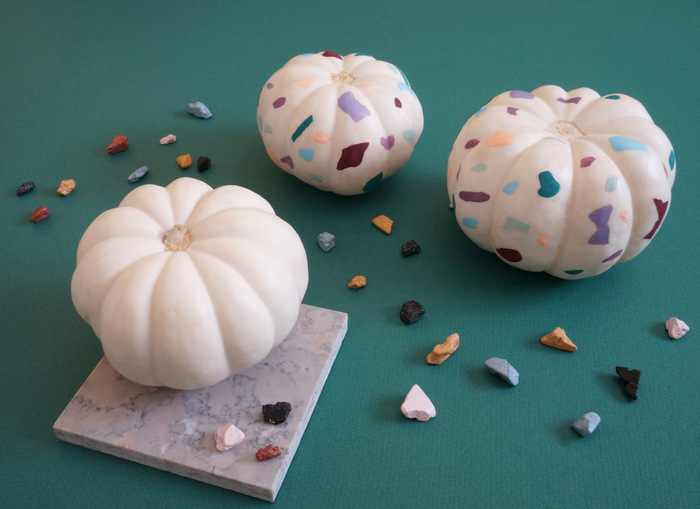
Step 4: Display your pumpkins with pride!
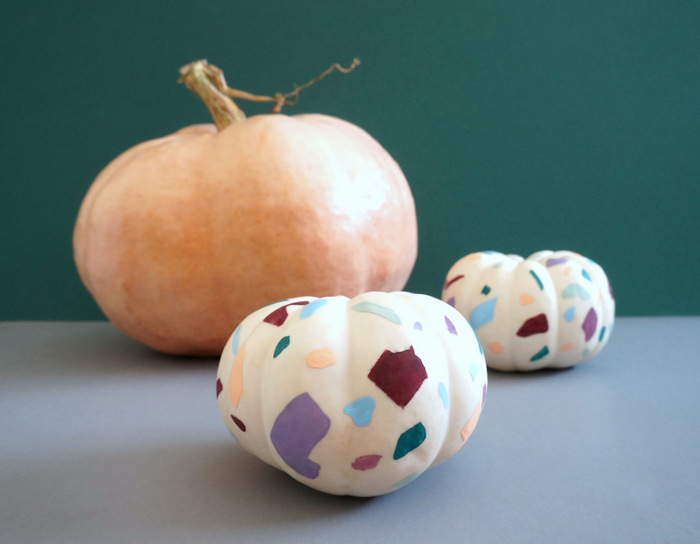
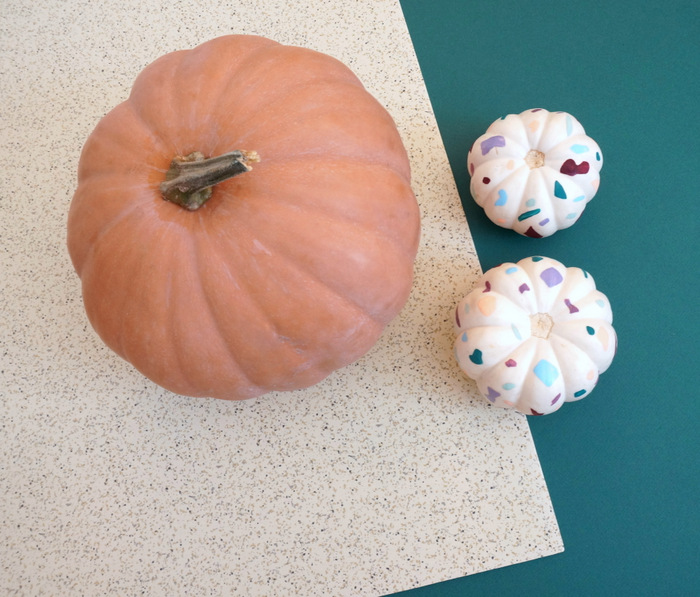
Mine are currently on the dining room table, mixed in with the peach pumpkin below, as well as a pinky-peach, glossy pumpkin I picked up this weekend. You will see these pumpkins again in an upcoming fall tablescape post, complete with ’80s Deco ceramics!
Thanks for reading! Happy painting… XOXO, Kate






Leave a Reply