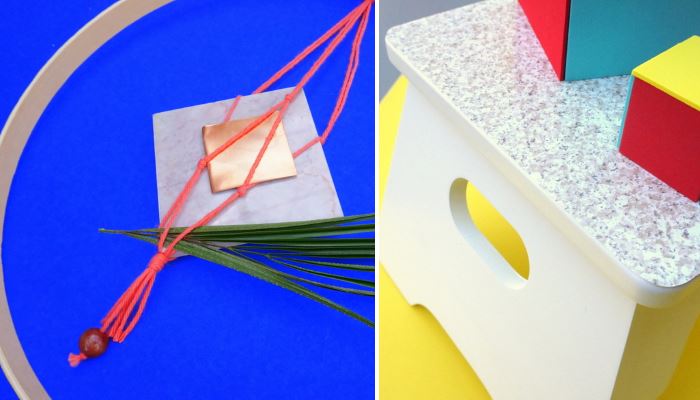
Happy Friday, folks! It’s been an unseasonably warm week in my neck of the woods, so I spent a couple of afternoons in the outdoor sunlight crafting DIY projects for architecture and interior design blog Decoist. My 2-in-1 Wall Hanging and 10-Minute Step Stool Makeover were published this week, and today I’m sharing a few pics from the photo shoots. Ready for a closer look?…
A DIY Wall Hanging
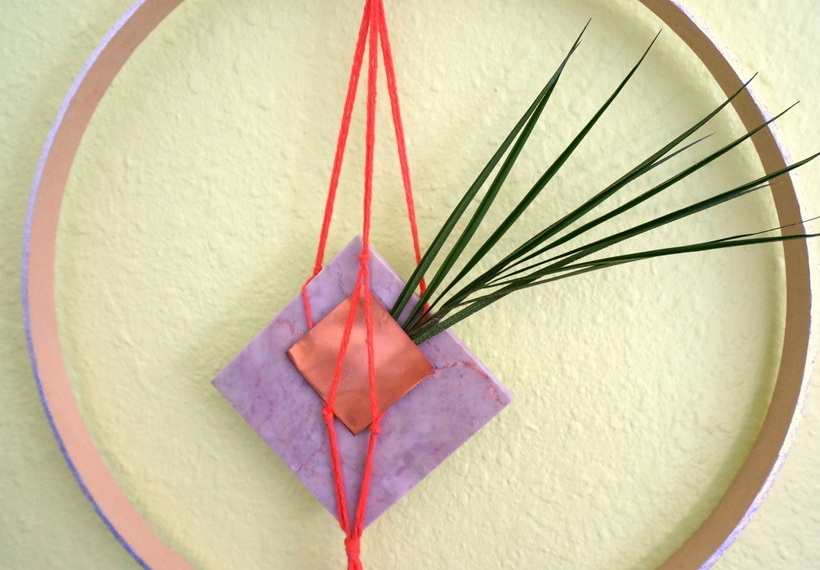
Yarn and marble tile are the main supplies for my retro-modern wall hanging. Other items used to make this piece pop: one ring from an embroidery hoop, copper sheeting, tropical greenery, a wooden bead and a paint pen.
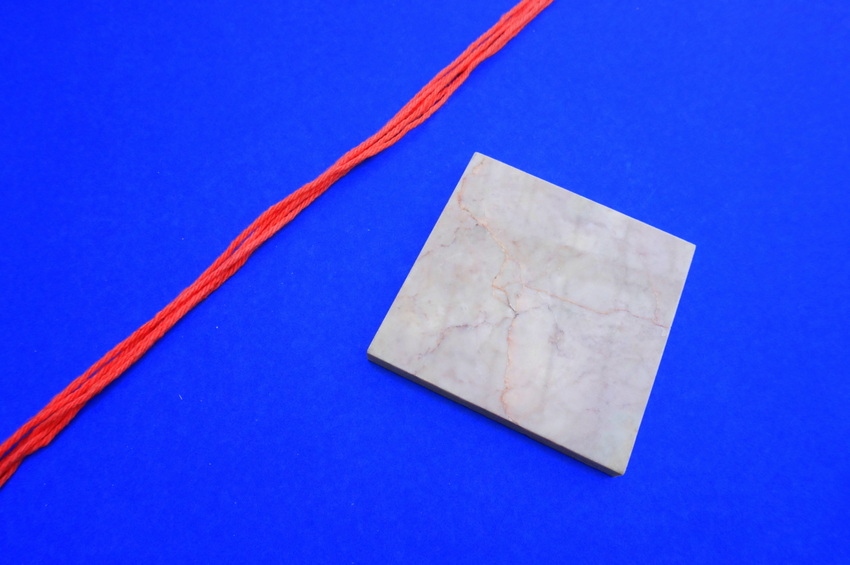
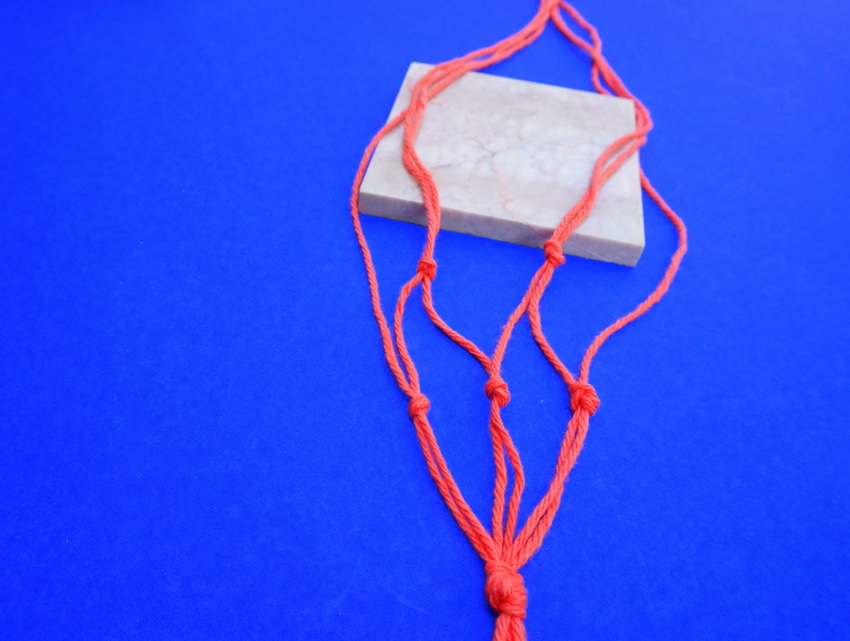
Creating a hanger for the marble tile is as easy as crafting a few macrame-style knots, as shown below:
When the marble tile is tied to a ring from the wooden embroidery hoop, the embellishment can begin! I used a square of copper sheeting, a wooden bead and some tropical greenery to give this wall hanging true personality.
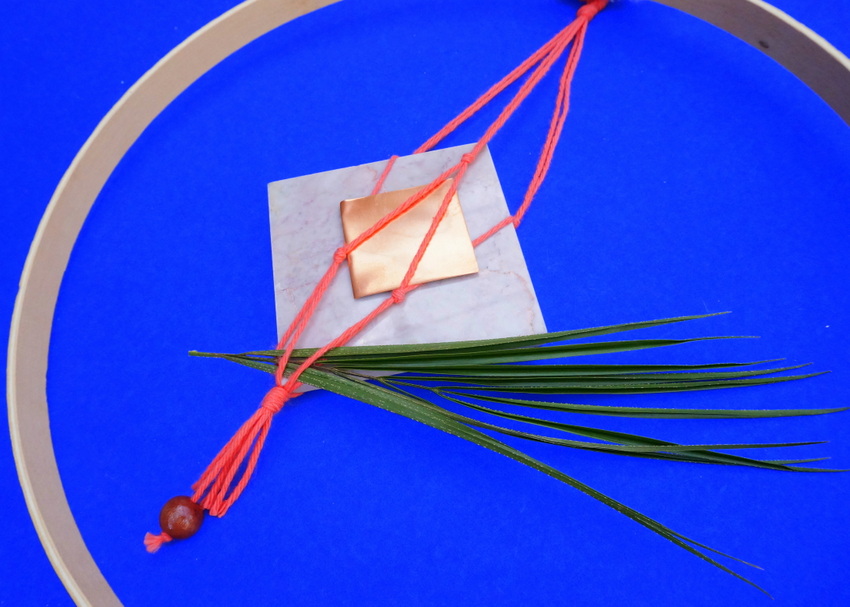
I then used a paint pen to decorate the outer edge of the wooden hoop for a dash of contrast. Another great thing about this wall hanging: you can hang it as you see below, or simply leave the hoop out of the picture for a wall ornament that’s petite yet bold. Head on over to Decoist for my full post, complete with lots more photos and a step-by-step tutorial.
A DIY Step Stool Makeover
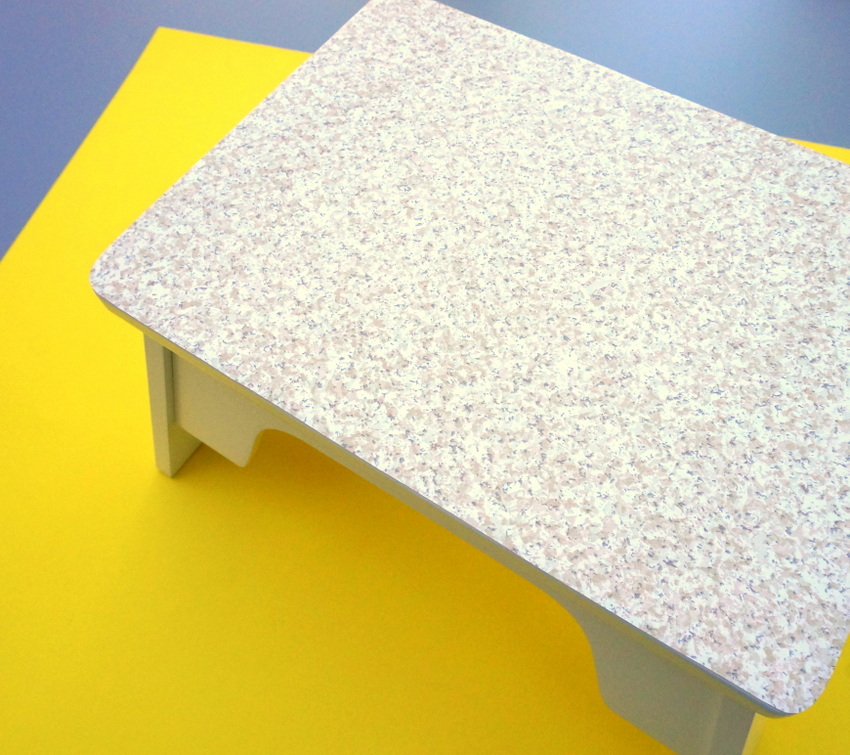
This next DIY project is so easy, it shouldn’t be called a project! Using shelf liner and a step stool from Target, I created a modern update for a somewhat traditional piece. It’s a step stool makeover! Shelf liner is super easy to work with, especially with the helpful grid on the back:
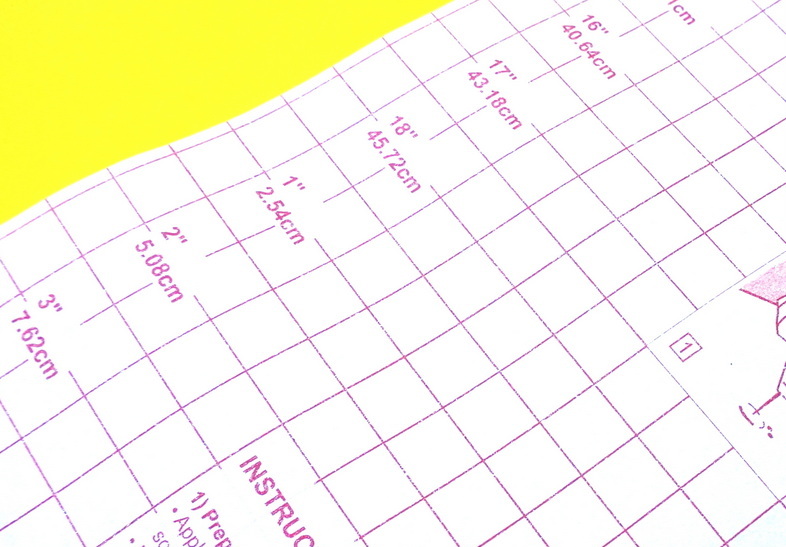
Simply trace the top of the stool onto the shelf liner, cut out the traced form, peel off the protective backing, and stick the shelf liner to the top of the stool! Voila…
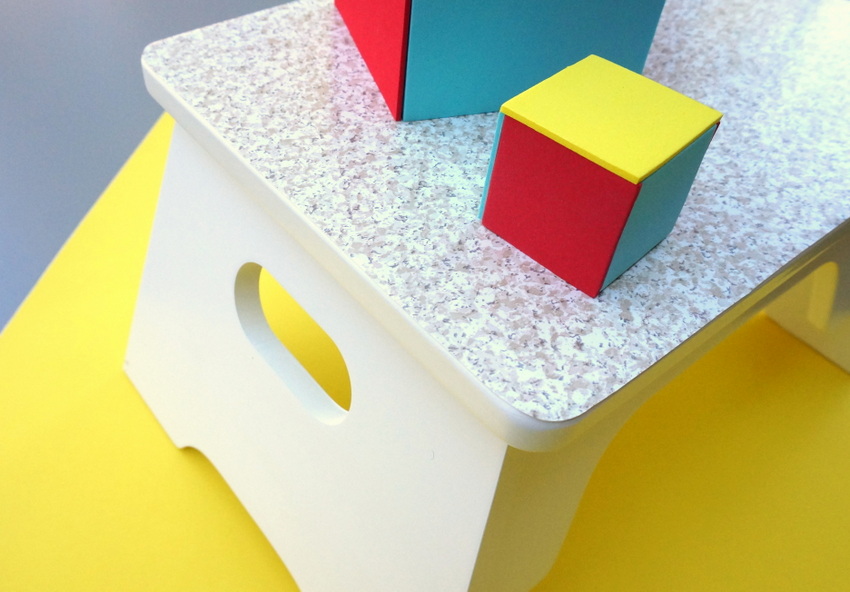
And when the stool isn’t in use, you can put fun bright things on it, like colorful modern blocks. I use this step stool for my kitty, so he can have a little boost while jumping onto the couch!
Check out the full post at Decoist! Thanks for letting me share my latest creations. After a dreary start to the winter, it’s nice to take advantage of the sunshine by heading outdoors for a couple of DIY project photo shoots. Have a great weekend..









Leave a Reply