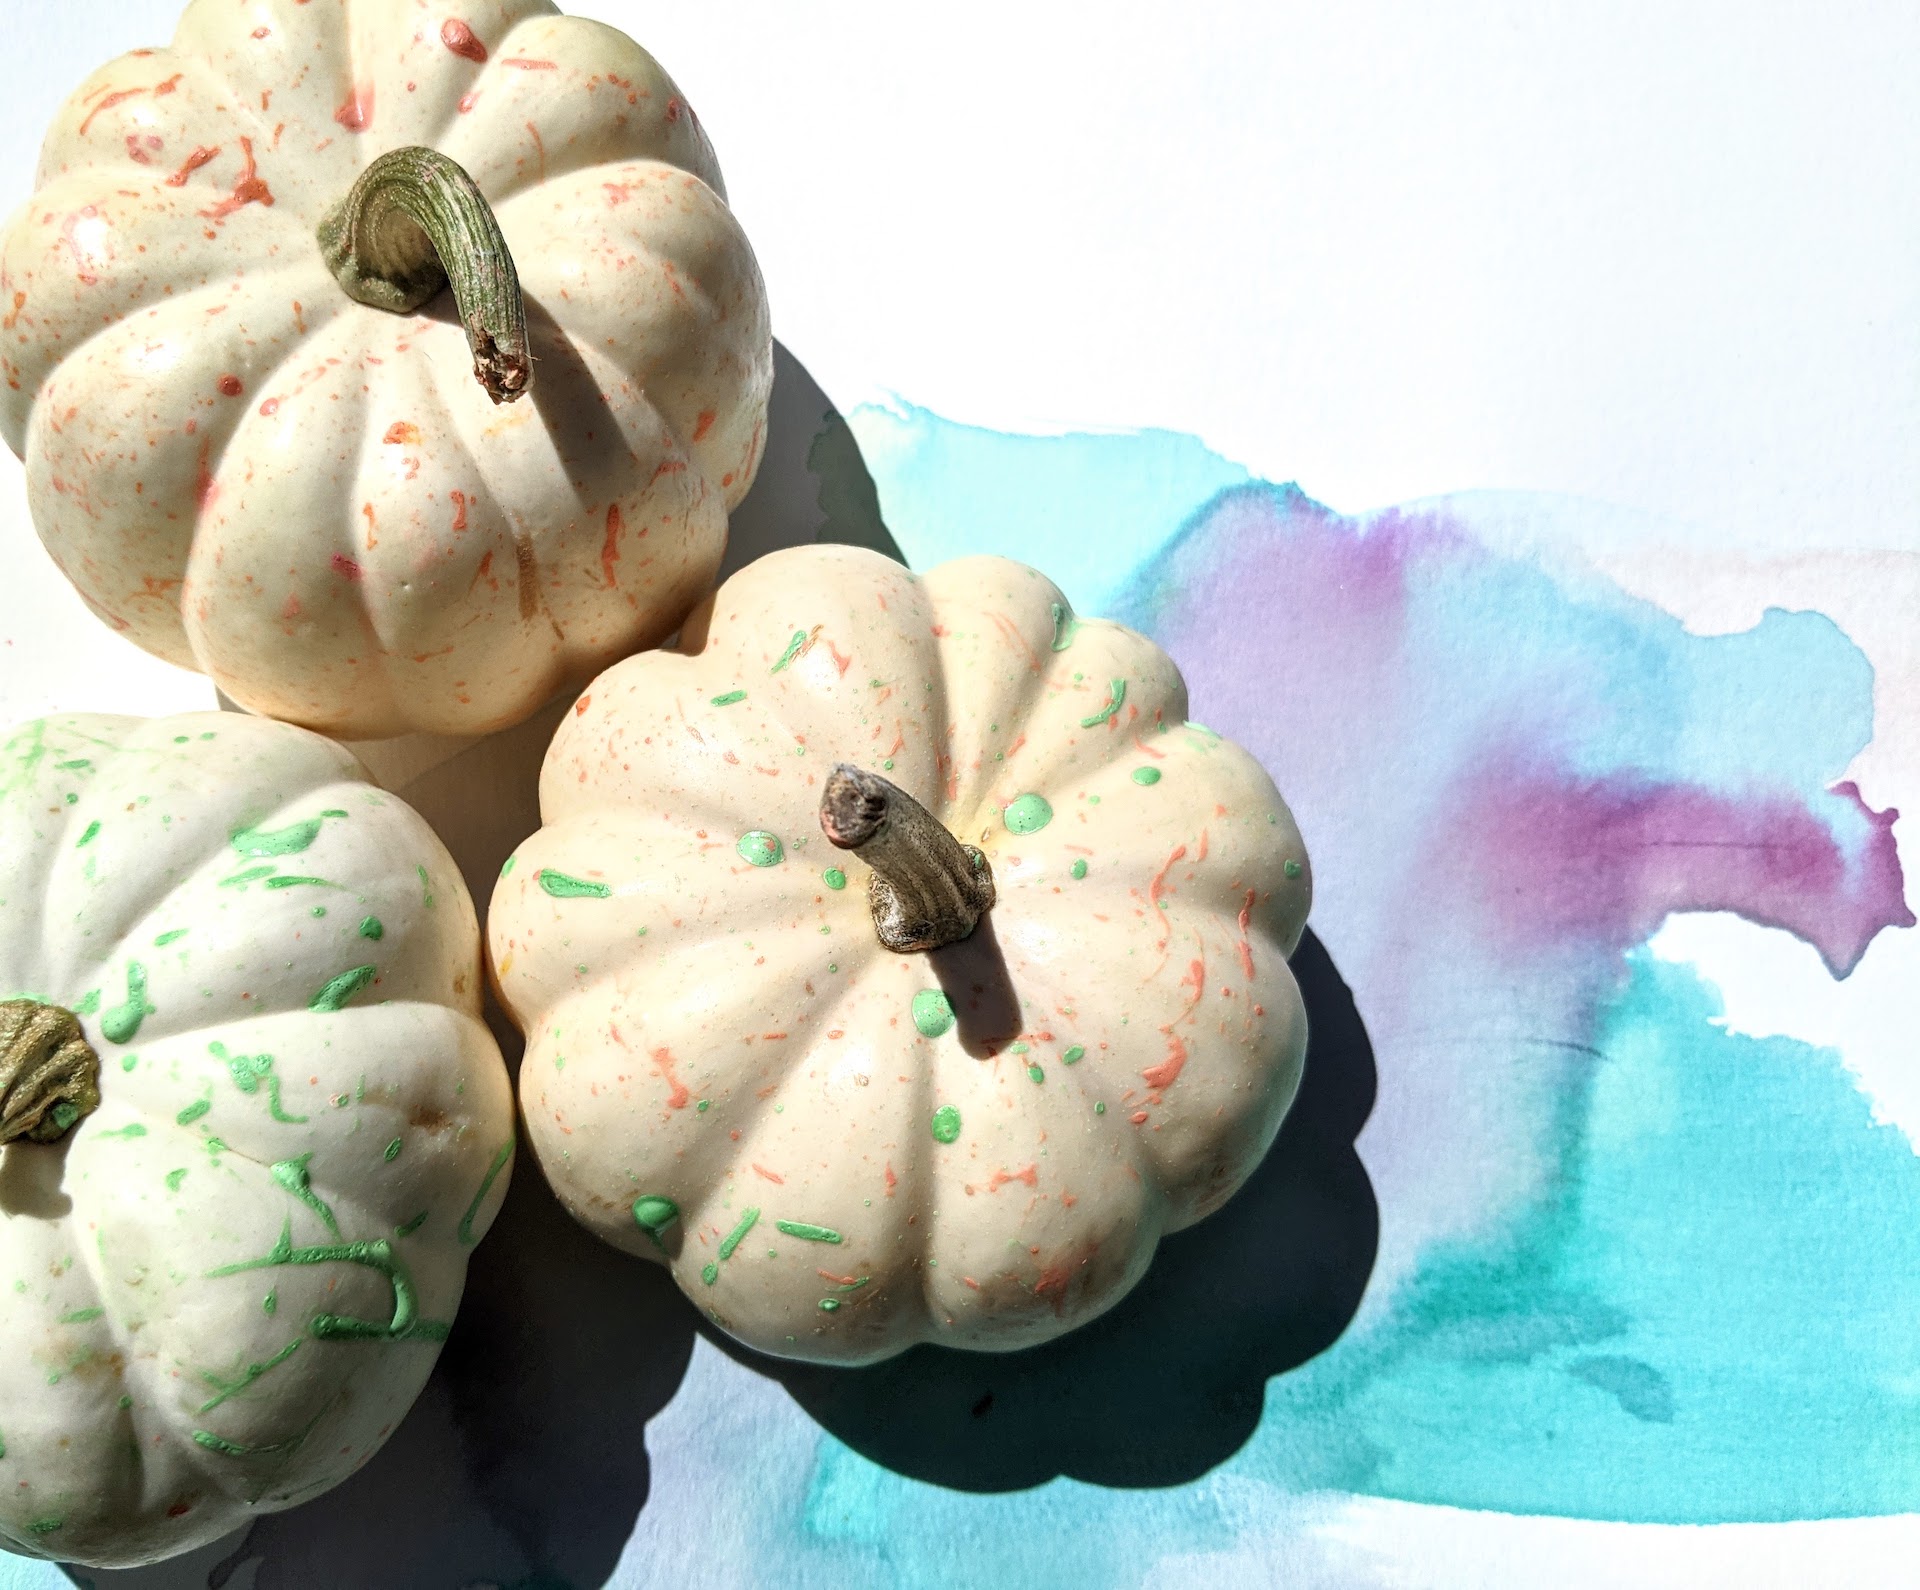
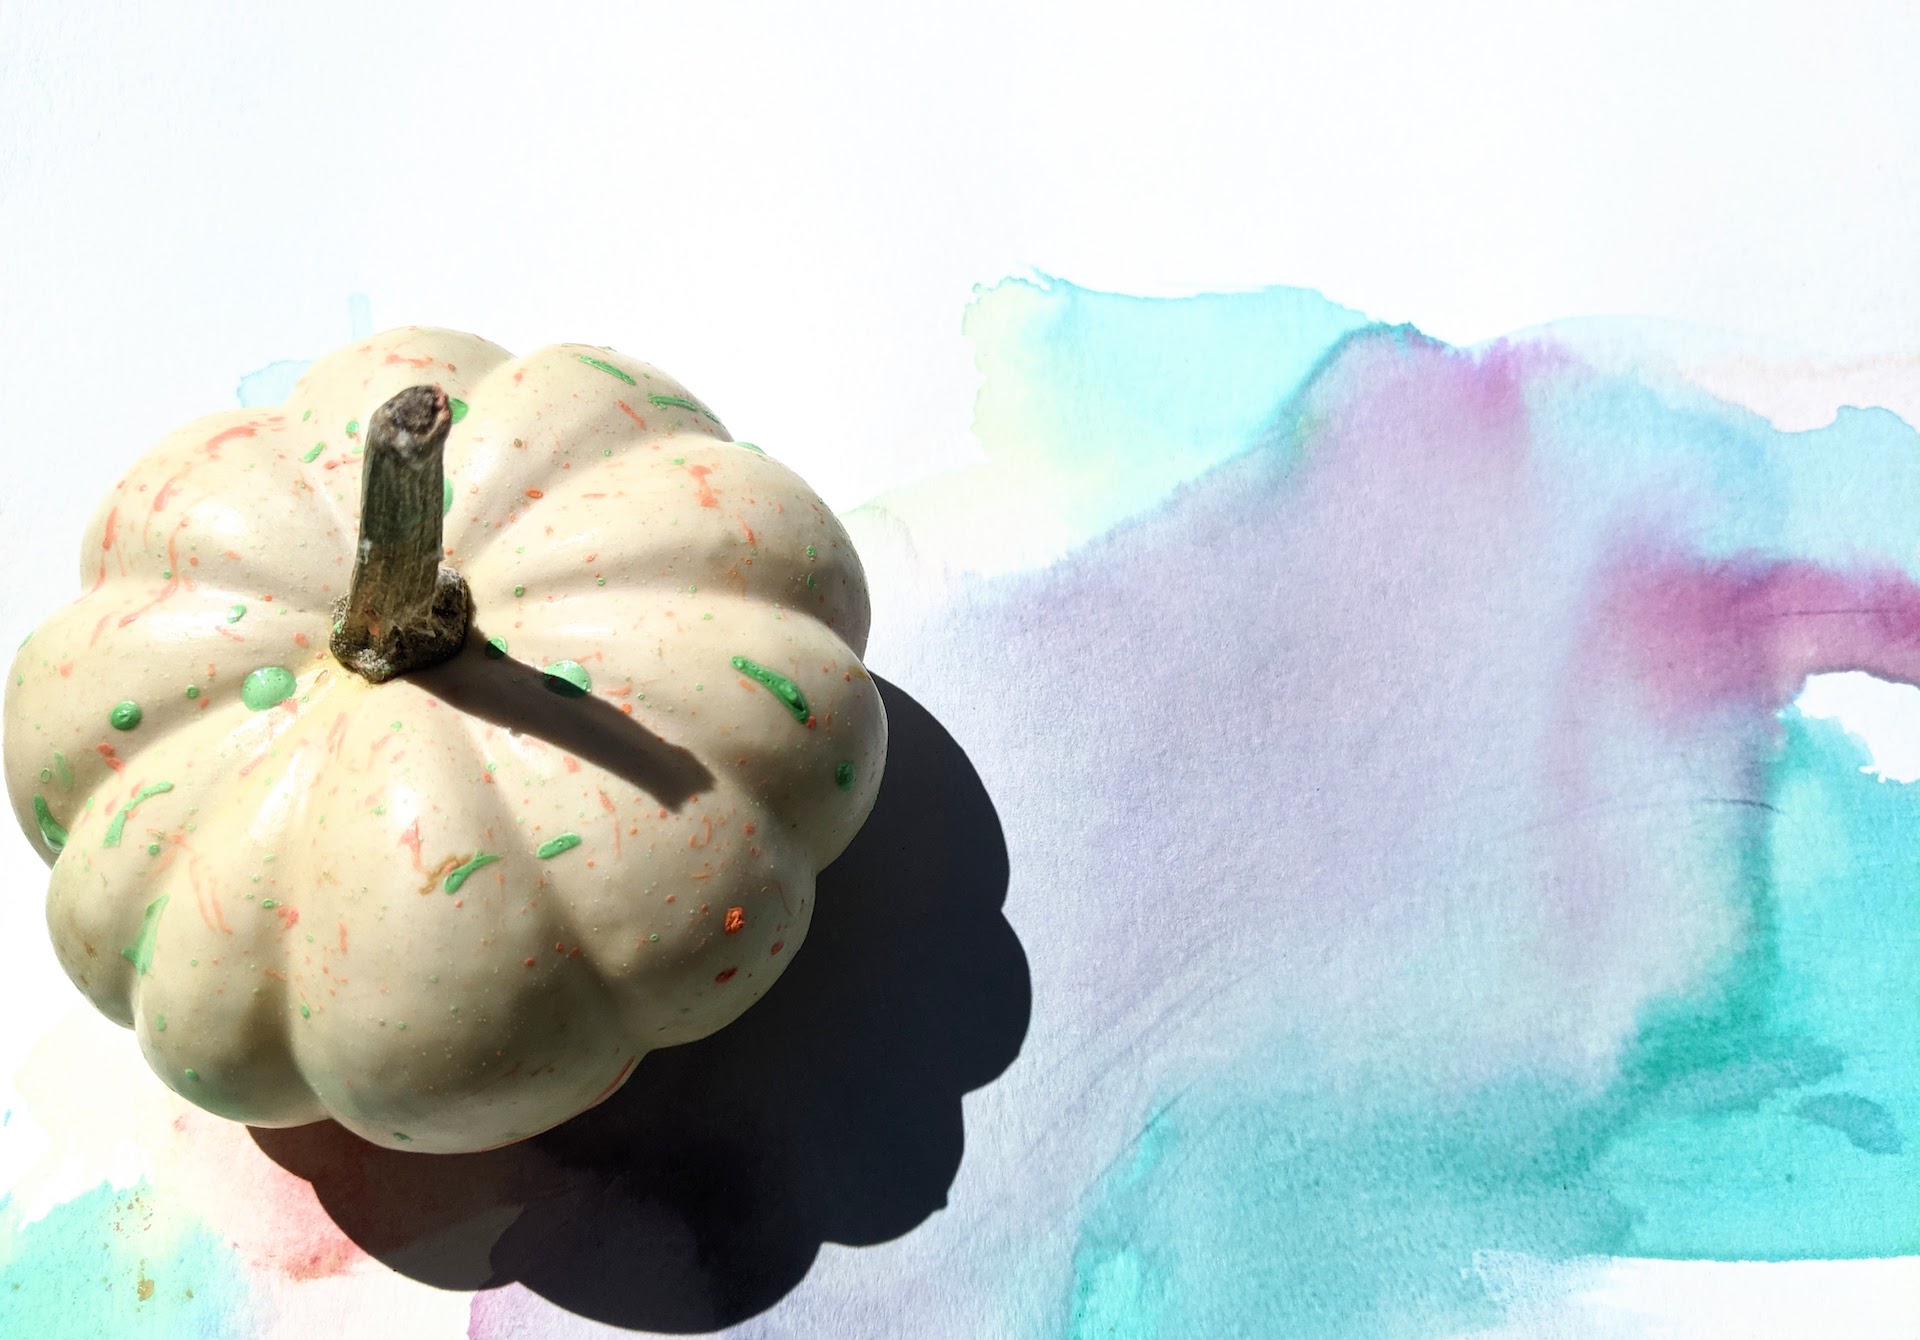
This last-minute pumpkin project couldn’t be easier to create! Splatter paint will forever evoke a sense of ’80s style, and getting a speckled look is as easy as flicking a paintbrush or toothbrush. Read on for details, and craft your own splatter paint pumpkins in minutes…
Speckled Pumpkin Supplies
- pumpkins
- craft paint, such as acrylic paint
- a small container for mixing paint
- water
- a paintbrush or a toothbrush
- paper or a drop cloth to cover your work surface
Let’s Paint!
Step 1: Cover your work surface
Ready to get started?! The most important part of this project is covering your work surface with newspaper, spare paper, a drop cloth, or whatever you’re OK with getting completely covered in speckles. If I’m being honest, I did the project outside and had to wipe splatter paint from nearby planters, etc. It wasn’t a big deal if a stray paint dot found its way to an unsuspecting surface. But covering what immediately around you is a great place to start!
Step 2: Add water to your paint
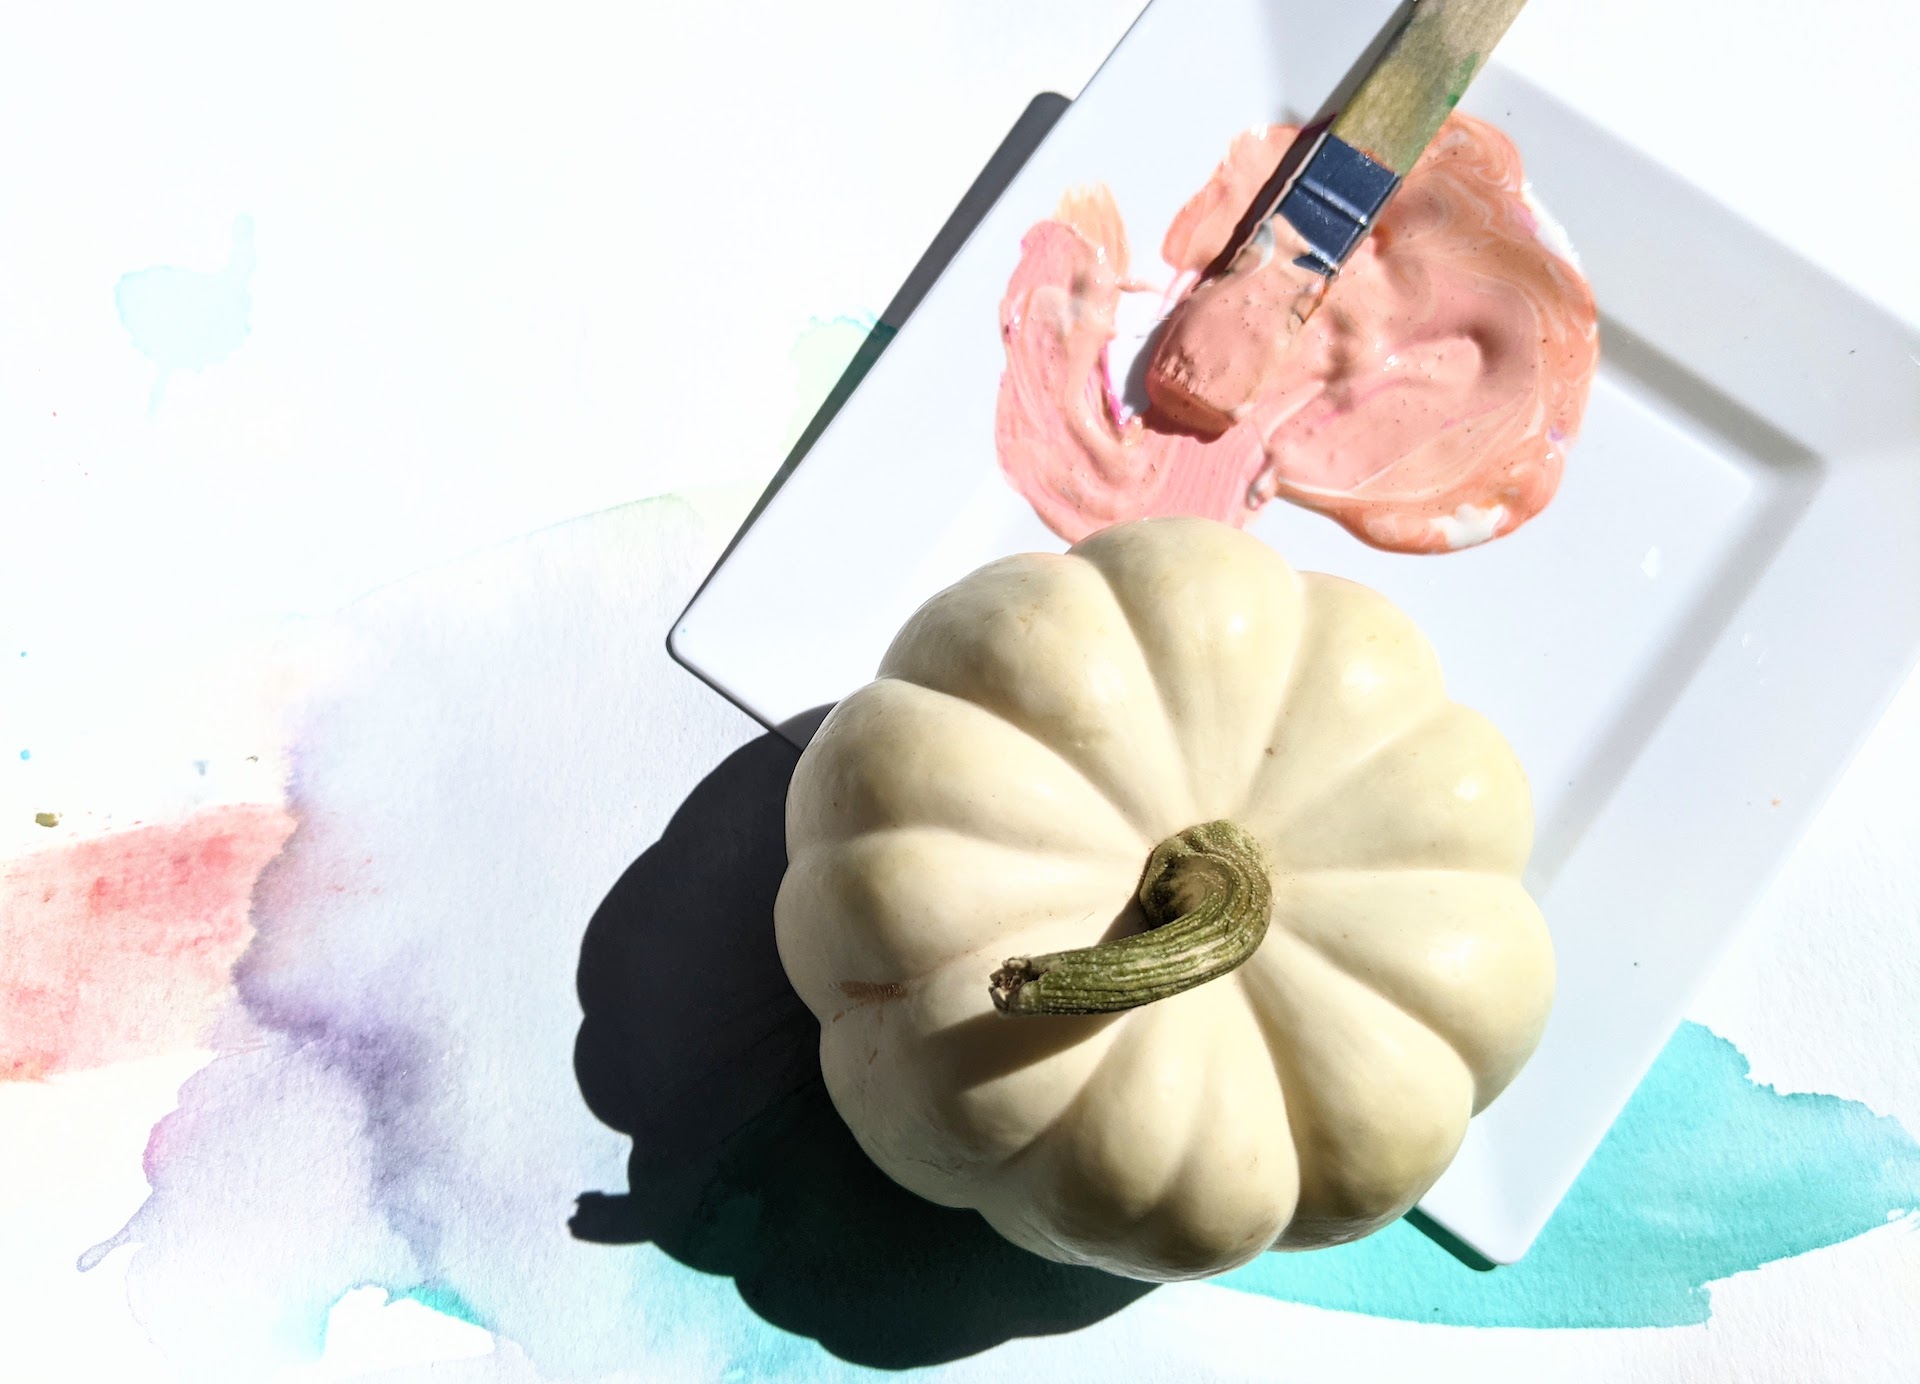
Next, you want to use paint that’s thick enough to dry vibrantly, yet thin enough to splatter well. Experiment by mixing very small amounts of water with craft paint. I used basic acrylic paint you can purchase at craft stores like JOANN. This type of paint will dry with a nice sheen. You can test out the consistency of the paint by dipping a toothbrush into it and doing a “test speckle”. Does the paint splatter easily? If so, you’re set!!
Step 3: Time to splatter
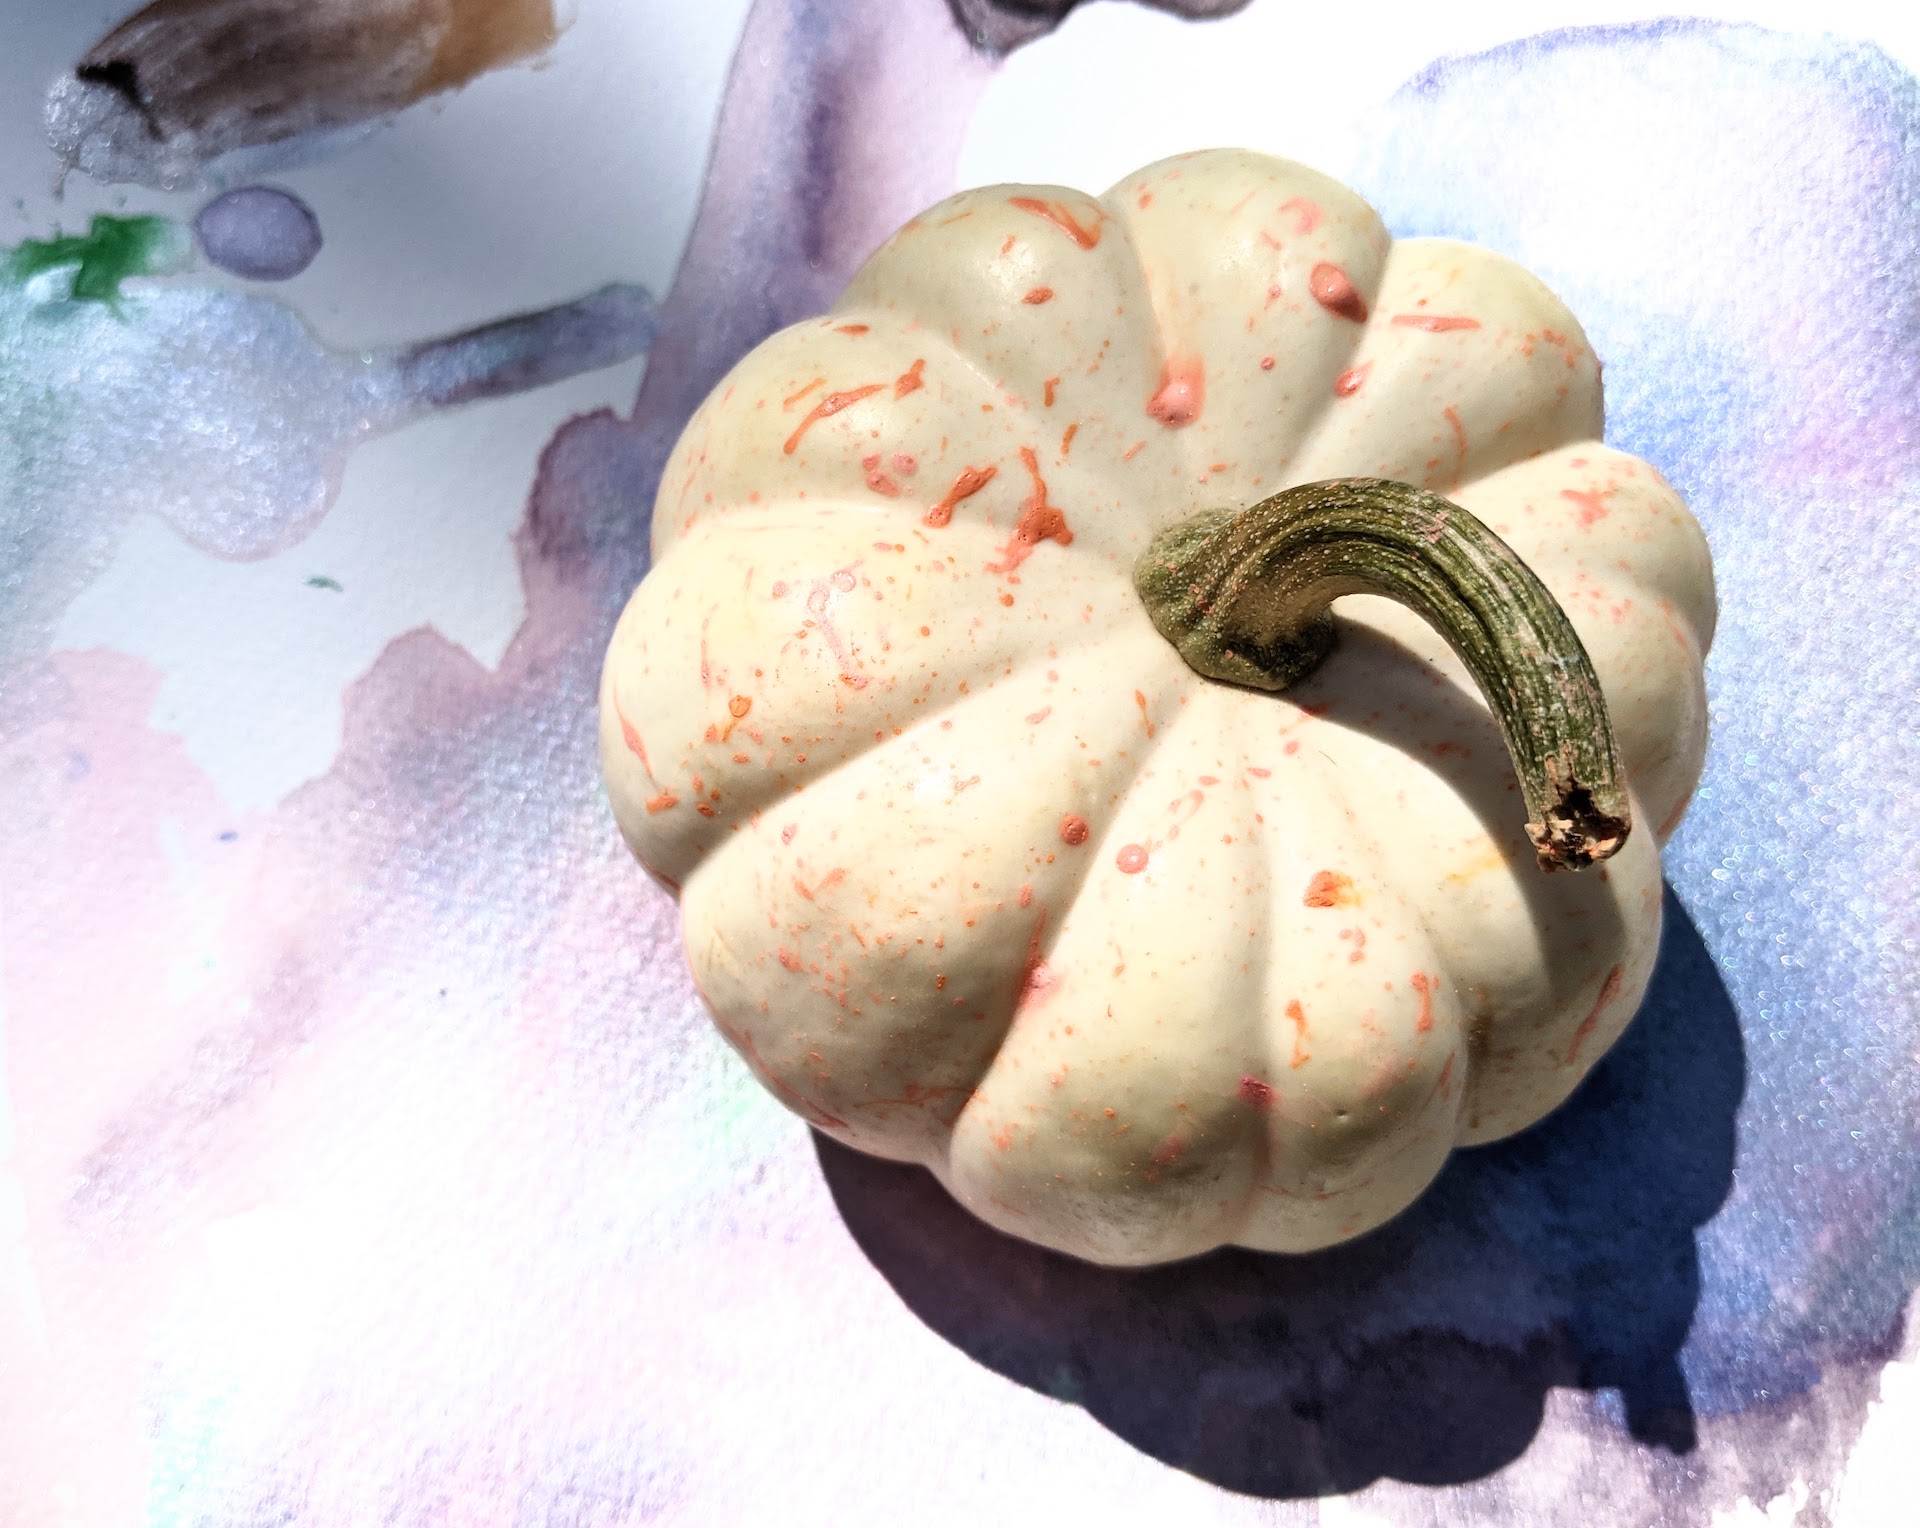
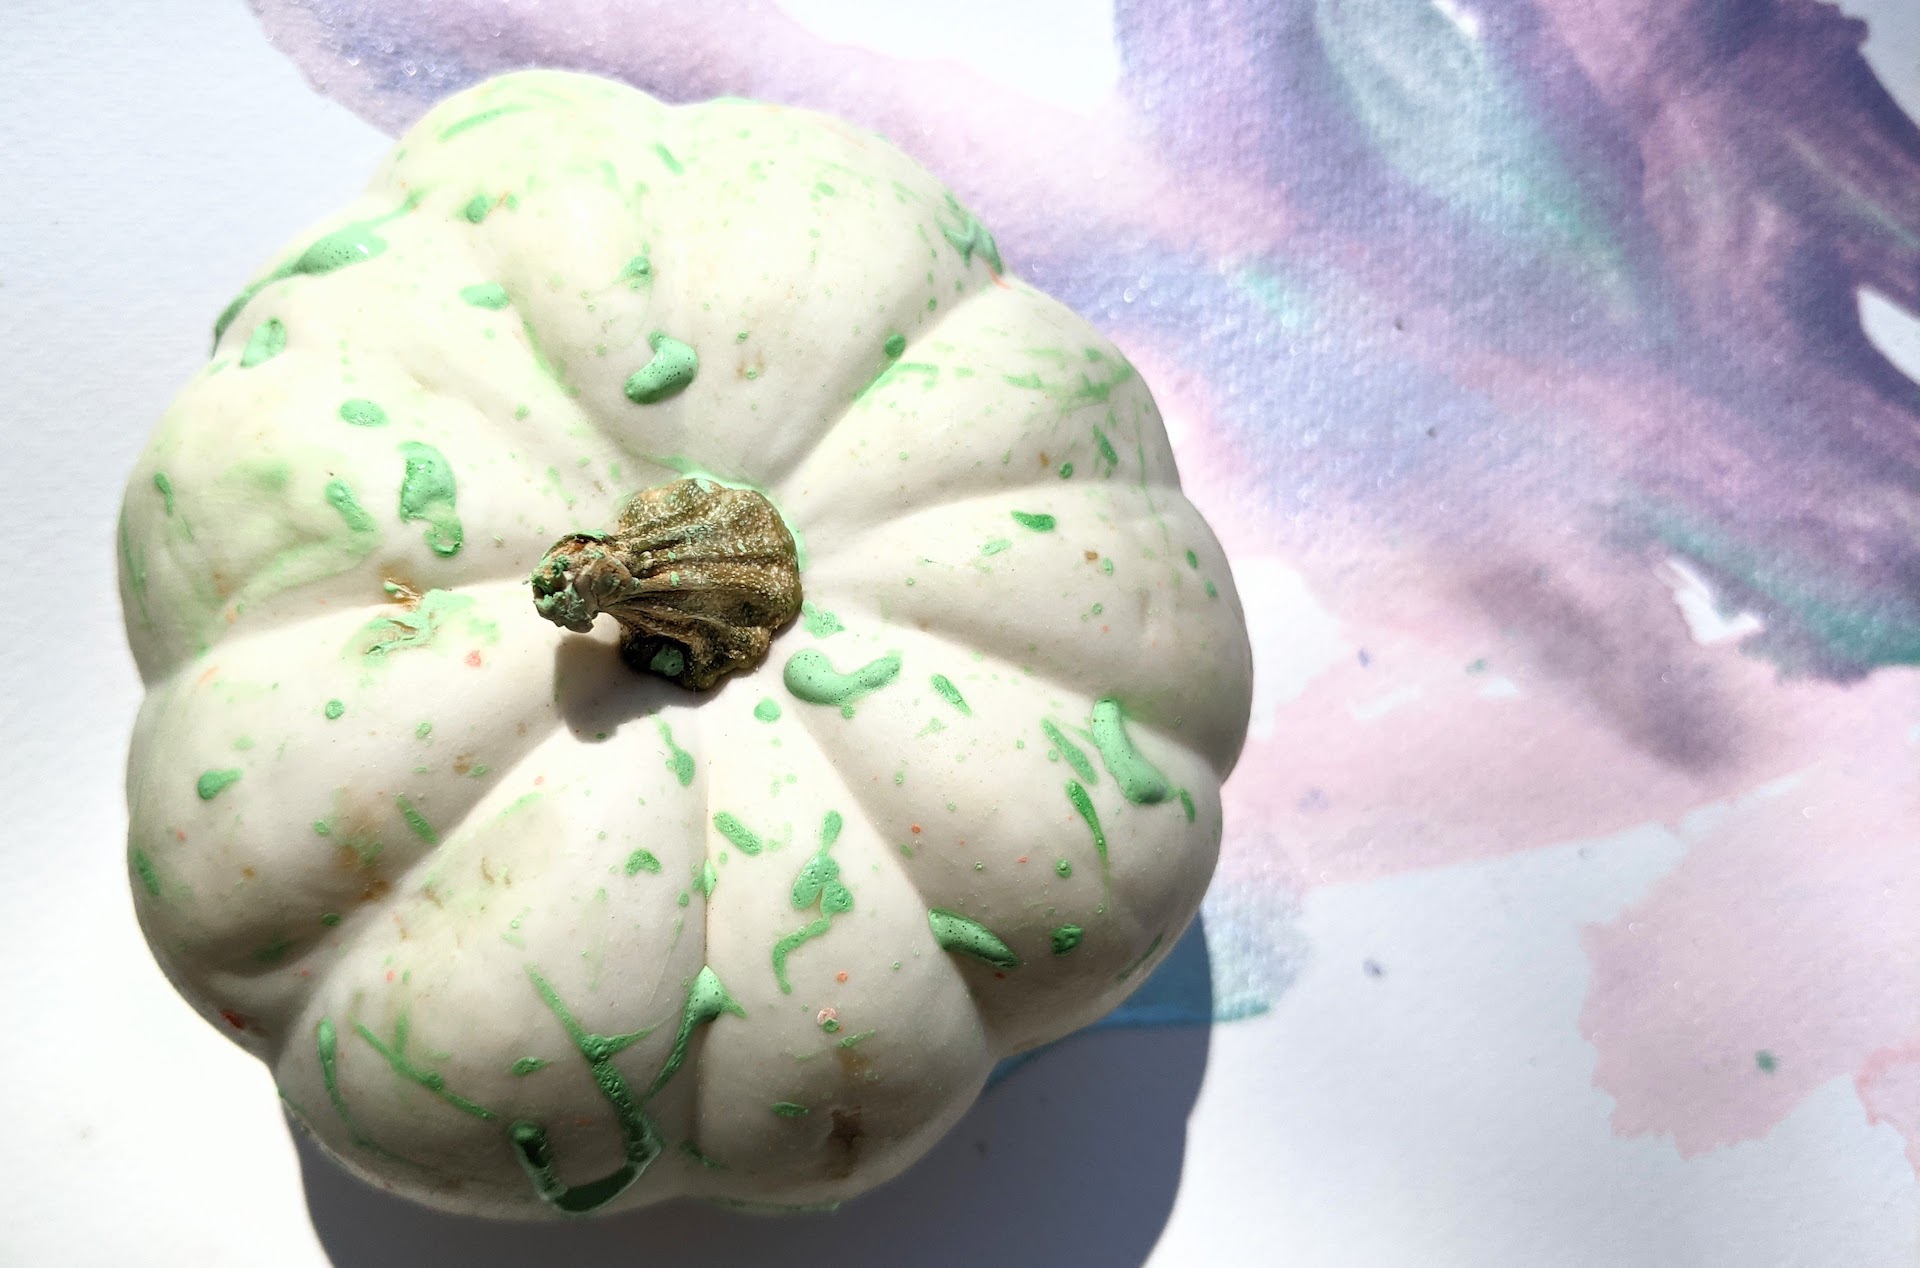
Now let the fun begin! Dip a toothbrush or a paintbrush into the paint and run your fingers over the bristles. Watch as the paint covers your pumpkin in fun splatters. Use more than one color of paint if you wish!
This project is easy, fun, and a great option for last-minute pumpkin decorating. Enjoy, and have a Happy Halloween!






Leave a Reply