It’s officially one week until Halloween! This has always been one of my favorite times of the year, and as the end of October gets closer, I typically take a cool morning or afternoon to decorate pumpkins while listening to ’80s music and sampling chocolate. This year is different in so many ways, but I’m clinging to comforting traditions, so bring on the pumpkins and paint! Keep reading for all of the DIY details…
Over the years, I’ve enjoyed many a pumpkin project. Here are a few things I’ve learned:
- Your pumpkin creation doesn’t have to be complicated to make a big impact
- If you’re going to completely cover it in paint, it’s better to use a faux pumpkin (to avoid rotting from the inside out)
- Starting with a white pumpkin can eliminate the need to spray paint a base color
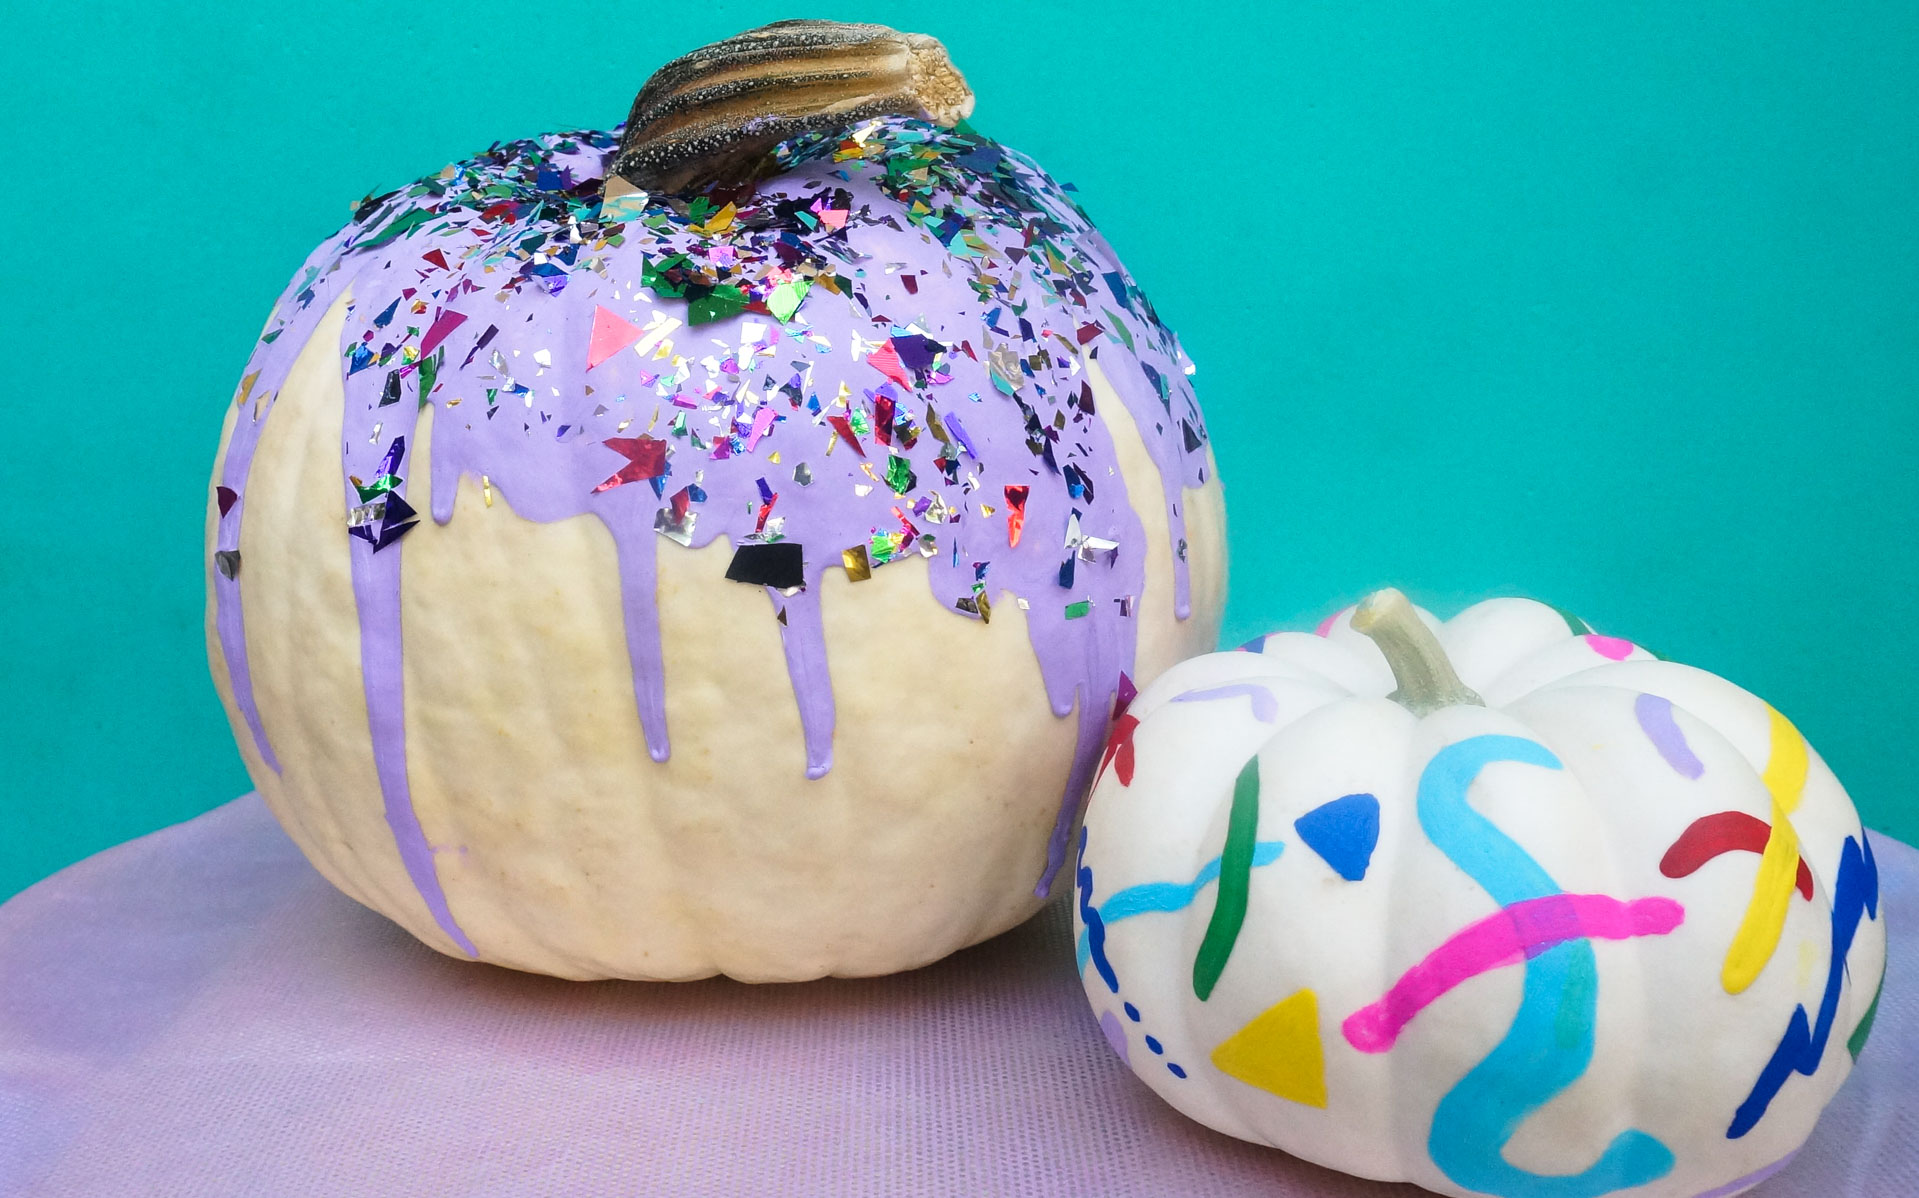
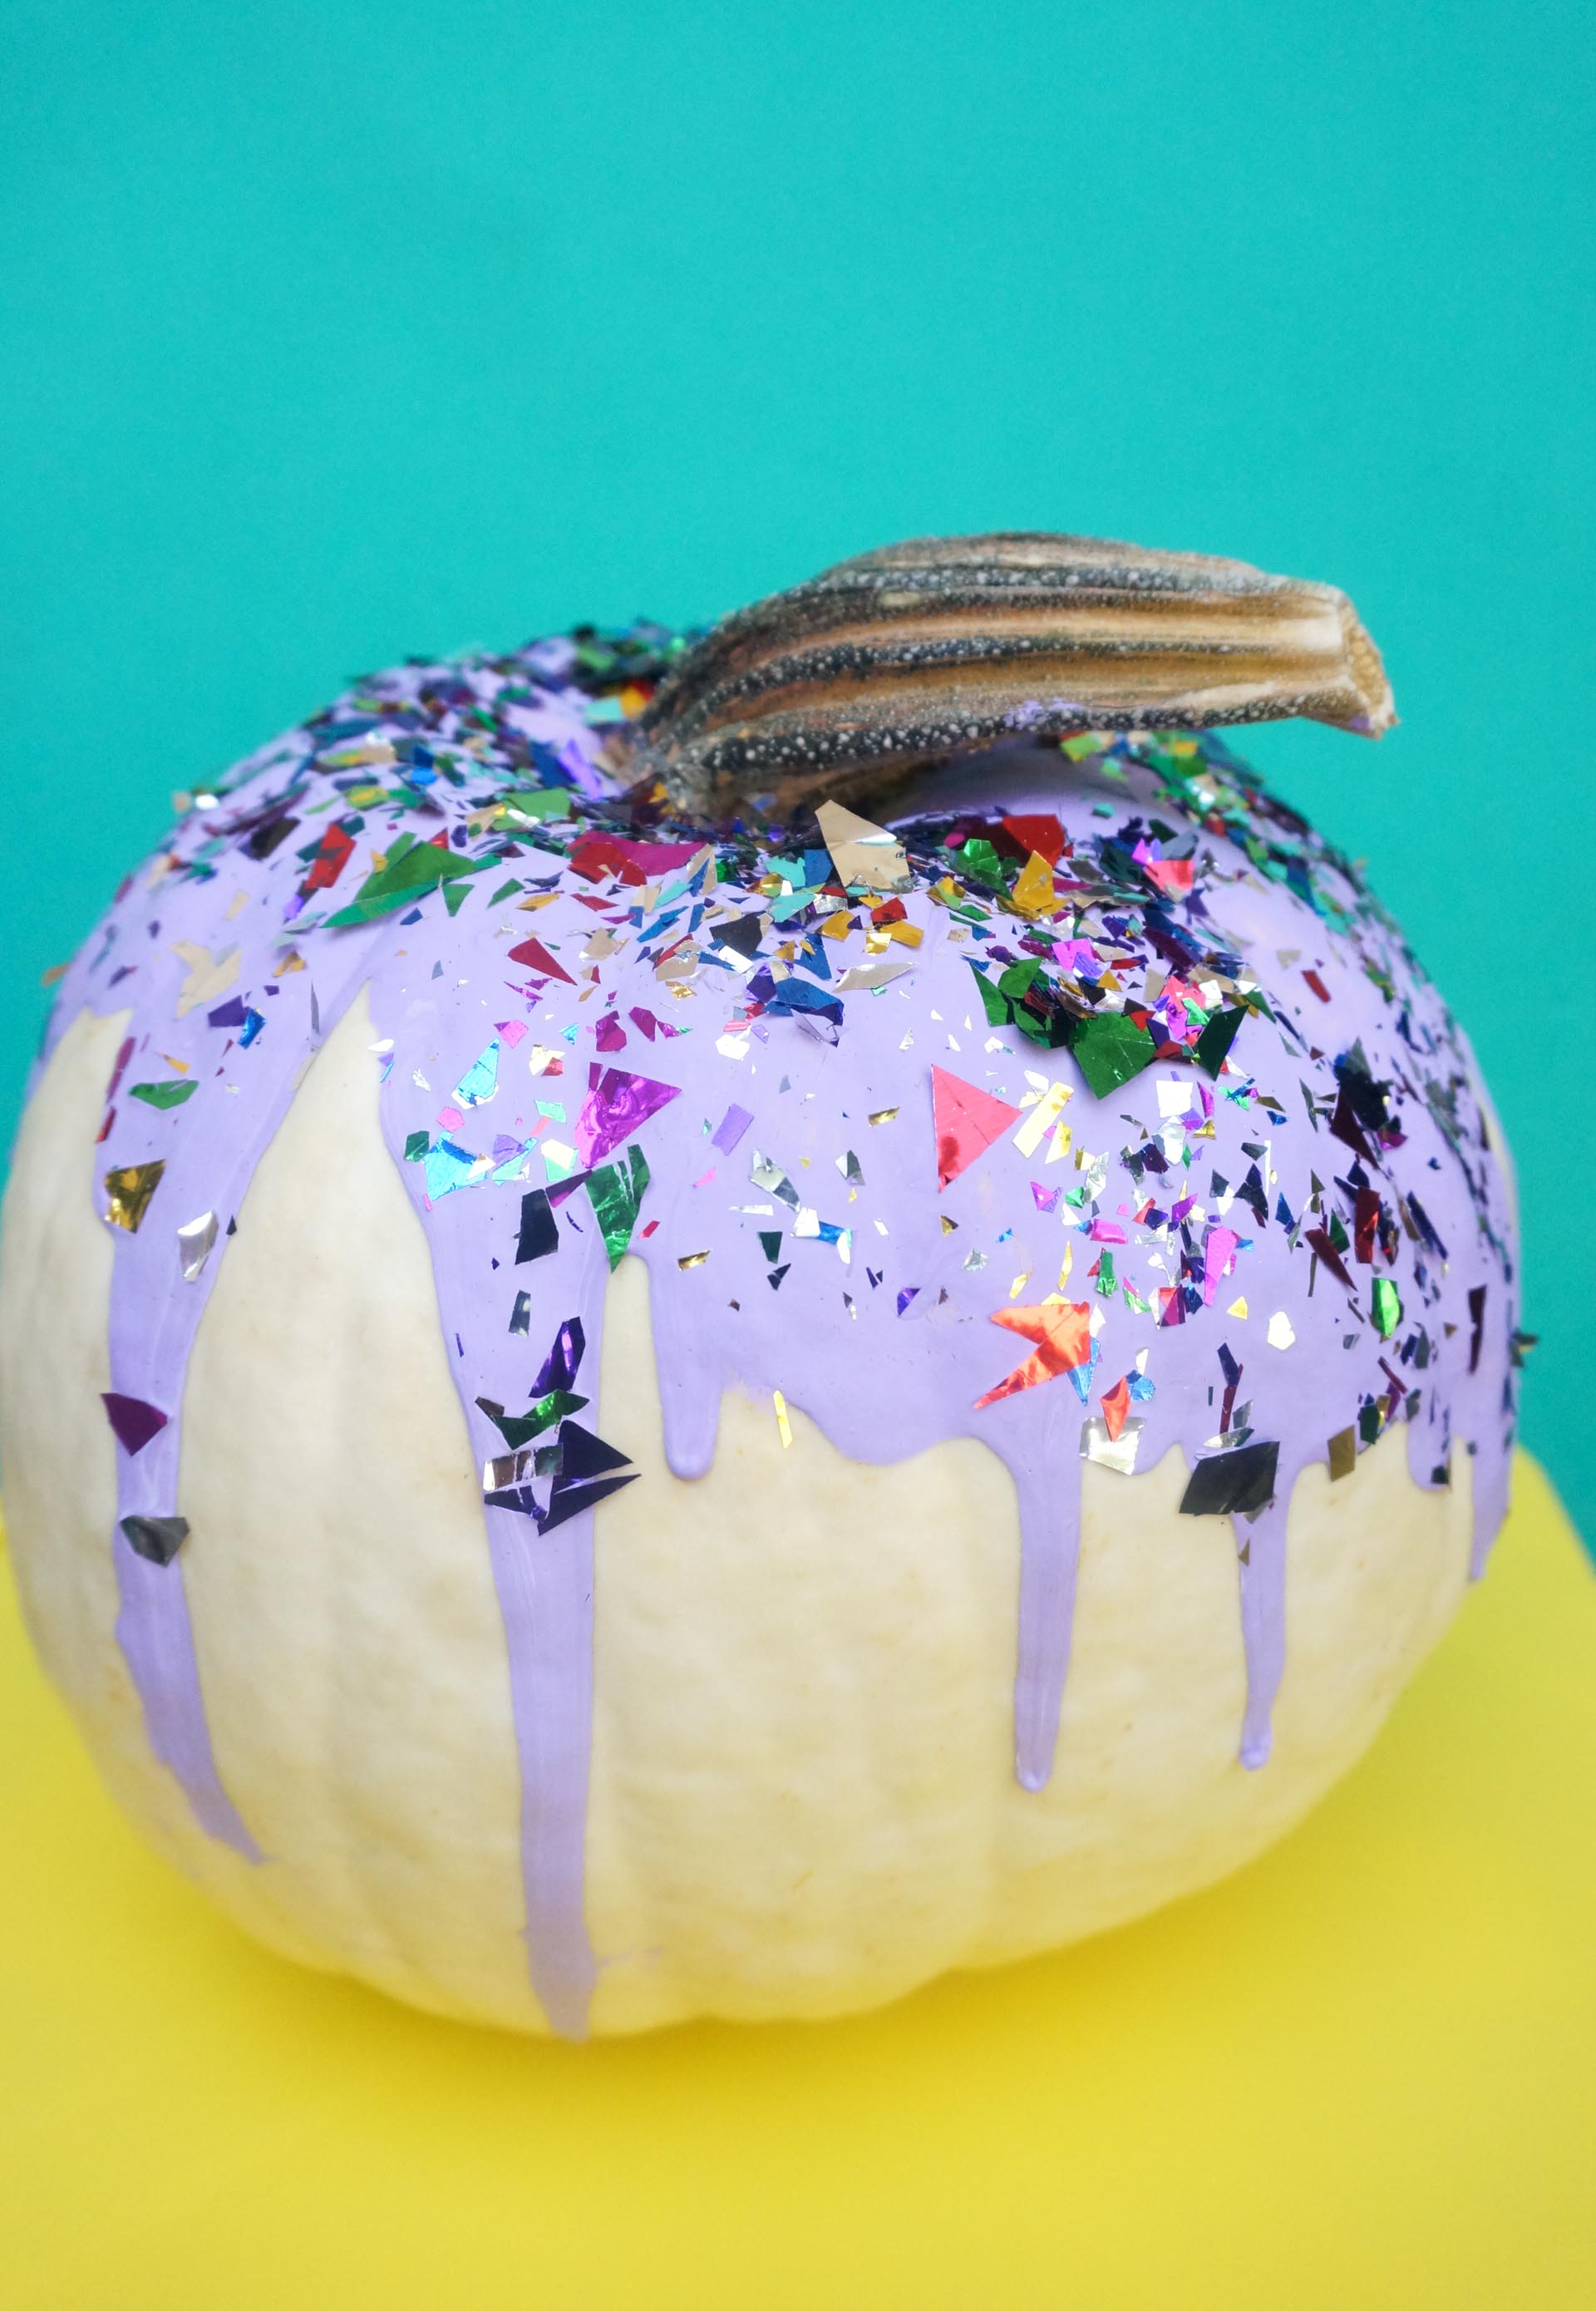
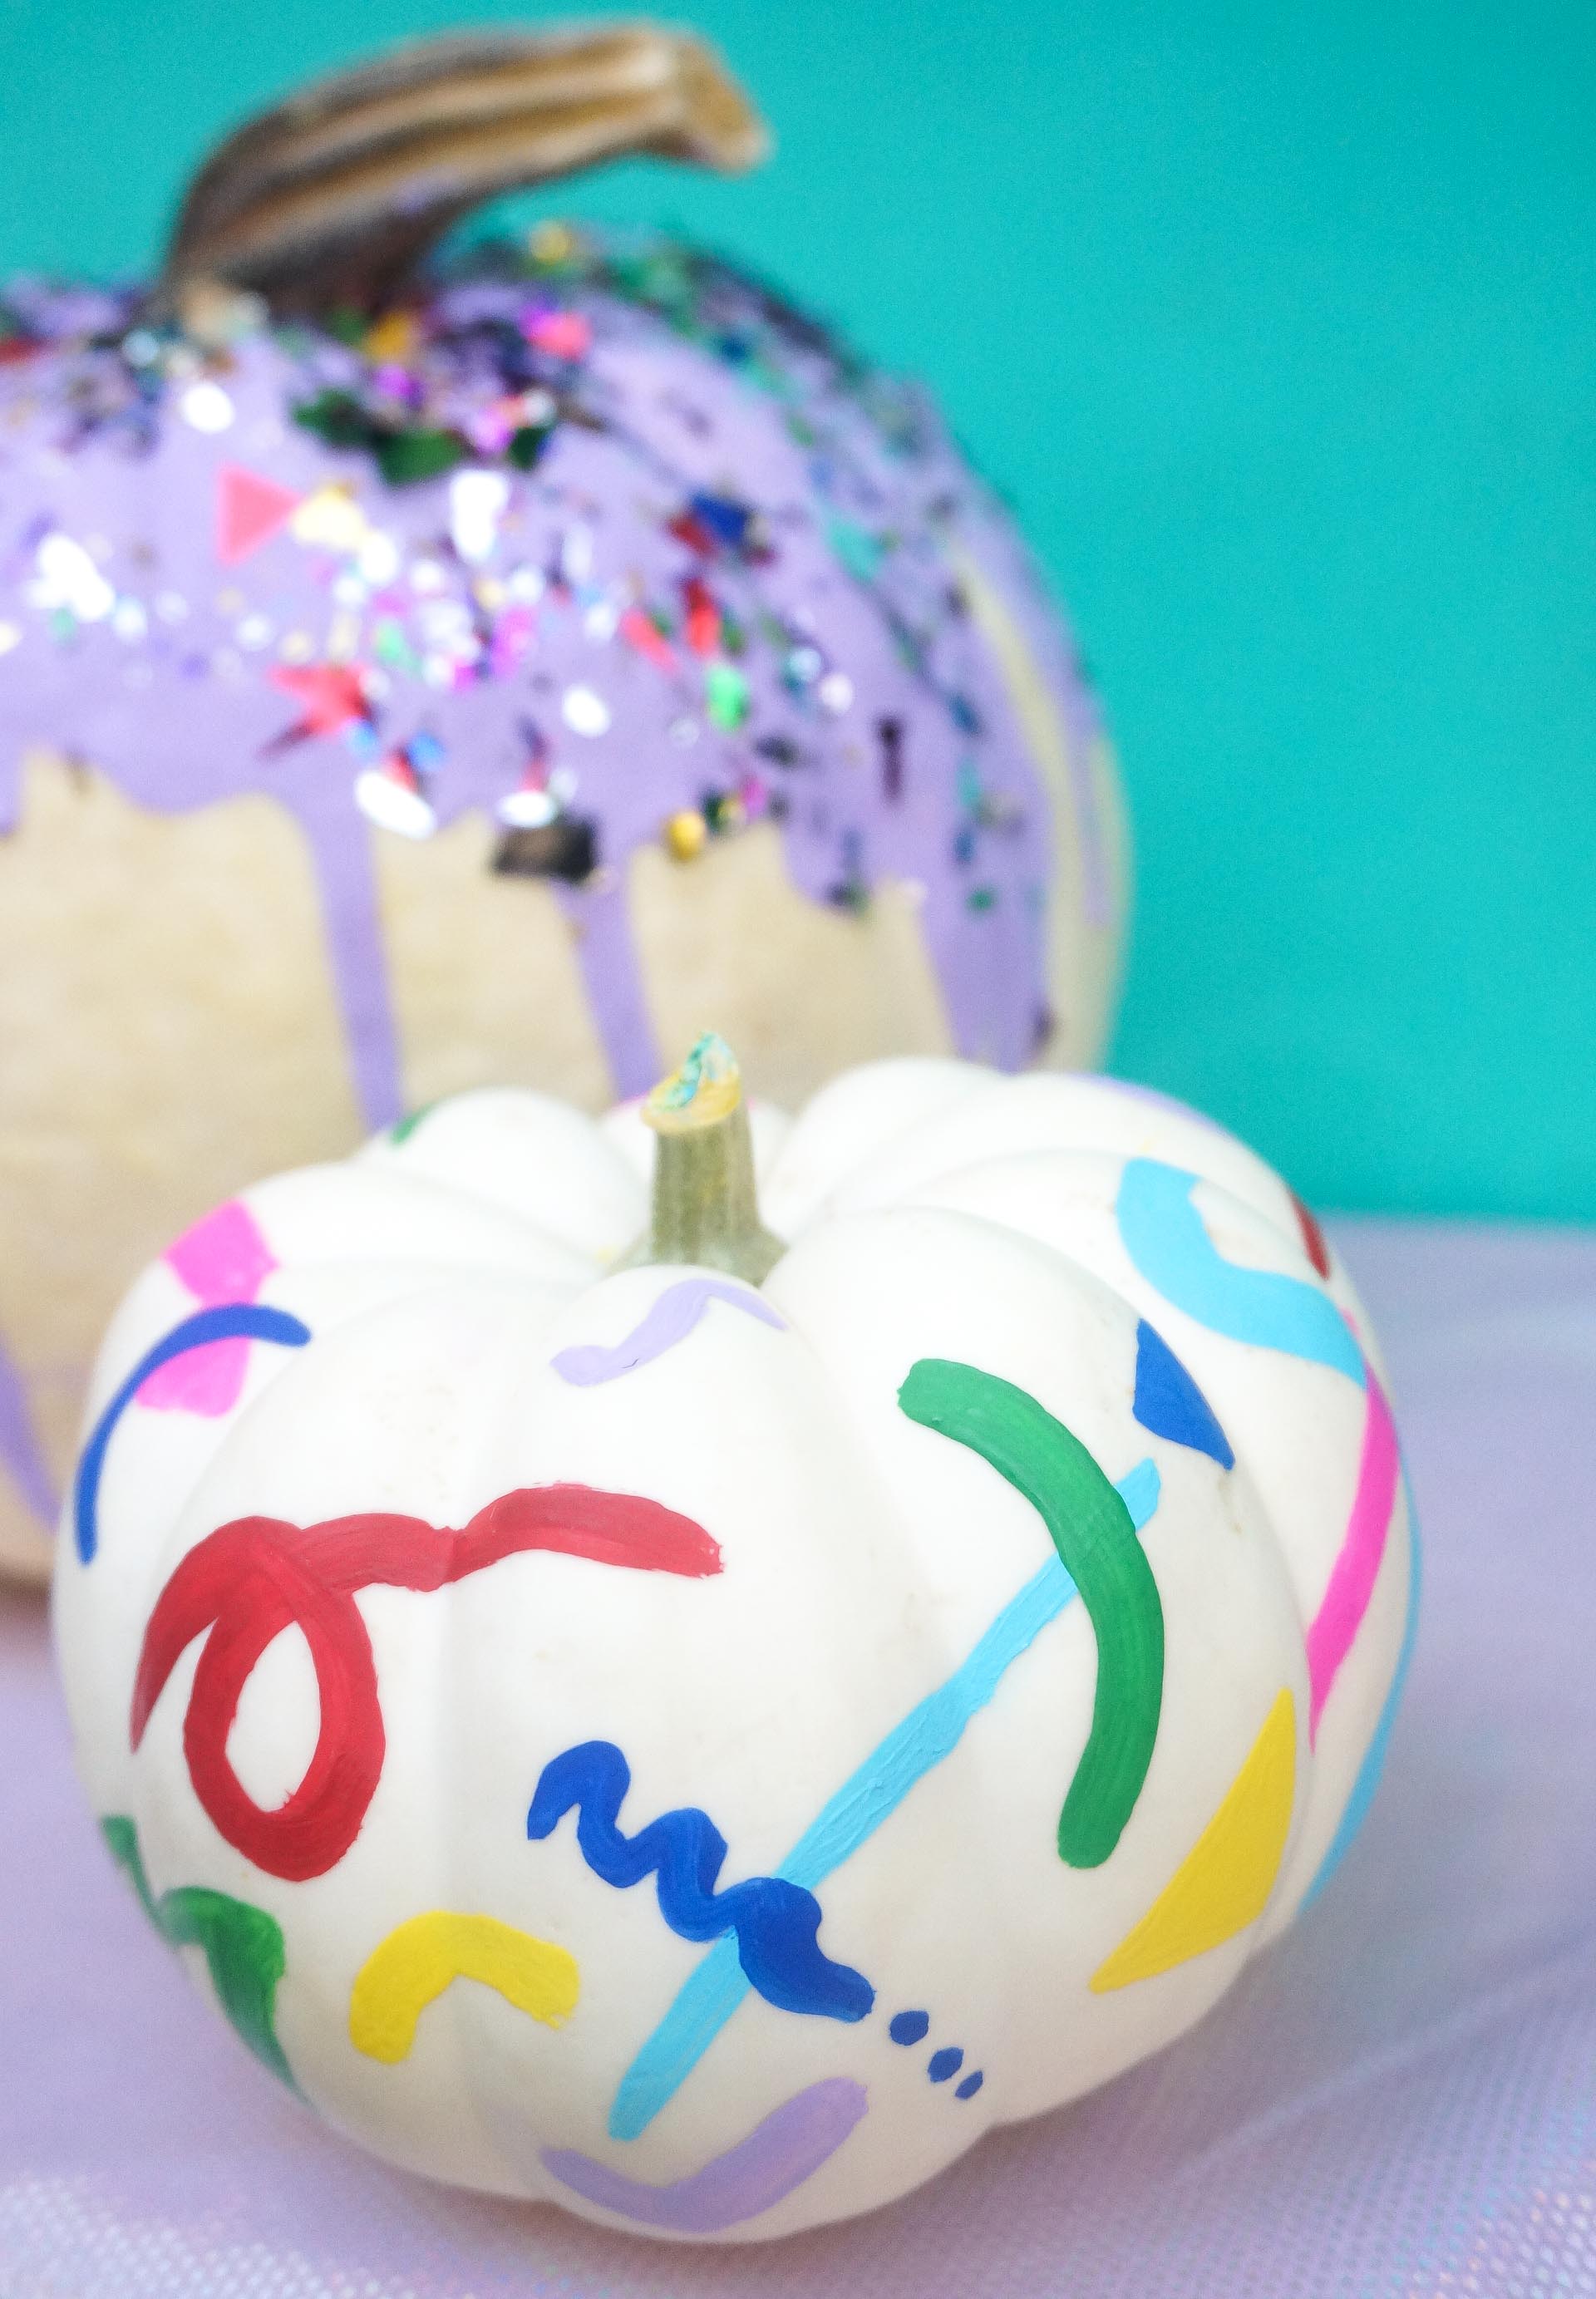
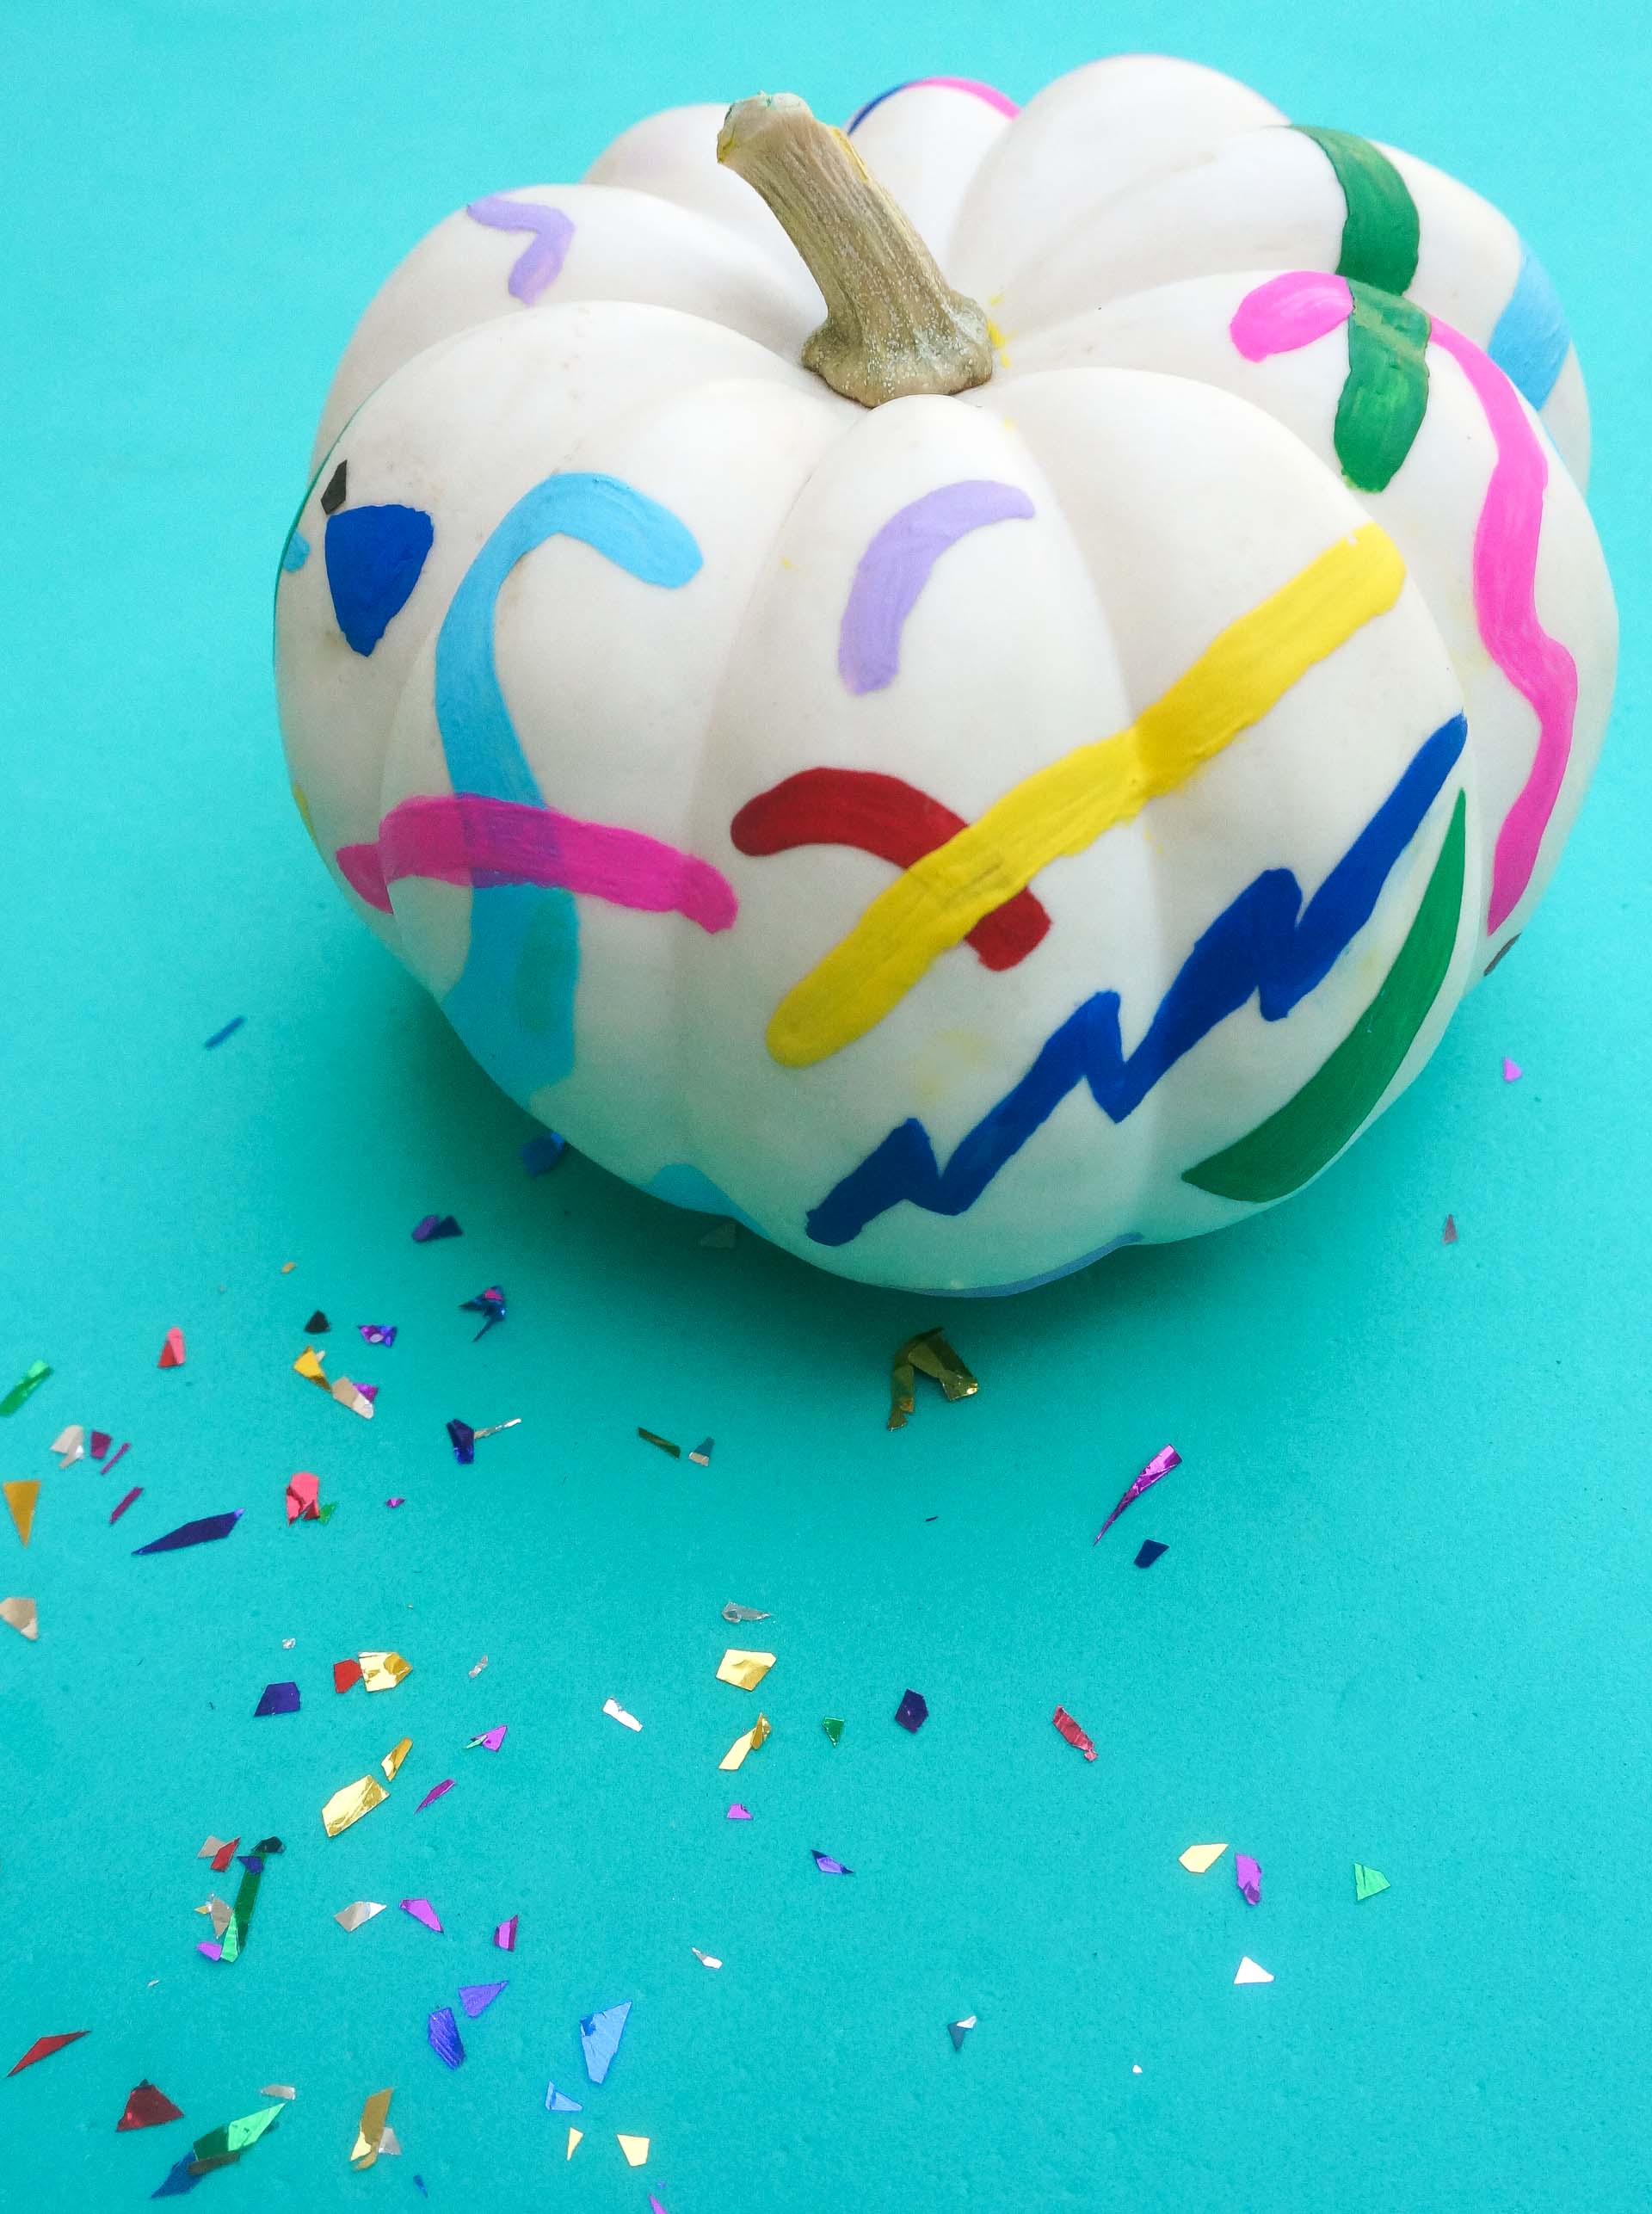
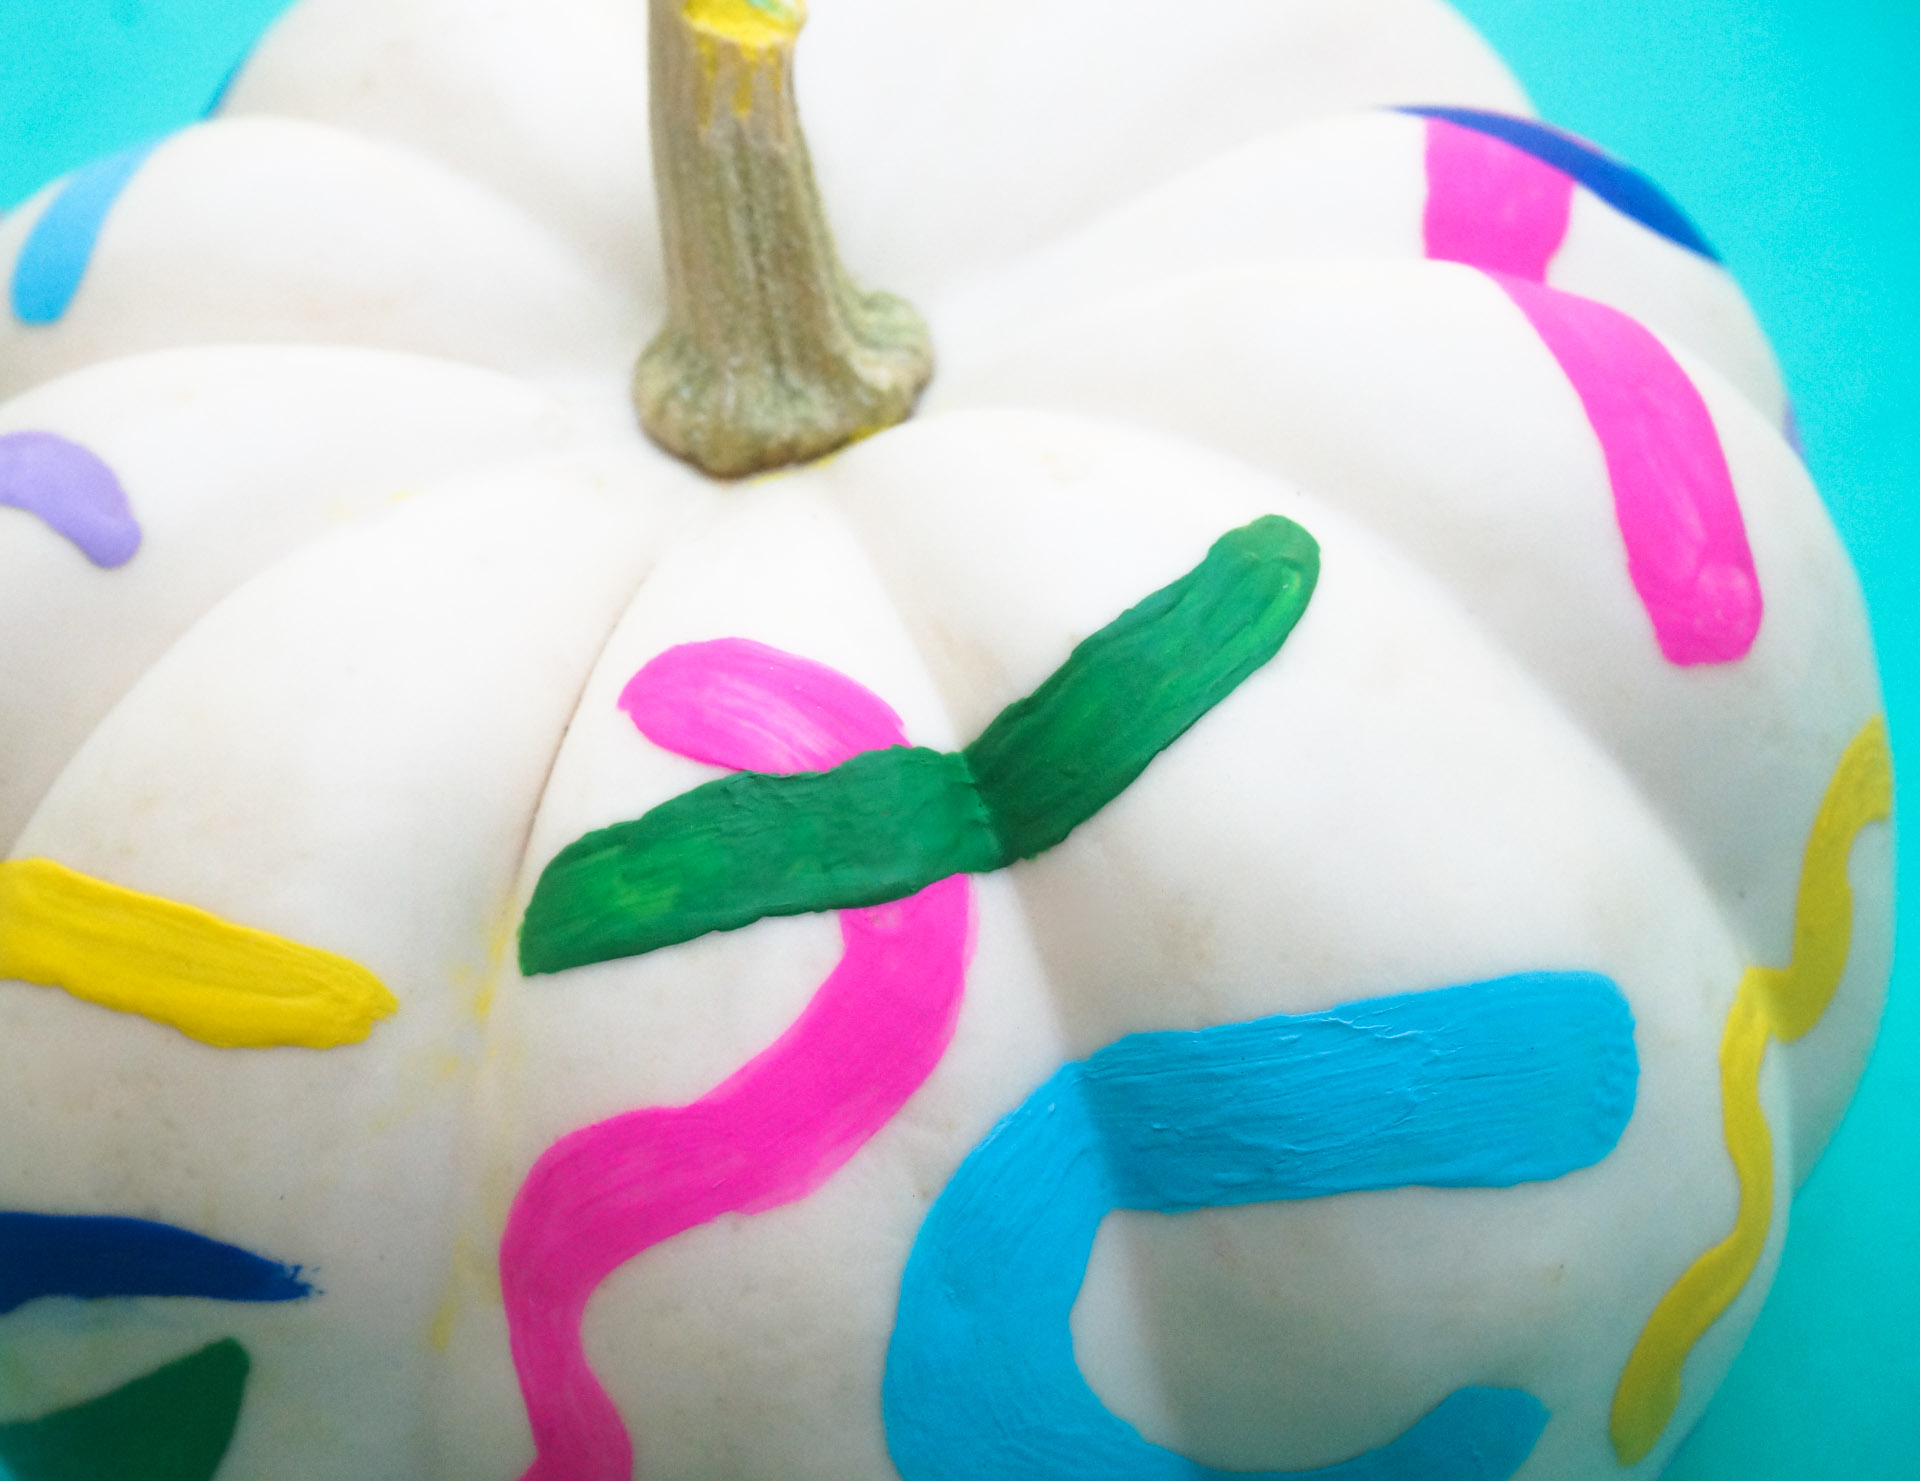
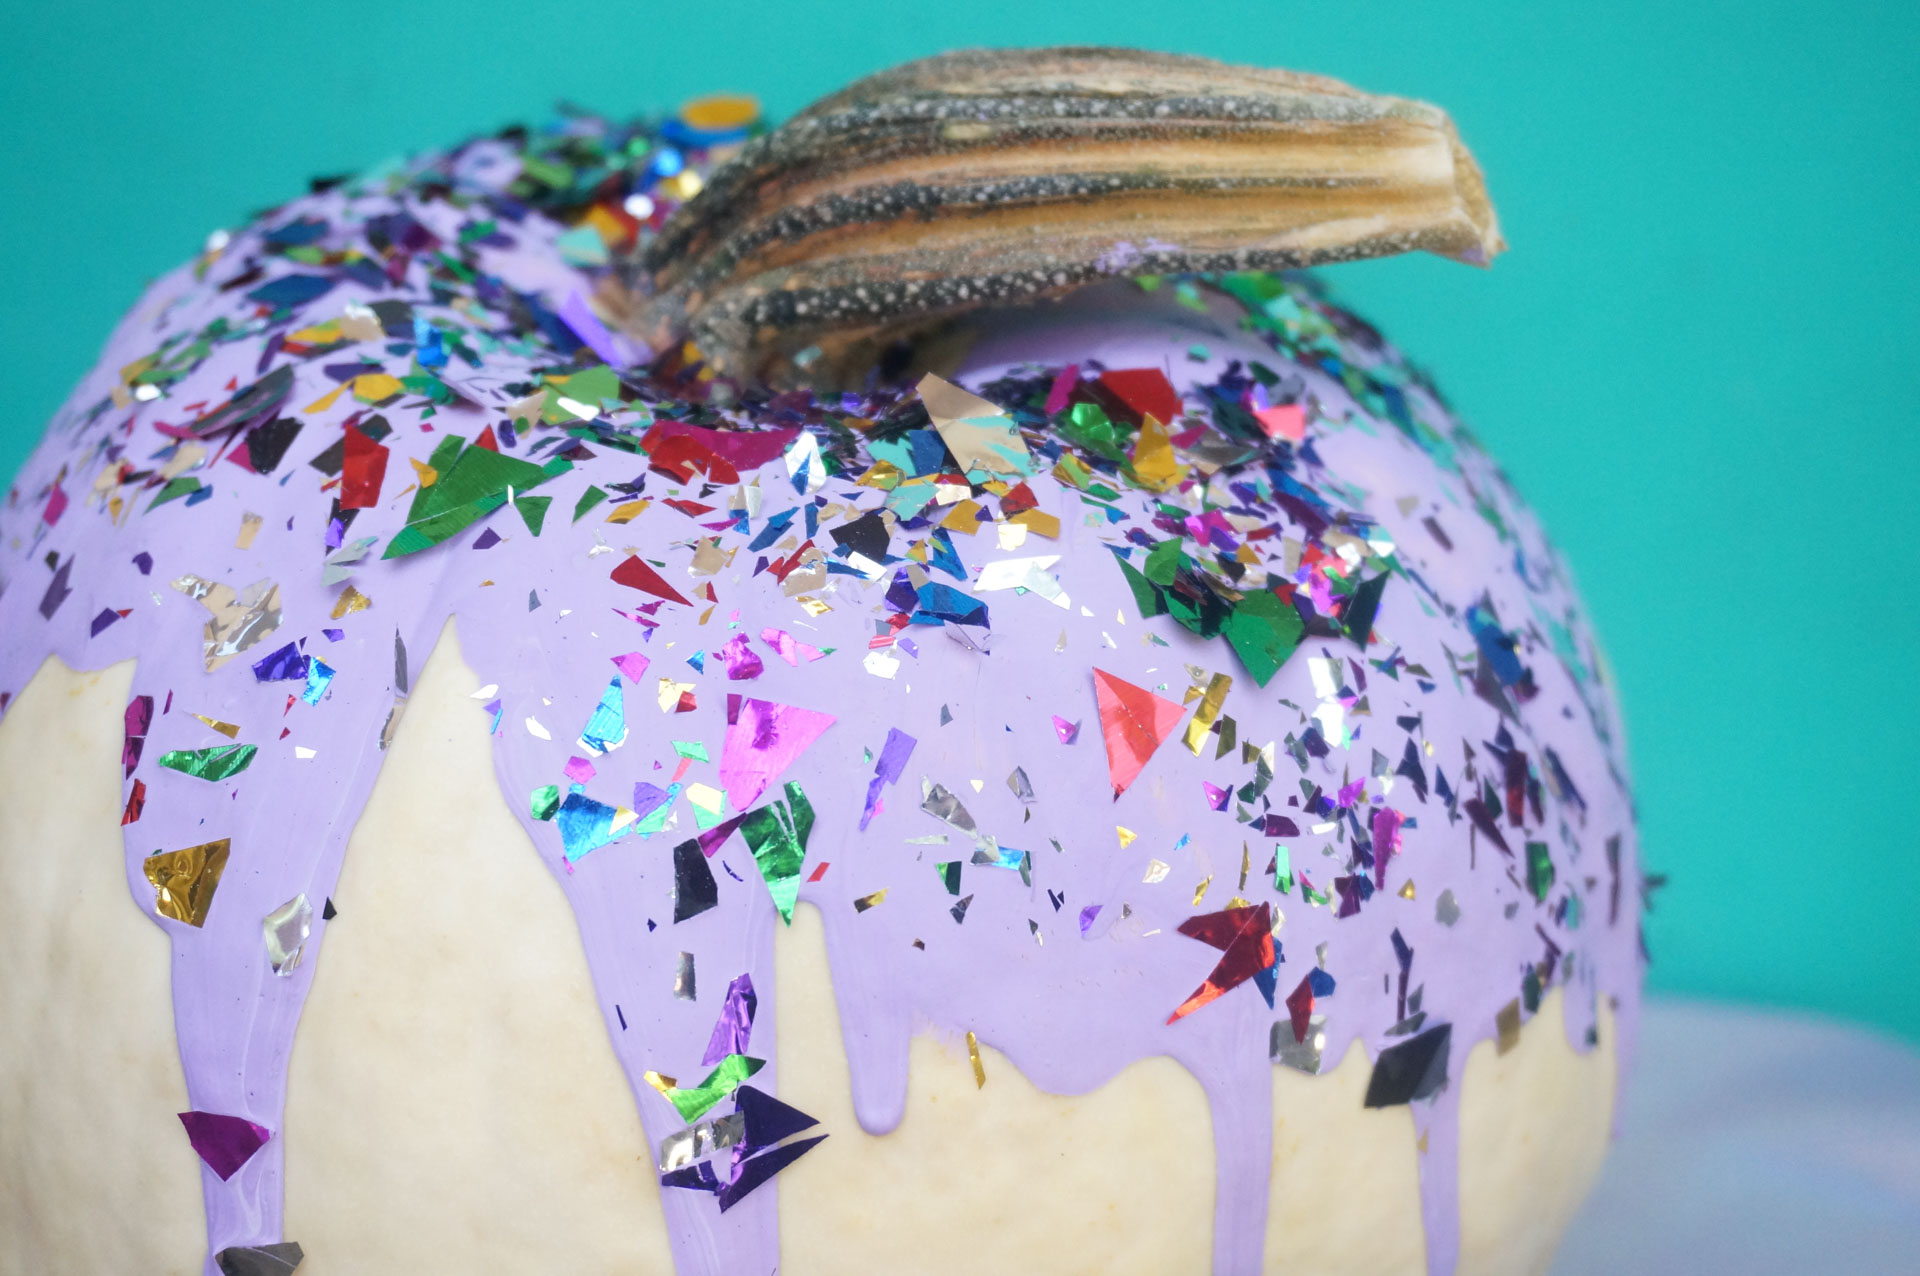
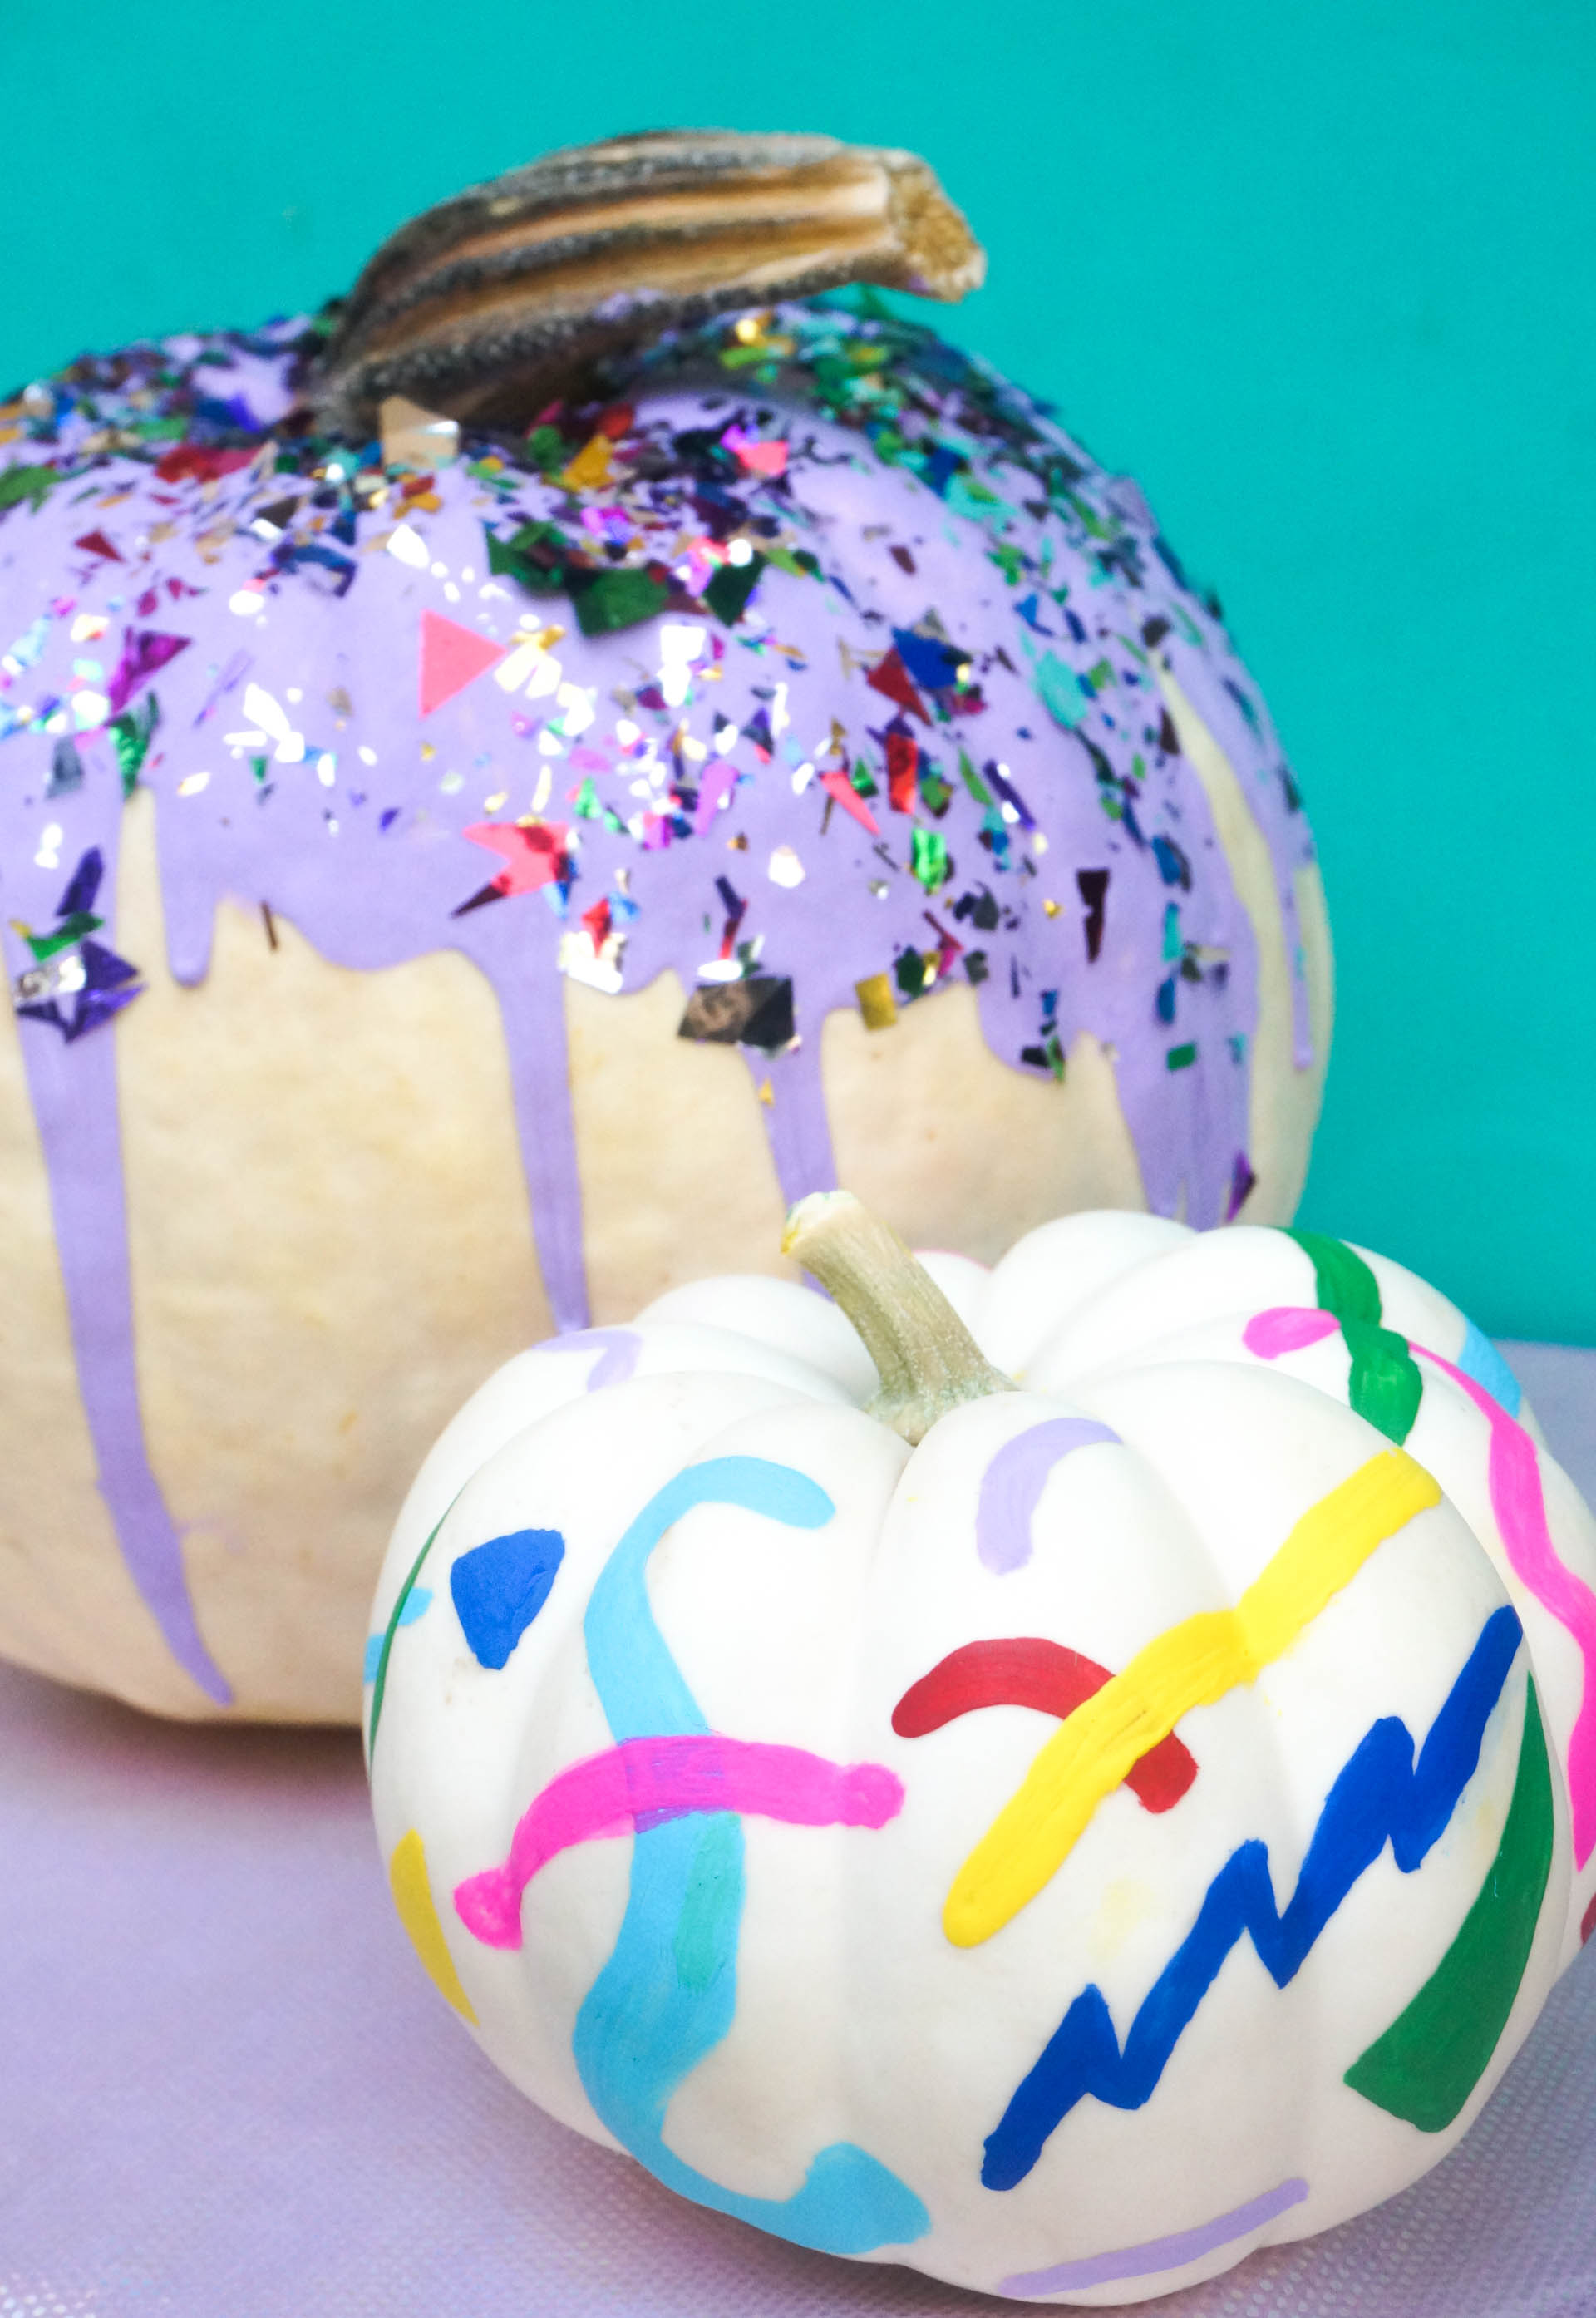
This year I let ’80s modern art be my inspiration and turned to some of my favorite colorful images to inspire the designs on the small pumpkin. The 1980s artwork of Tony DeBlasi was a big influence. For the large pumpkin, I let the lavender paint drip and then piled on the confetti. Both pumpkins pictured are real (rather than faux). While I needed some alone time to create the squiggles and lines on the smaller pumpkin, the confetti pumpkin is a totally kid-friendly endeavor! My young daughter enjoyed helping me sprinkle the confetti.
Painted Pumpkin Supplies
The supply list for these pumpkins is surprisingly small:
- acrylic craft paint in various colors (this set is a great buy)
- paintbrushes both small and large
- foil confetti (such as this selection)
Painting Your Pumpkins
For the small white pumpkin, I actually completed the design over the course of a few days, free-handing the lines, loops and squiggles with a small paintbrush. You can totally do it in one sitting, but pandemic parenting gives me little snippets of free time rather than an hour at a time. So I painted when I could and set it aside as needed. This method actually worked well, as it kept me from getting burned out and allowed portions of the pumpkin to dry before I tackled the rest.
The confetti pumpkin can be tackled in one sitting. It’s super manageable, and the payoff is big!! If you’re looking for an easy way to make a statement, this is it, so don’t hold back. Rather than pouring paint directly from the container, I applied globs of it with a large paintbrush, making sure it started to drip in various spots around the pumpkin. If the drips started to get out of hand, I just put a paper towel near the bottom of the paint stream to lighten the look and stop the flow of paint. While the paint is still wet, sprinkle the confetti. Go ahead–it’s fun!
When the pumpkins have dried, enjoy displaying them for a colorful, ’80s art gallery feel. Wishing you and yours a vibrant Halloween! Thanks for reading.







These turned out great!
I’m obsessed with all things 80’s so I love the blog, it always inspires me.
Those pumpkins look amazing – love the 80s’ vibe! It’s inspired me to do something similar next year. And I think your ritual of 80s’ music and chocolate is a winning combo! 🙂