Happy February!! It was a whirlwind of a January, and I never like for the first blog post of the new year to be more than a month after the year has started…but at least Valentine’s Day is around the corner. It’s a complicated holiday, isn’t it?! Because of my love for ’80s design, even my worst Valentine’s Days were filled with some joy. Because there will always be an element of 1980s style that lives in this holiday.
Hearts were such a popular ’80s motif, appearing on school supplies, stickers, toys, mugs, clothing, and many more products. If you’re having a tough go of it this year (I’ve been there, and I’m with you in spirit), buy yourself something special from your favorite decade. Head on over to Etsy, type in “1980s heart”, change the “Item type” settings so you’re only searching for vintage items, and make a fun purchase for $10 or less. Or you could create some ’80s-style valentine cards to give to your nearest and dearest. These splatter paint valentines couldn’t be easier to make! Details will follow…
Splatter Paint Valentine Supplies

To make your splatter paint hearts, you’ll need to have a few supplies on hand:
- paint
- paintbrushes
- card stock in various colors and finishes
- an old tablecloth or drop cloth to cover your work surface
- scissors
- glue (a glue gun and glue sticks are helpful)
Let the Splatter Paint Fun Begin…
This project is easy, fun, and perfect for doing with kids. Truth: this was an art project I did with my daughter. Yes, I imposed my ’80s aesthetic on her class valentines! And I’d do it again!! Here are the project steps:
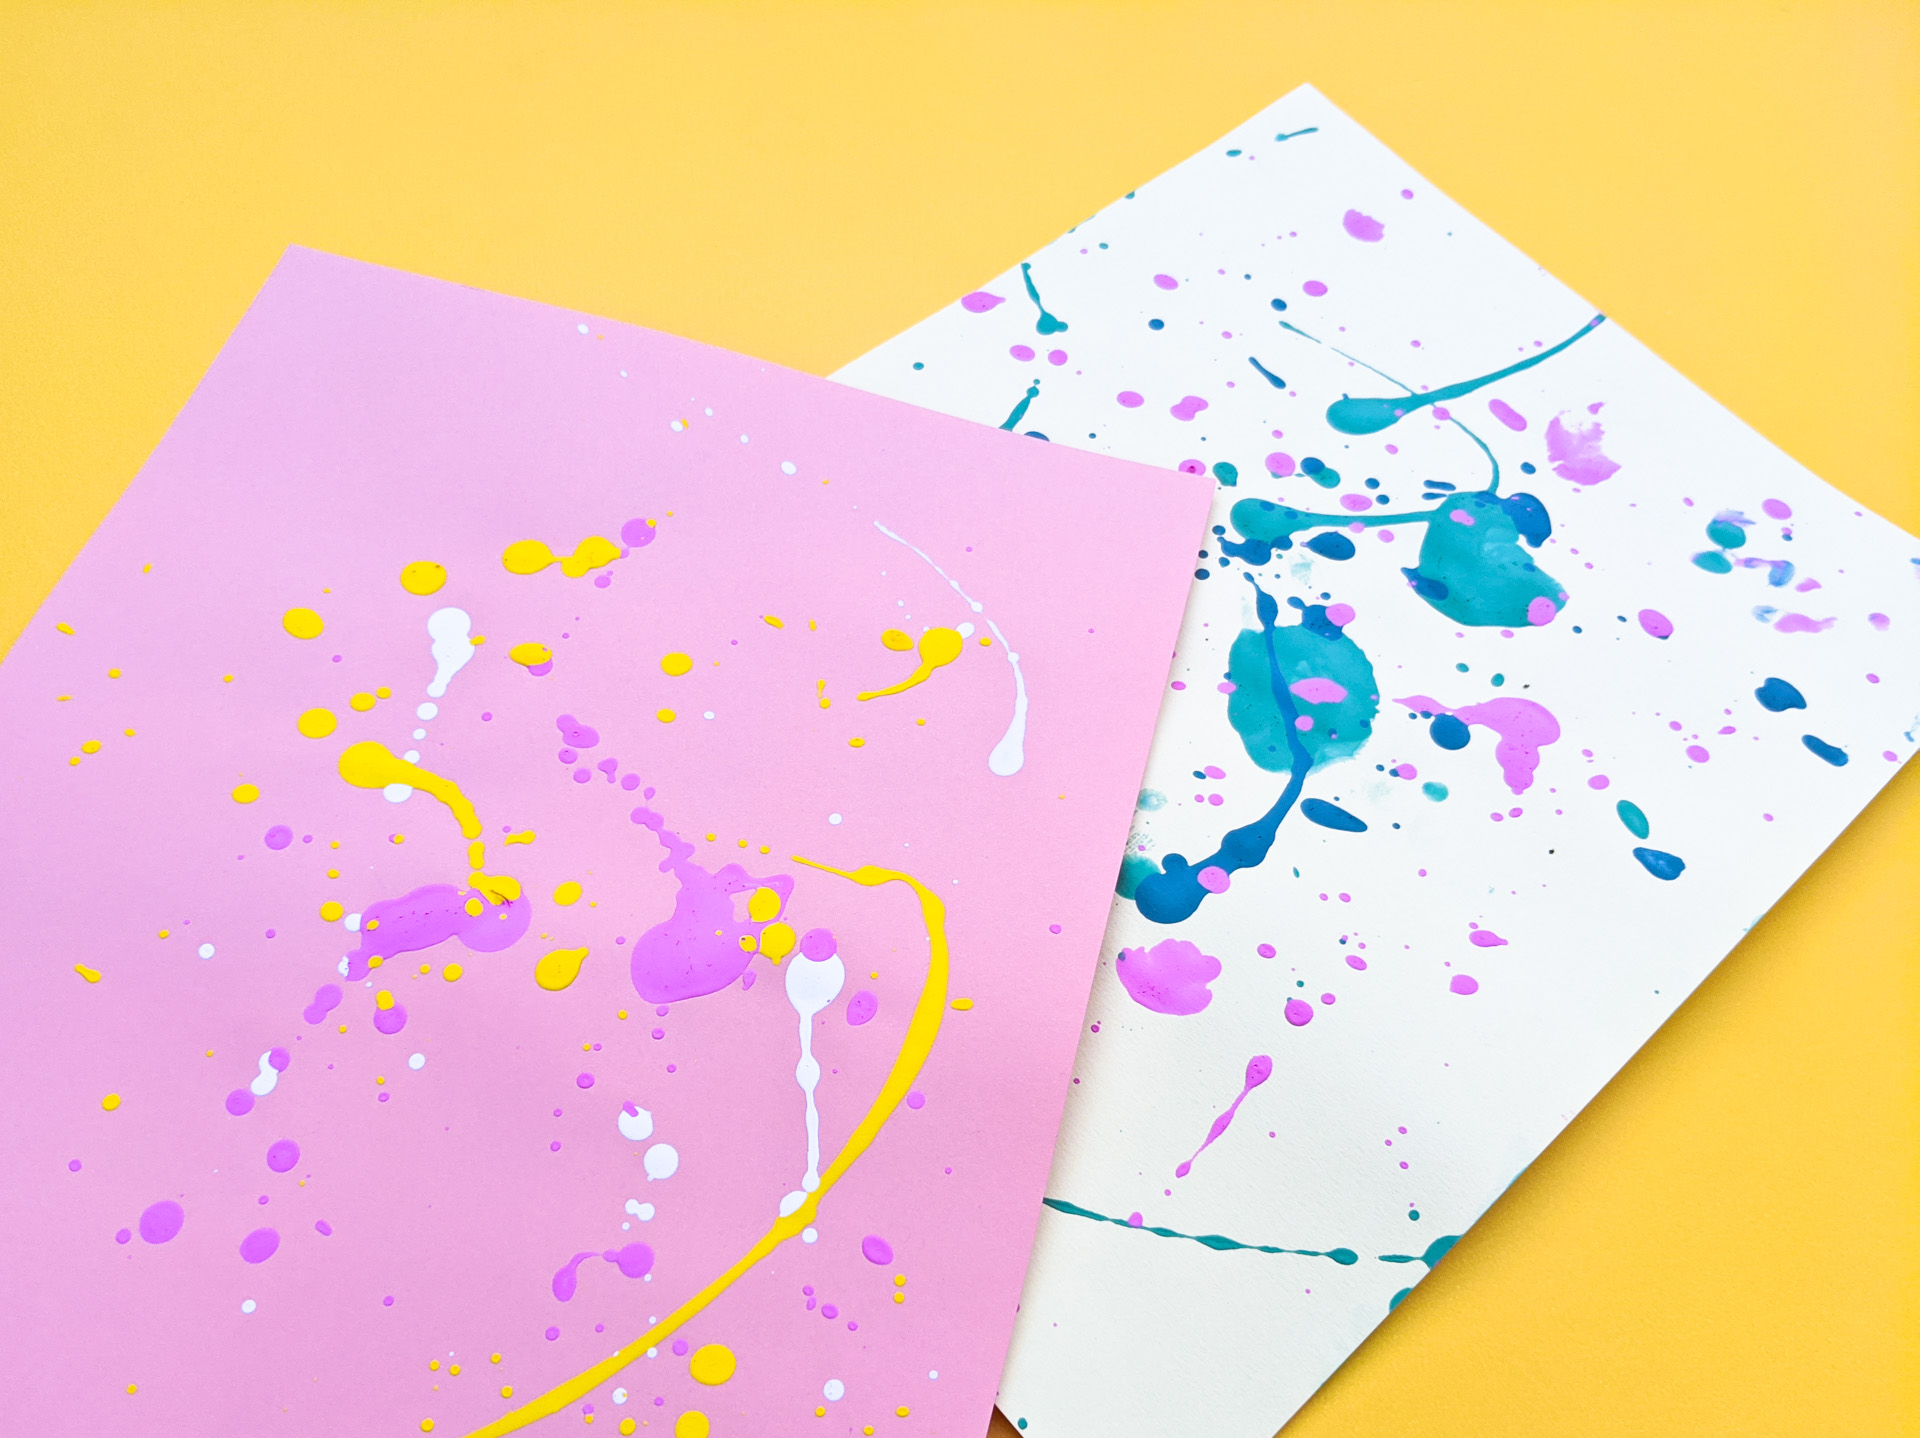
1. Cover your work surface, set out sheets of card stock, and splatter paint them.
We used thick kids’ paintbrushes, dipped them in liquid tempera paint, and let the splatter fun begin. The key is a simple flick of the wrist. I would say “flick”, and we would jerk the paintbrushes from an “up” position to a more downward angle. It doesn’t have to be dramatic, as a little bit of motion goes a long way when it comes to spreading paint. Confession: I didn’t cover my workspace. It wasn’t the end of the world. The mess wasn’t too bad, and I was able to quickly wipe down the table and floor. If you’re less haphazard than I am when you work, cover the area for peace of mind!
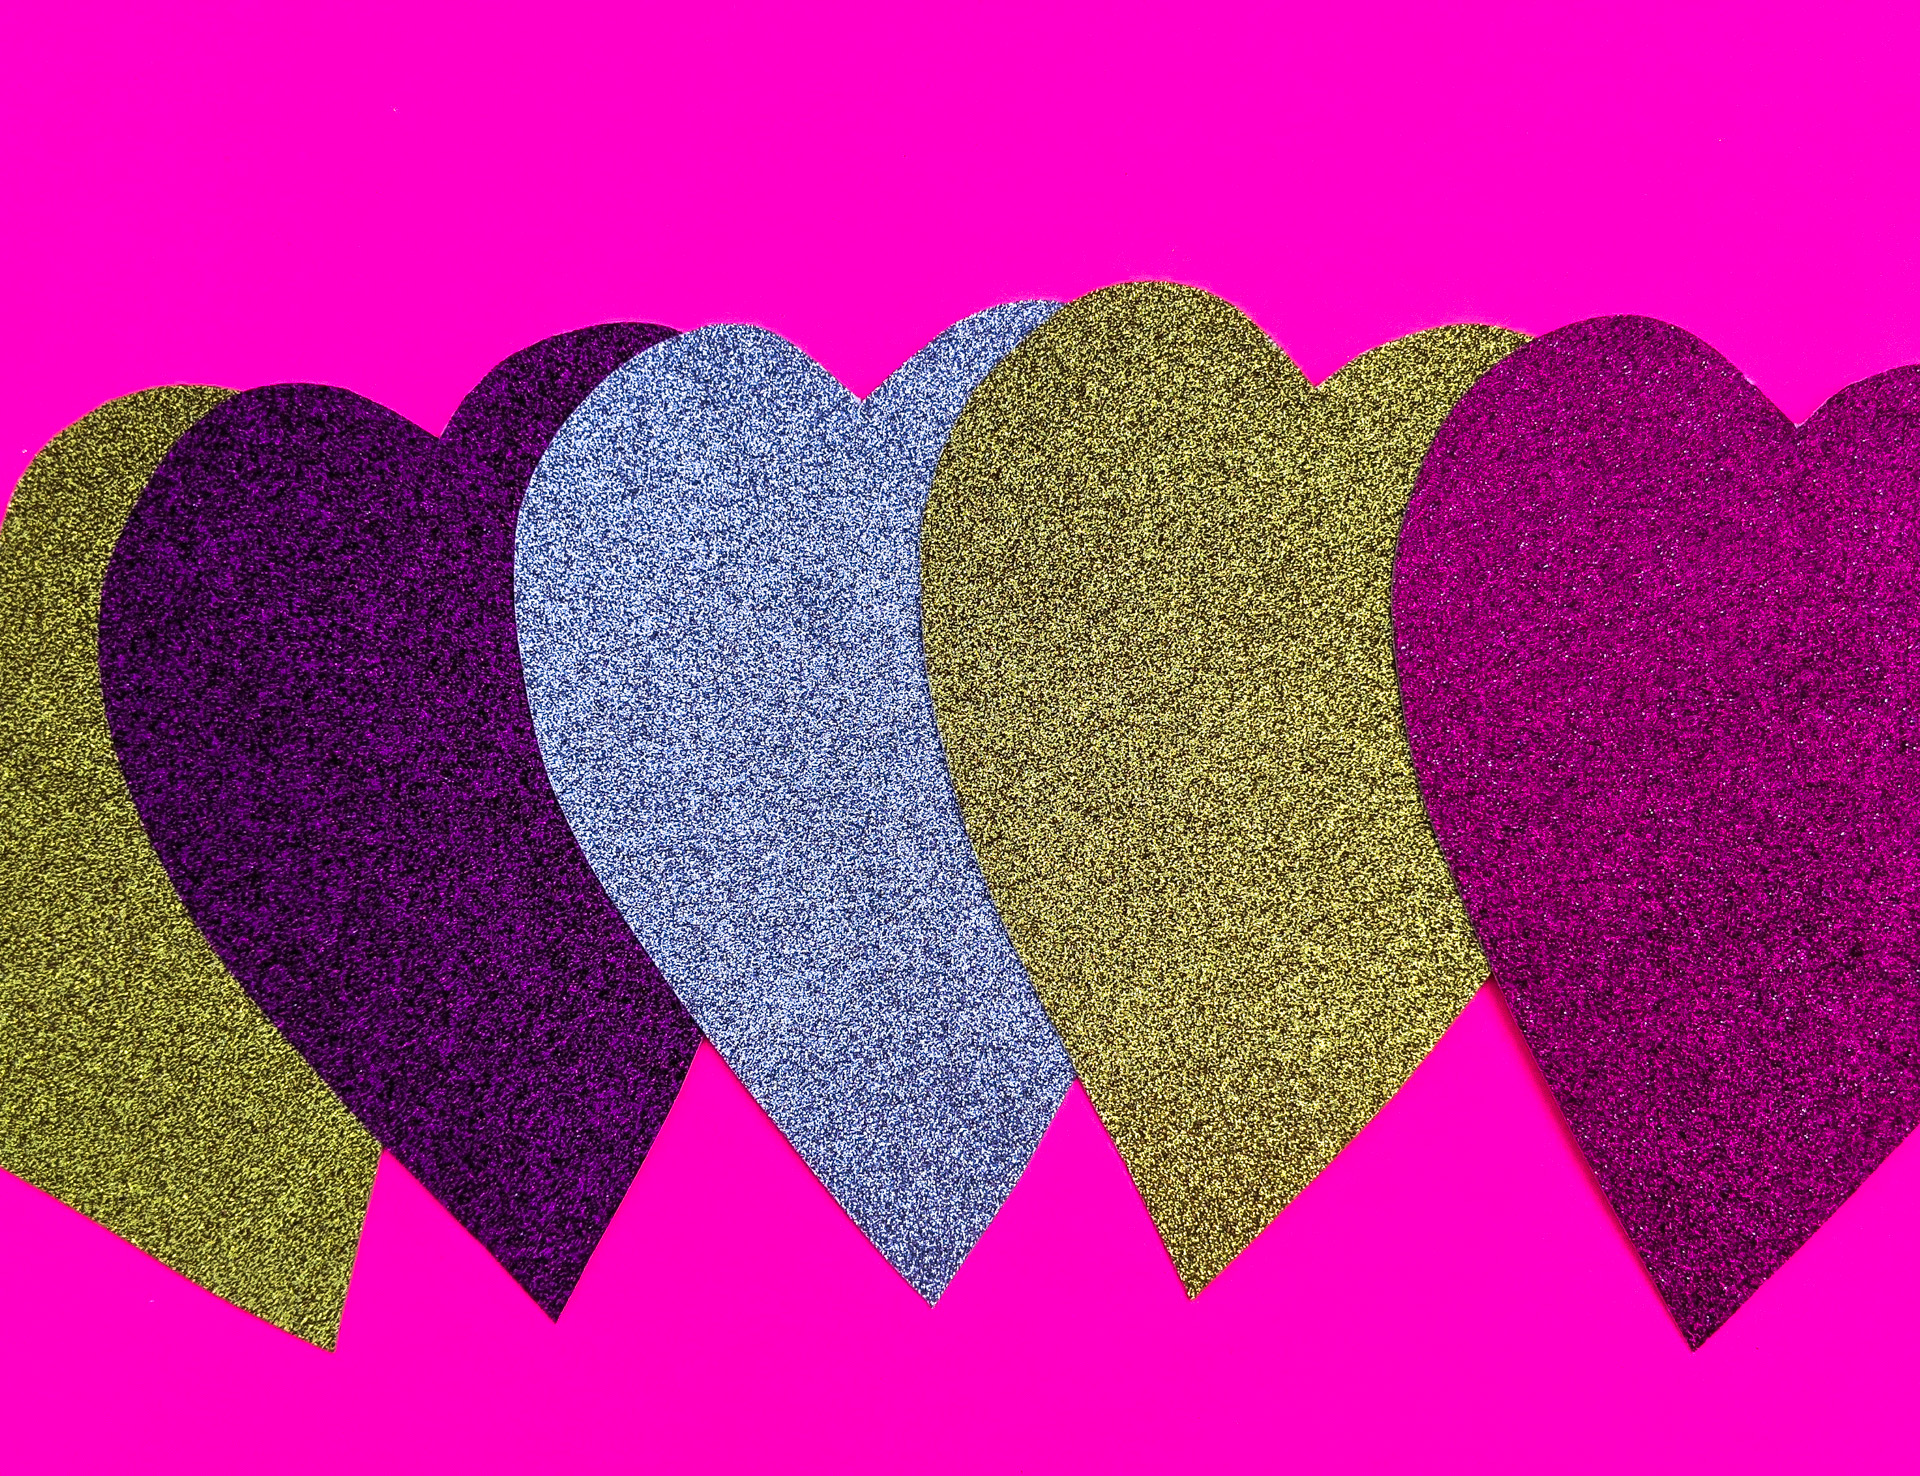
2. Cut out a series of hearts from the card stock of your choice.
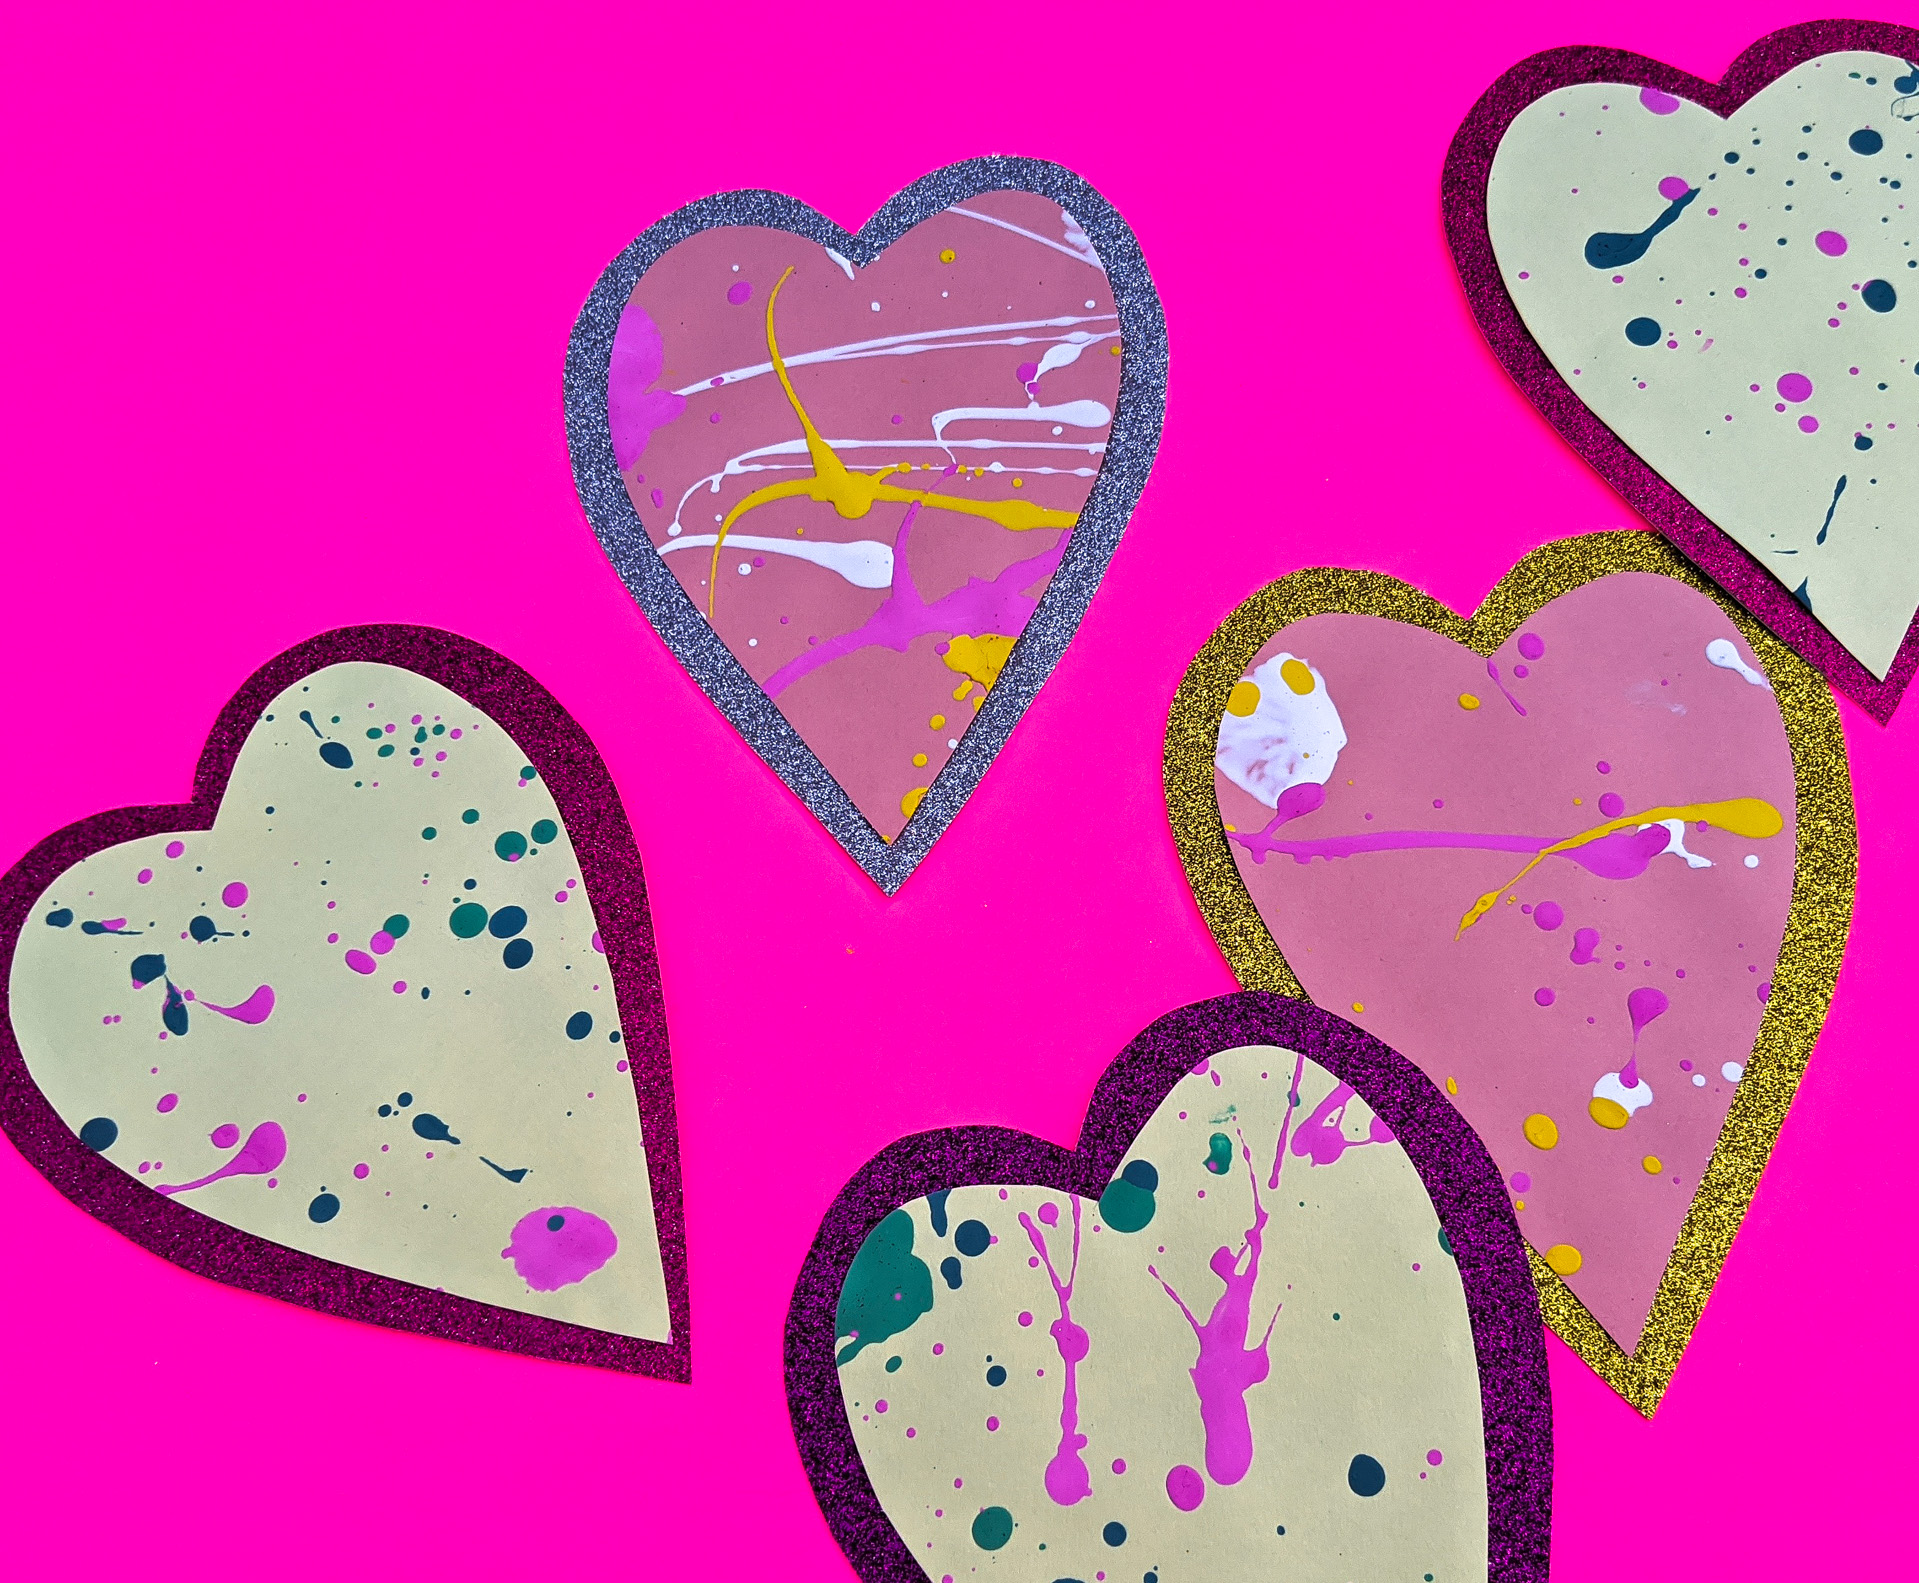
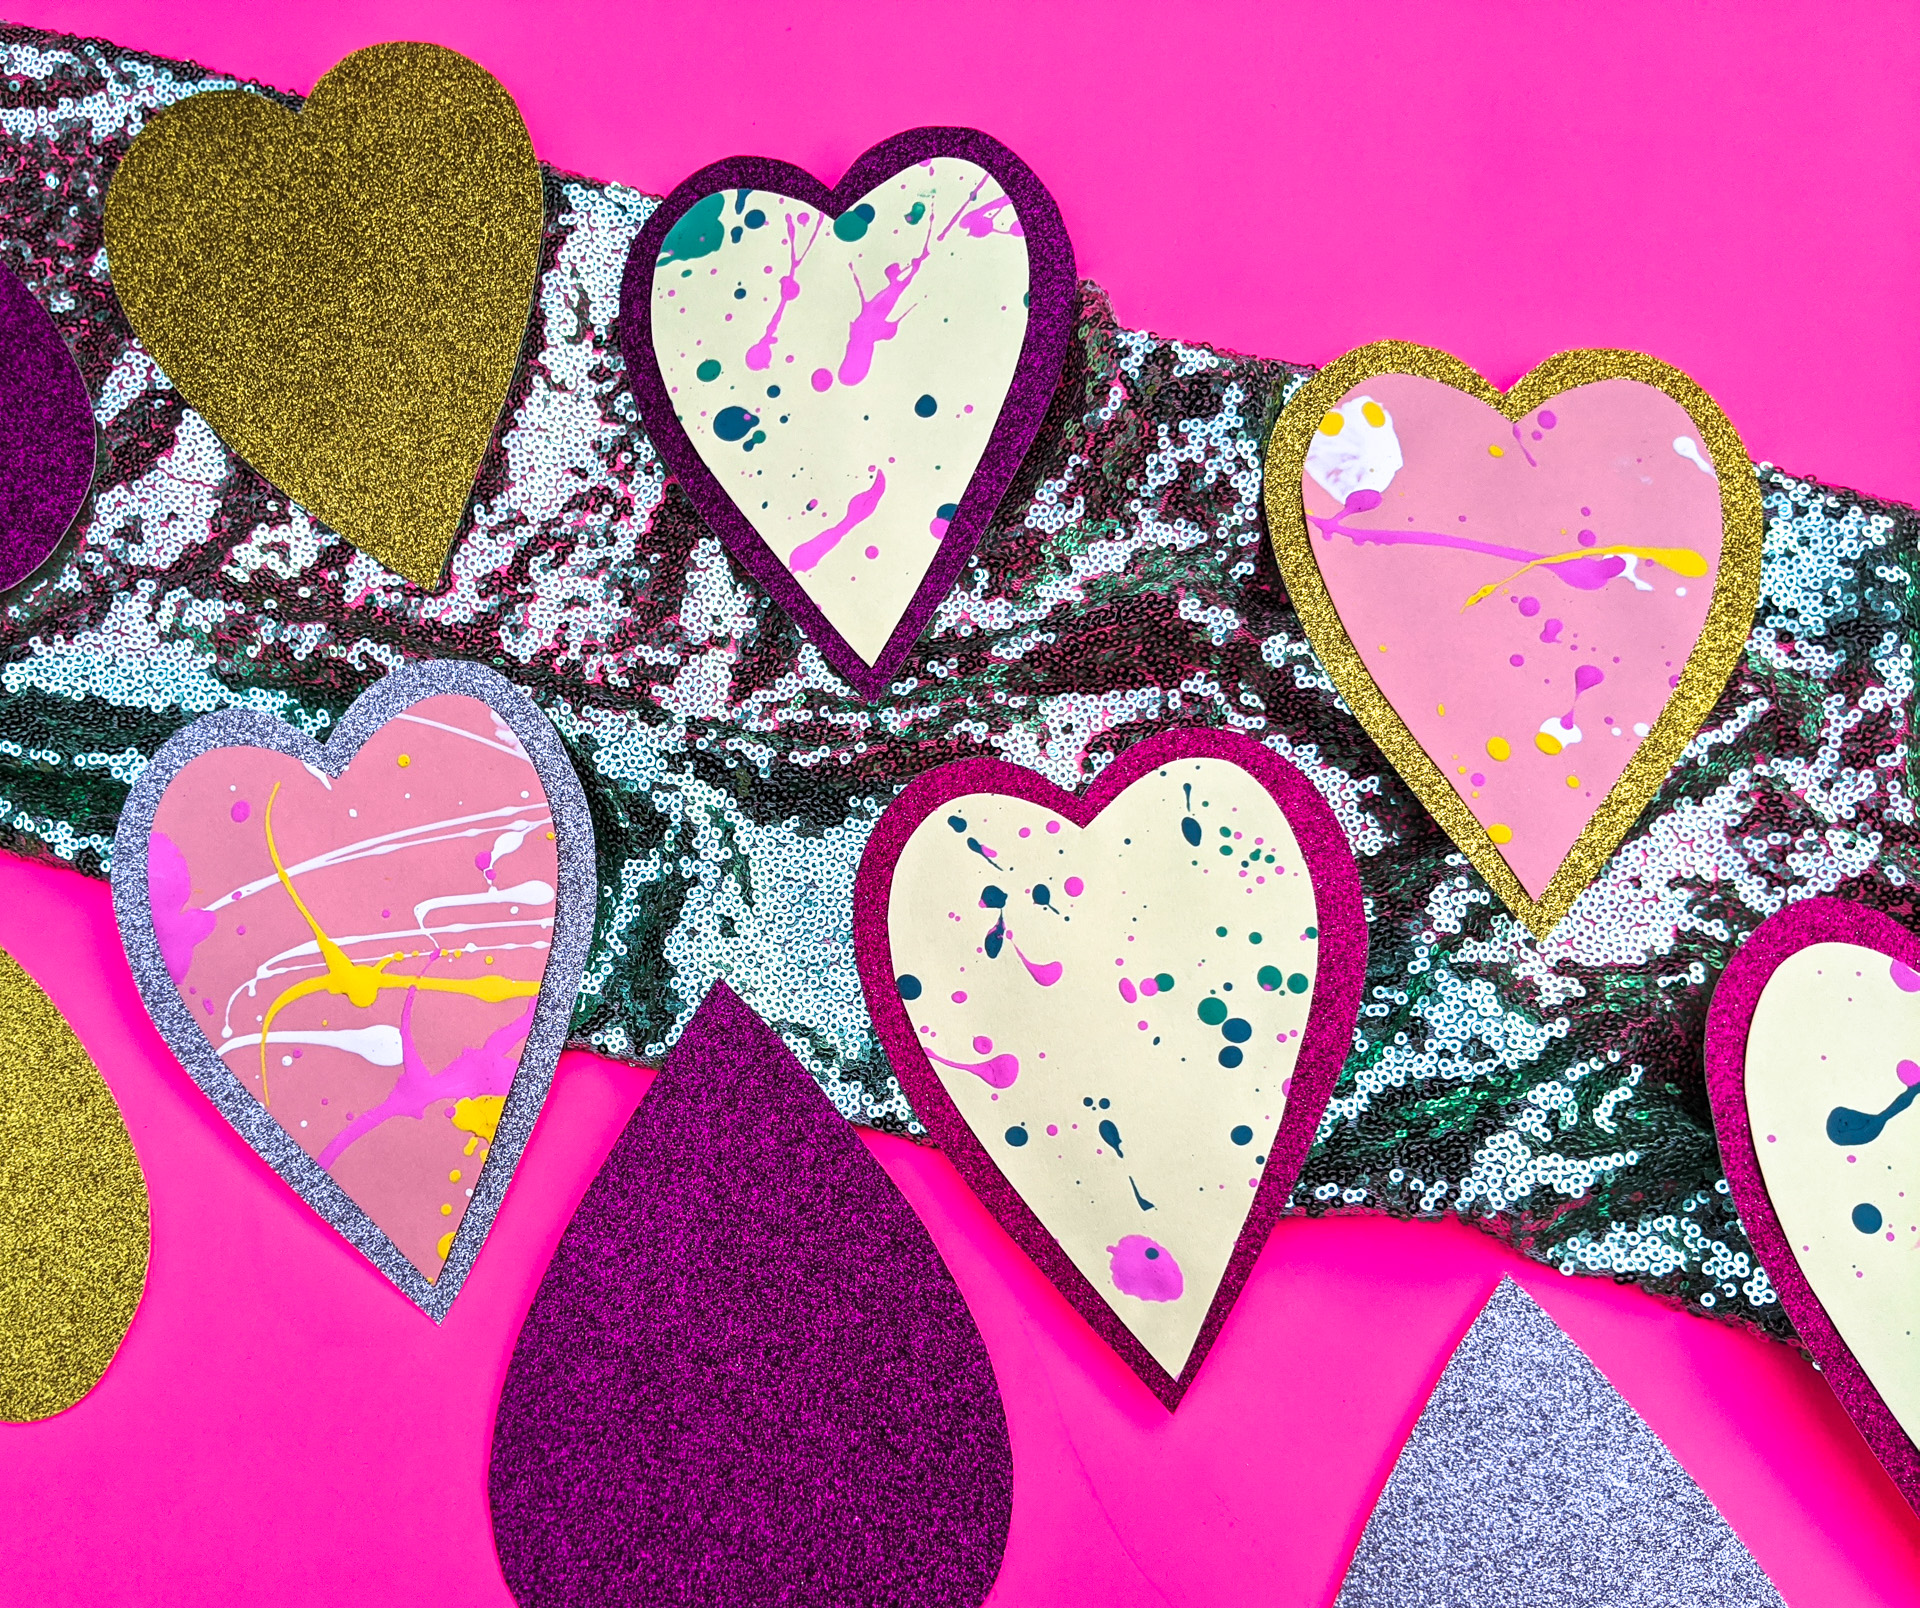
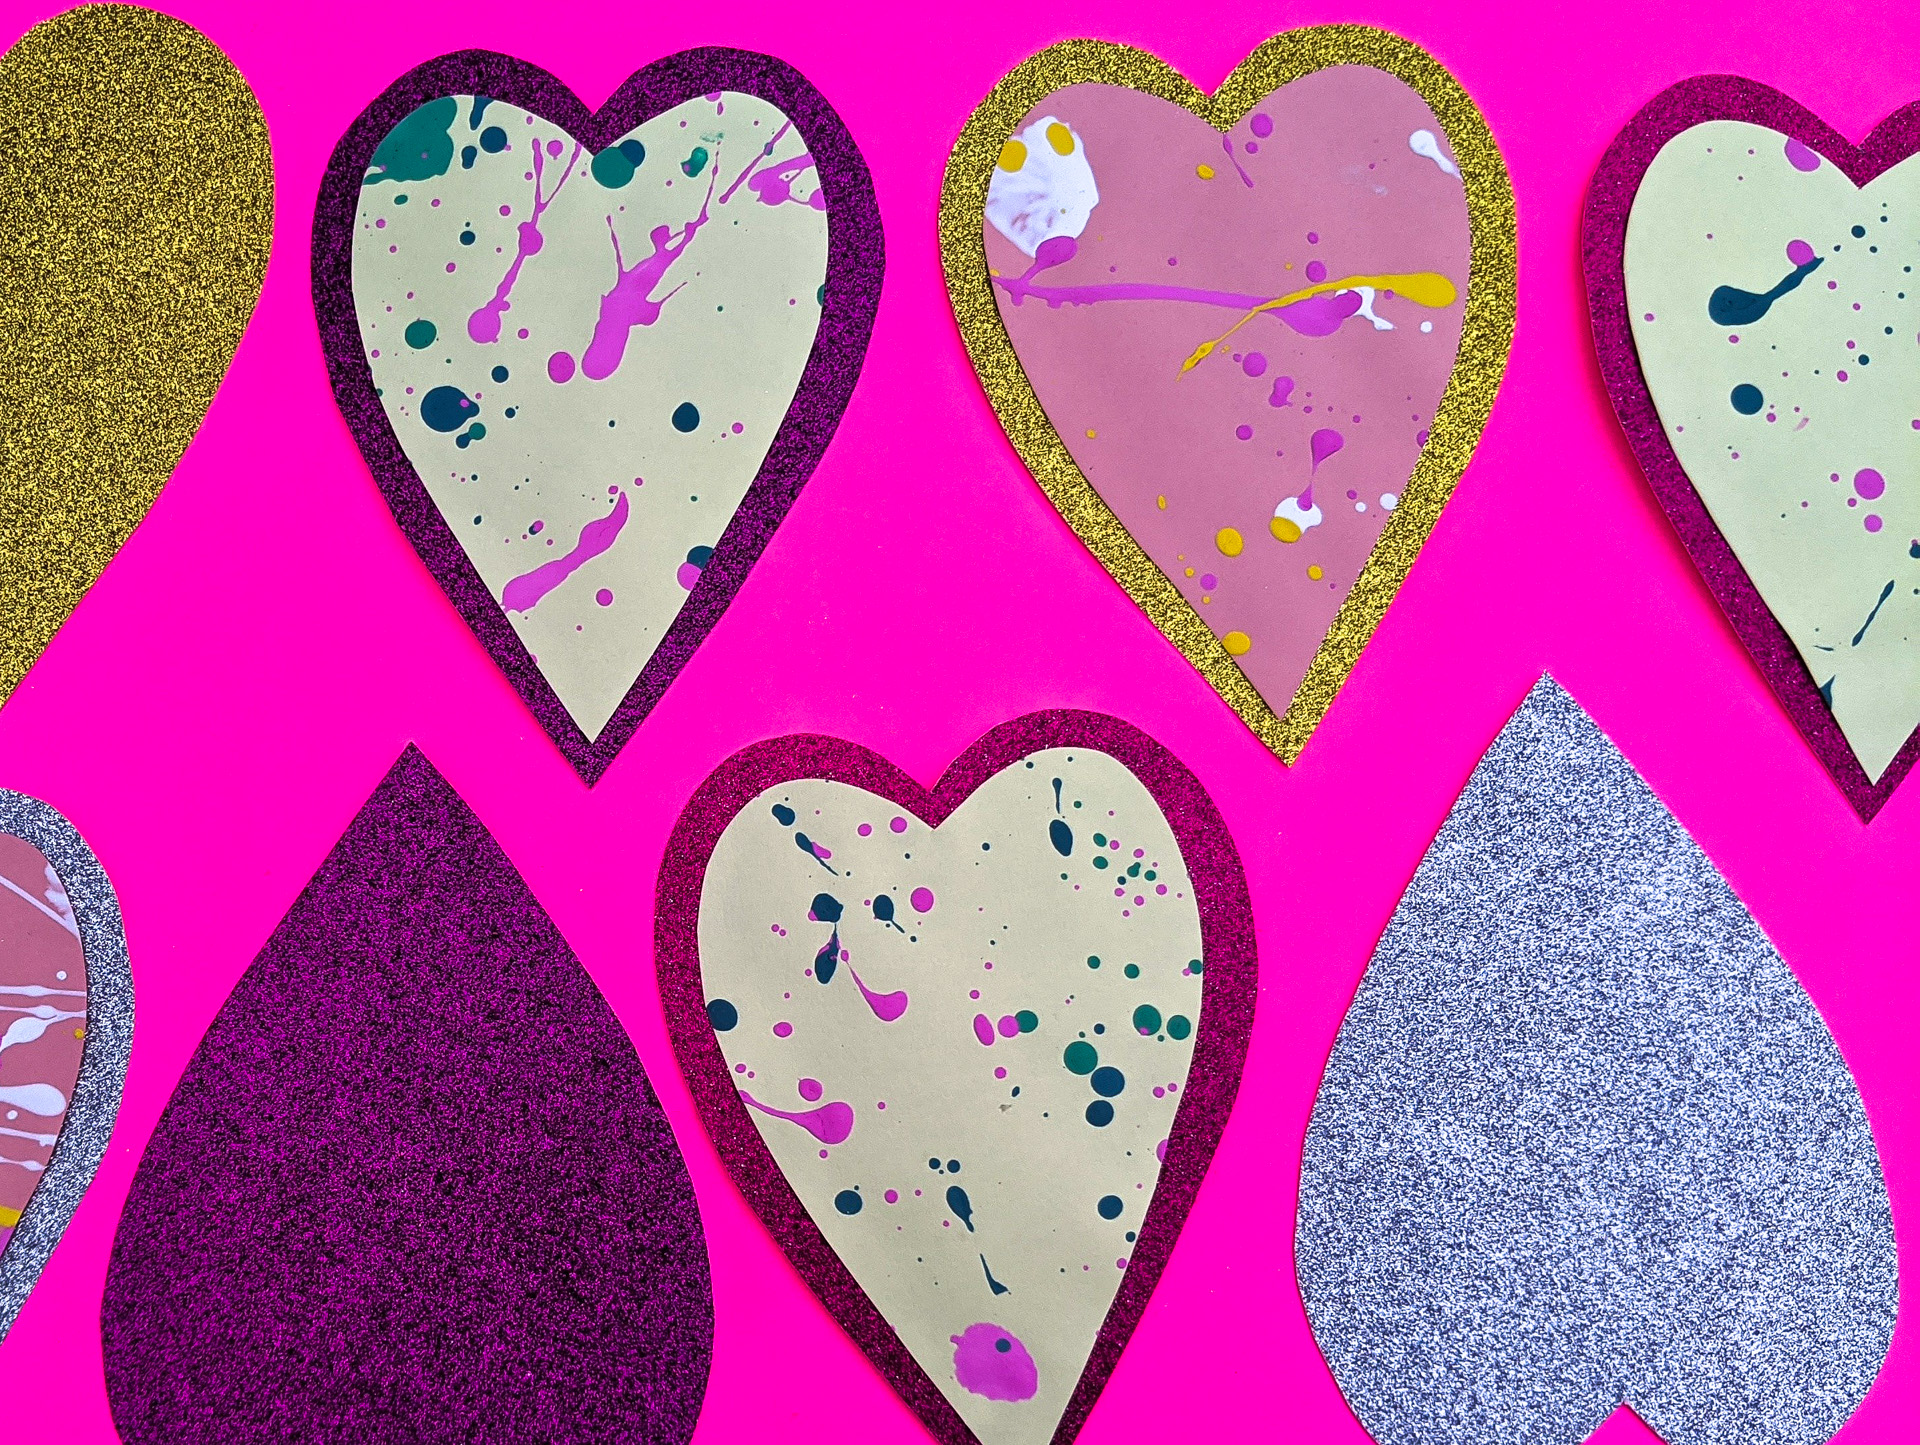
You could really make these splatter paint valentines sing “80s” with the palette of your dreams. I used what I had on hand, which was the glitter card stock you see above. You can find heart templates online to make a stencil in your ideal size. I honestly used an old valentine card I had on hand as my “stencil”. The glitter hearts you see here were used as the backing for the splatter paint design. They really helped the painted surface to pop, don’t you think?!
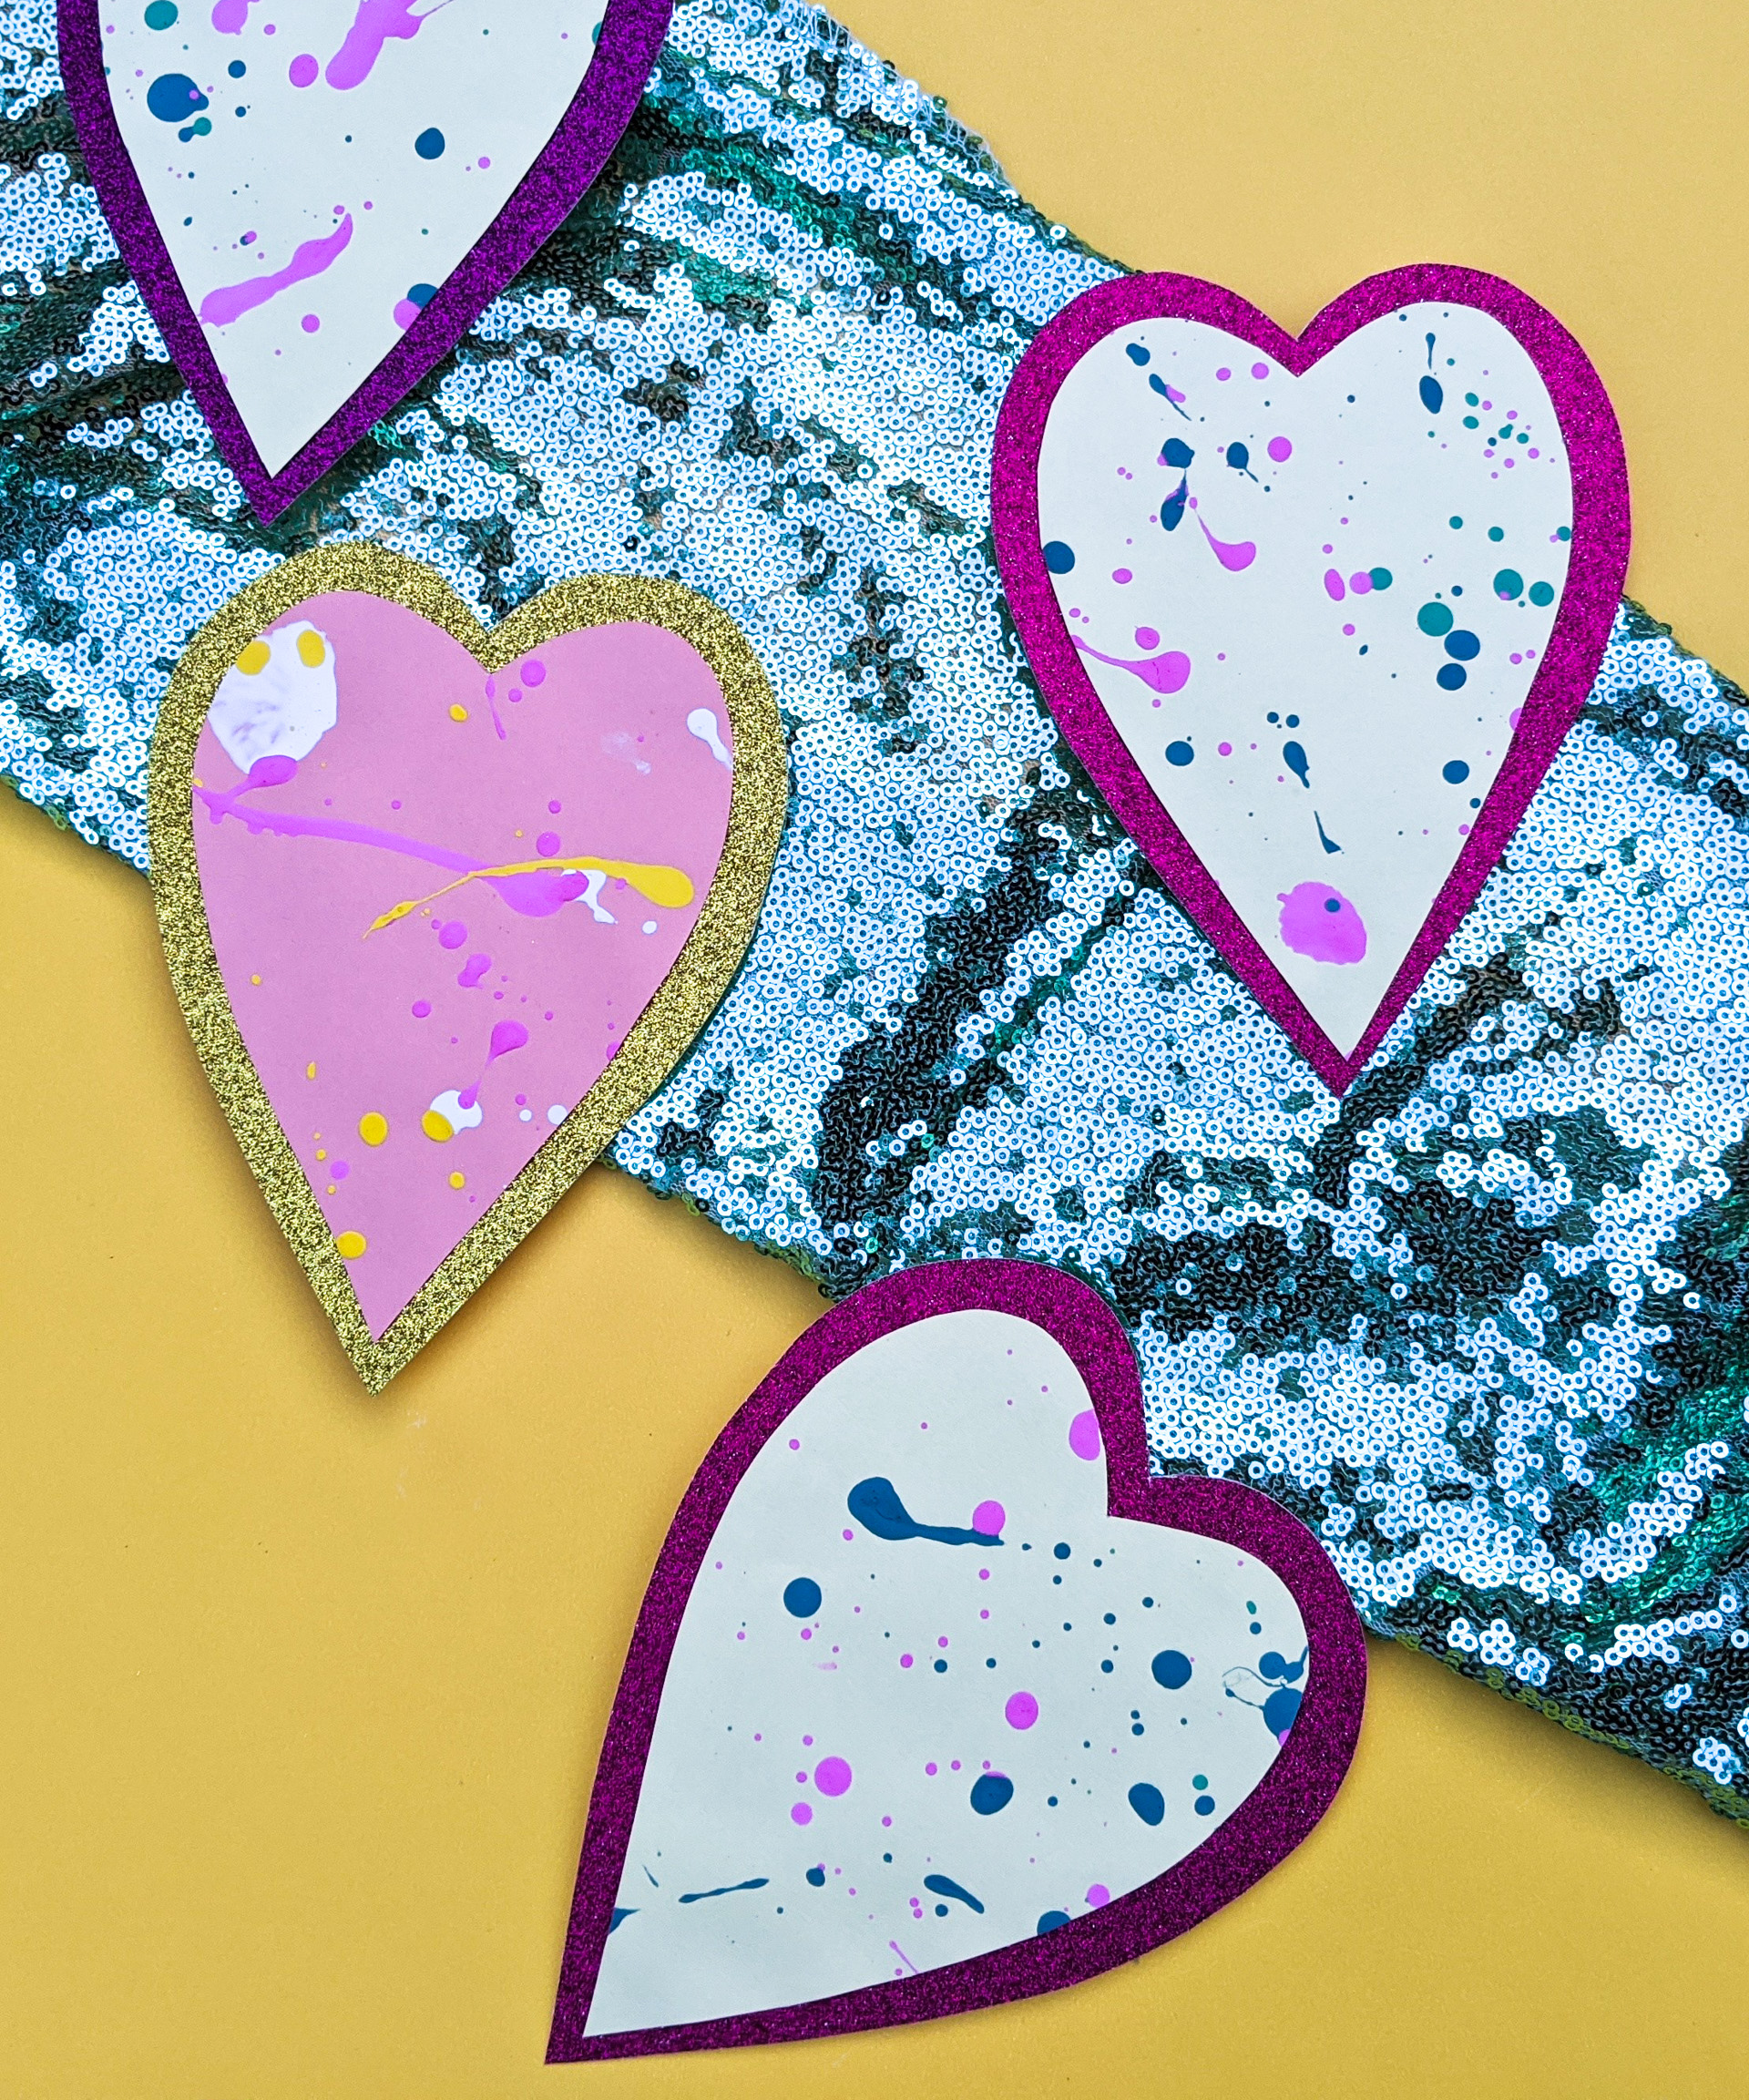
3. Cut hearts from your splatter painted card stock once the paint is dry.
Before you cut, you’ll need to create a homemade stencil that’s a little bit smaller than the heart you used to cut out your original hearts (the backing). I did it by taking one of the glitter hearts and trimming it about a half inch all the way around. Voila: stencil #2! Then I traced it all over the painted card stock and cut out the splatter paint hearts.
4. Glue your splatter paint hearts to the card stock backing.
I used a glue gun and glue sticks, because the painted hearts are thick and not totally flat once the paint dries. The glue gun/sticks just made everything easy and super sturdy. However, you don’t want to hand a young child a glue gun, so if you truly want this project to be kid friendly or you simply don’t have a glue gun on hand, a glue stick or liquid glue should work just fine. Especially if you’re willing to be patient and do some extra pressing.
Now it’s time to decorate your place with these splatter paint valentines or give them to the people you love the most. I wish you and yours a sparkling, ’80s-style Valentine’s Day!! Thanks for reading.


Leave a Reply