If you’re looking for a last-minute gift idea, may I suggest soap balls. Yes, soap balls. If you were a kid in the ’80s, you likely had these in your bathroom (perhaps in a scalloped dish), or you made them for your mom, thanks to a school art project. Peach tones were popular, and gift shops even sold them in bins so people could mix and match colors for the perfect powder room display. Affordable, easy to create, and usually wrapped in tulle when presented as a gift, soap balls were also photographed in many an ’80s bathroom. The design books don’t lie! Keep reading for details on how to make your own…
Supplies for Soap Balls
This project doesn’t require many supplies, making it an easy one to tackle. Here’s what you’ll want to have on hand:
- bars of soap
- a cheese grater or food processor
- a mixing bowl
- a clear measuring cup or glass
- water
- food coloring
- a mixing spoon
- essential oils (optional)
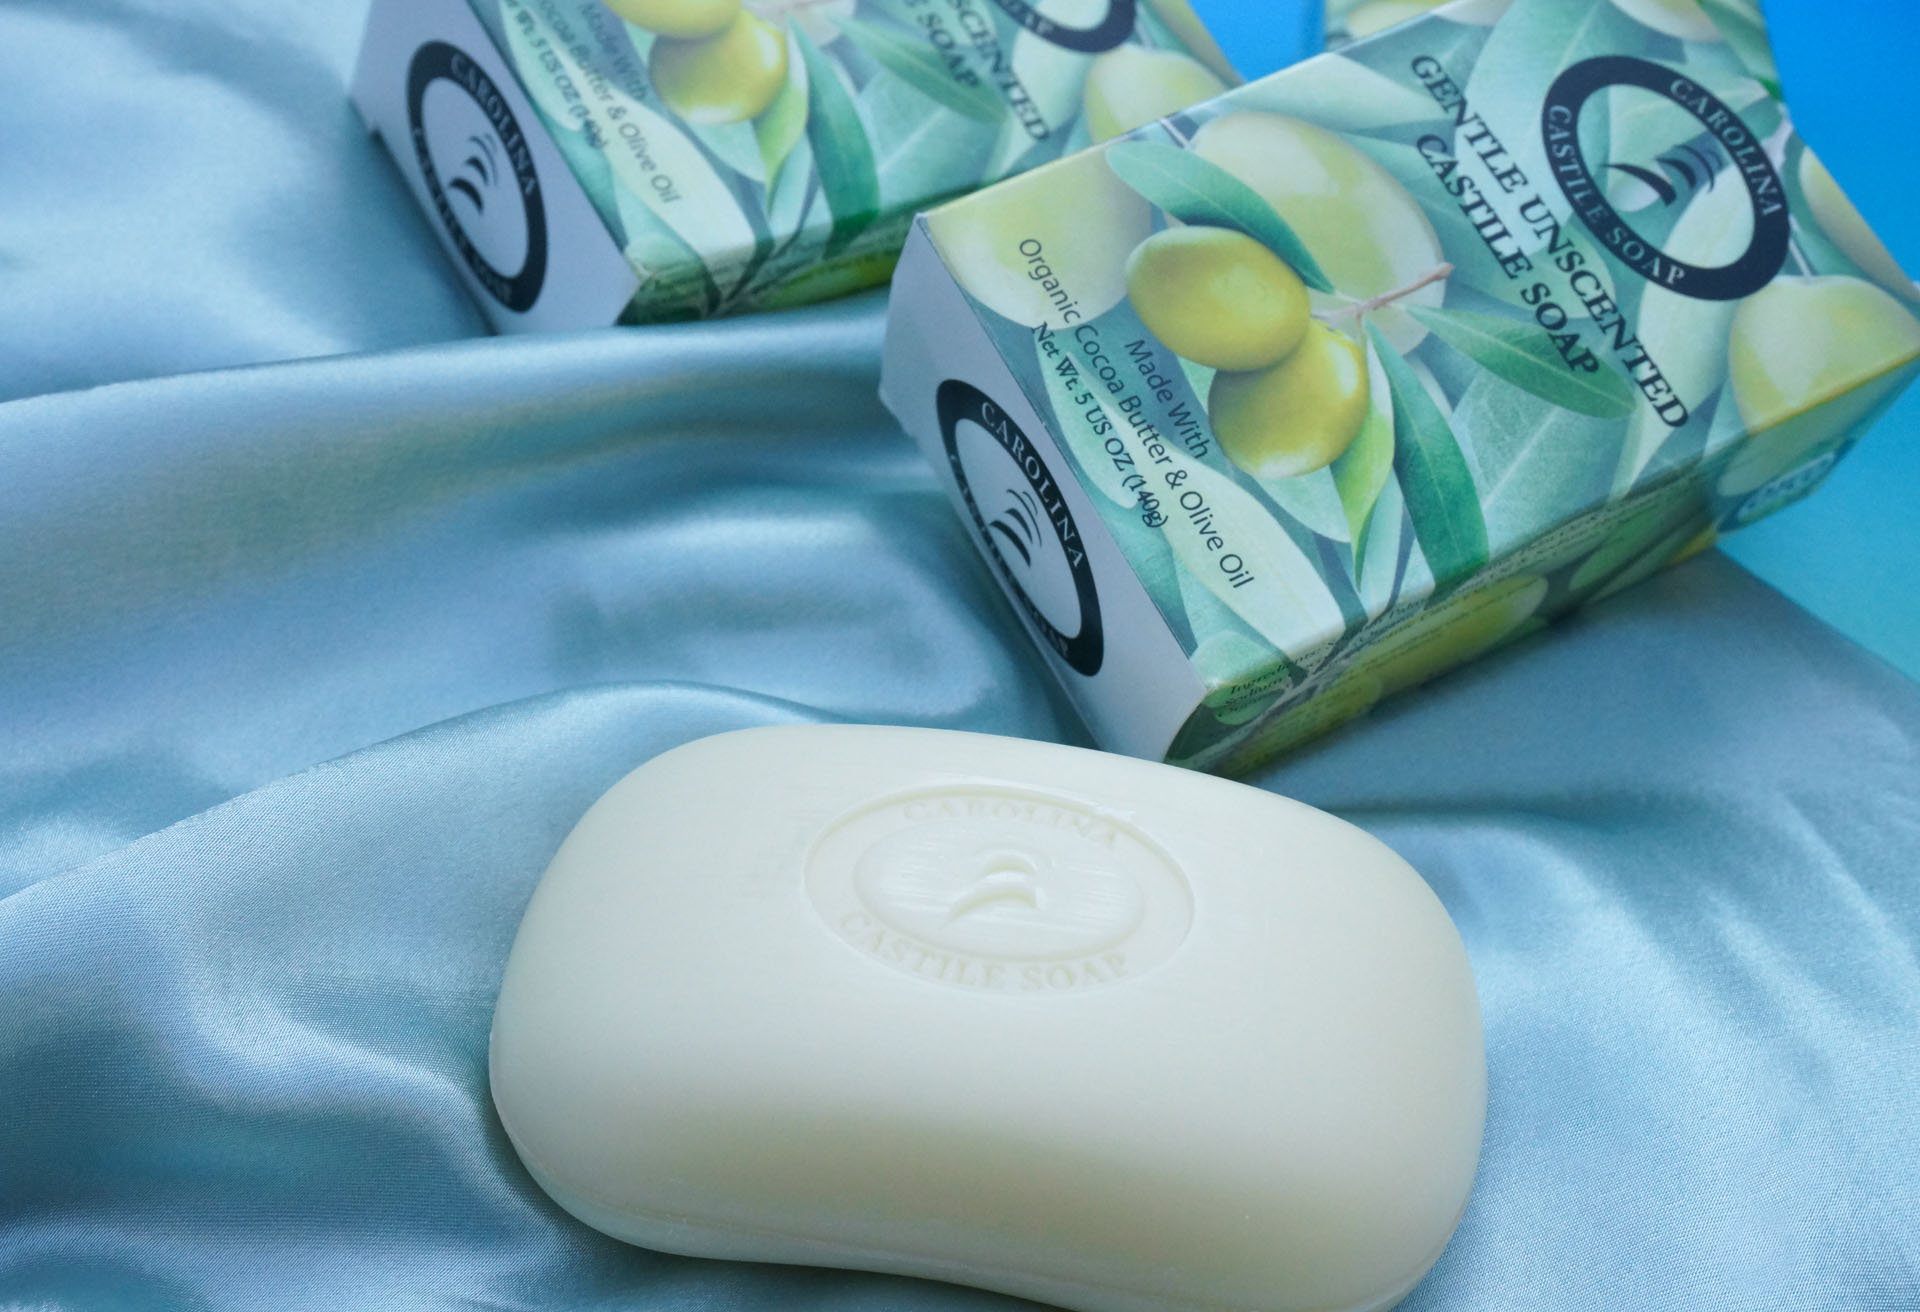
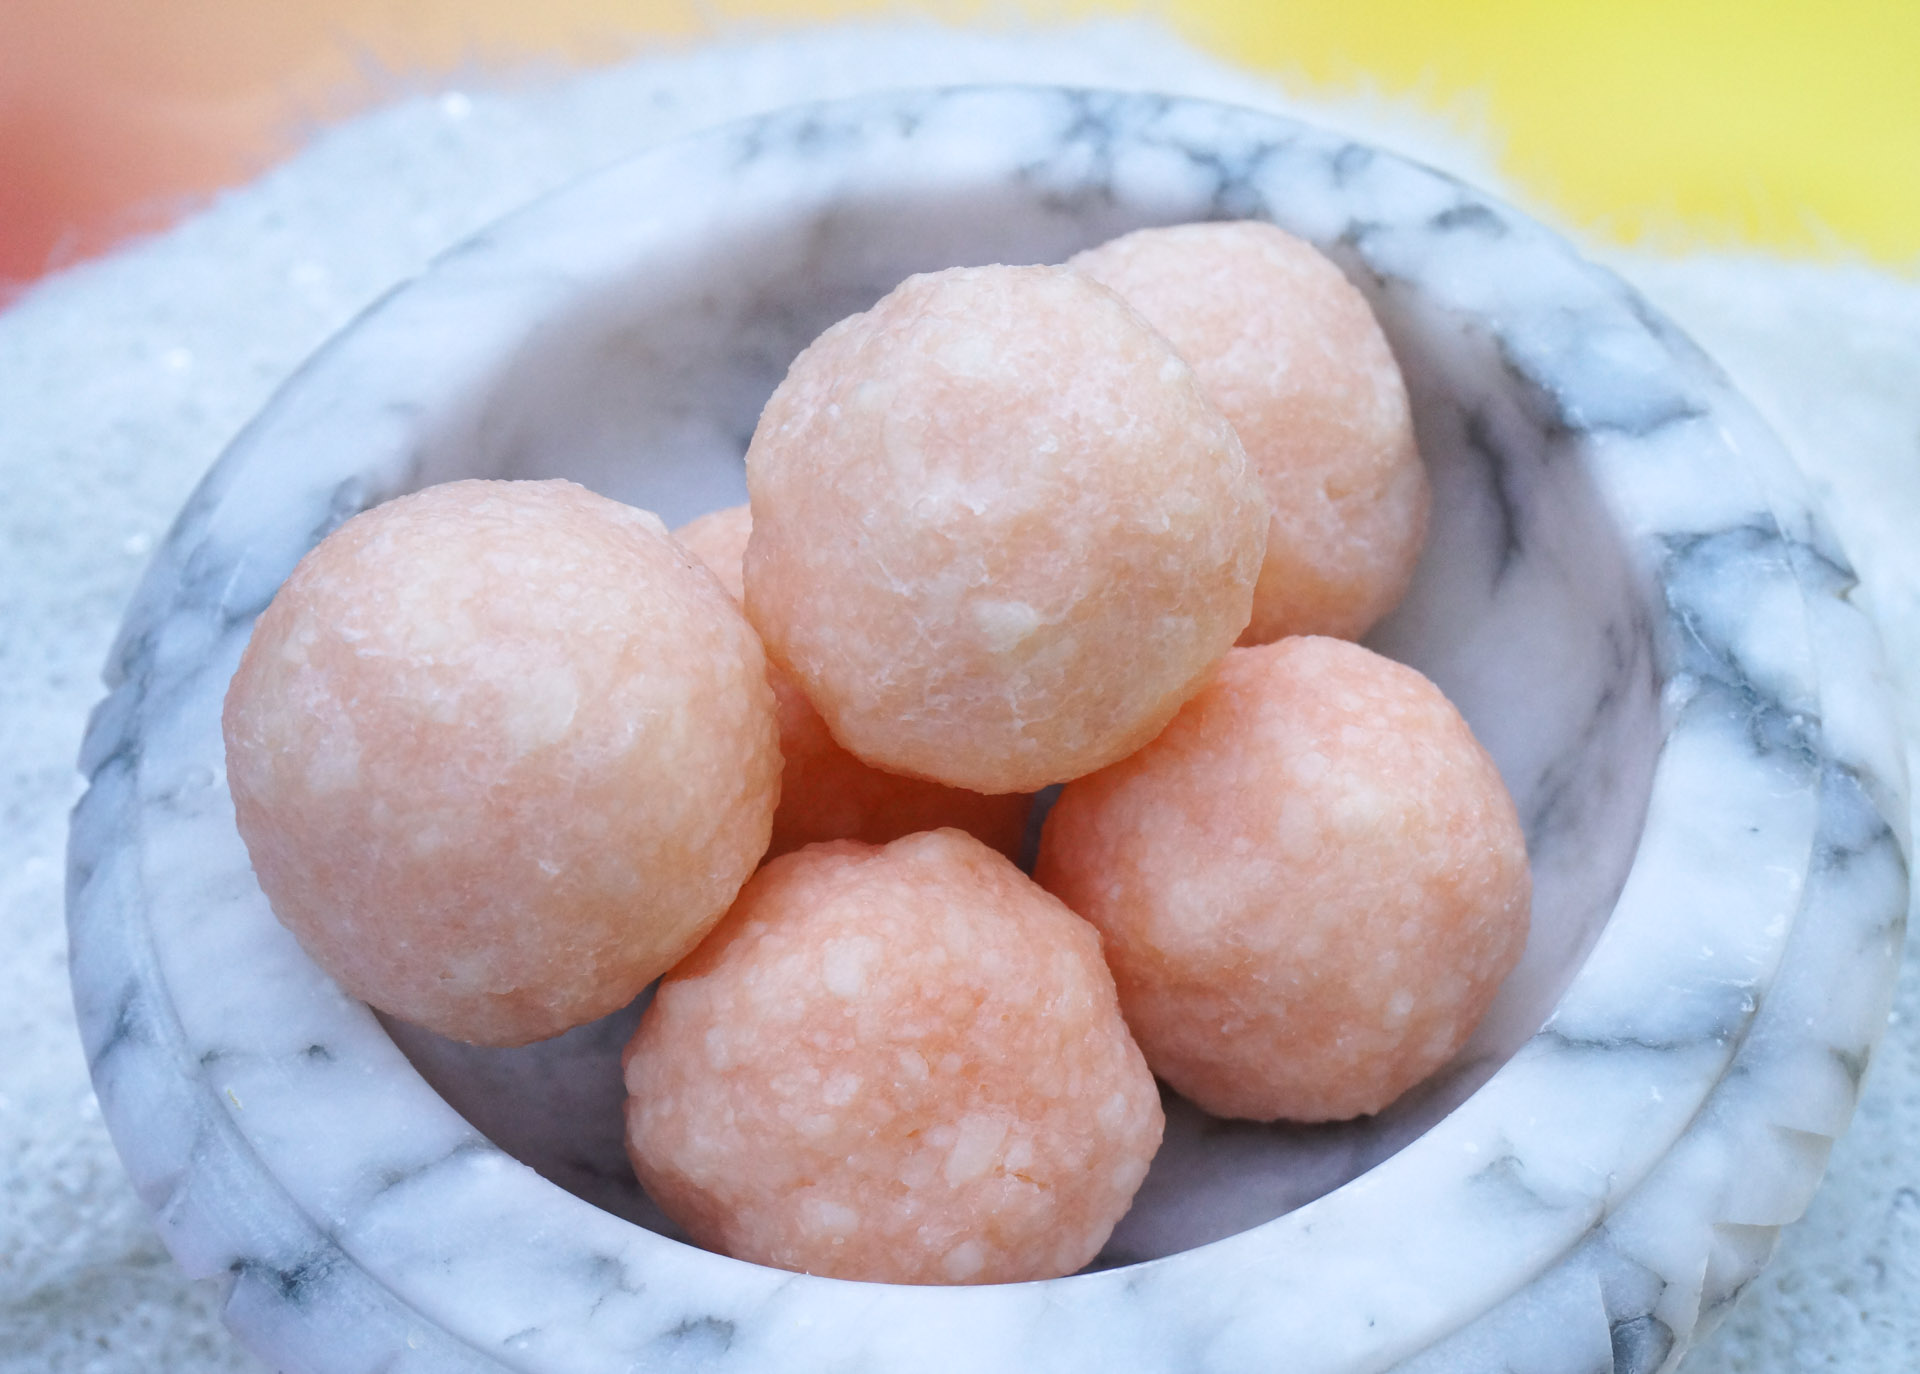
While super-affordable grocery store soap such as Ivory is often recommended for soap balls, you may want to choose a soap that has a very subtle scent. I opted for the castile soap shown above (which I ordered on Amazon). Honestly, the lovely ladies I was gifting with these soap balls have a very sensitive sense of smell, and I wanted to keep it simple. That’s also why I chose not to use essential oils to add fragrance, but that’s a popular option. I purchased a 6-pack of soap, and each bar created three soap balls. Keep reading for the easy steps involved in this project…
DIY Soap Ball Steps
Step 1: Grate the soap
This is honestly the step that requires the most patience. Some take a cheese grater to the bar of soap. I chose to chop my soap into thin/smaller pieces, then put them in a food processor. If you opt for this method, please, please, please be safe with the knife. If you’re prone to accidents, just use the cheese grater. The soap can be slippery, and as lovely as these soap balls turn out to be, they’re not worth a trip the ER, mmkay?
Step 2: Create the color of your choice by mixing food coloring and water
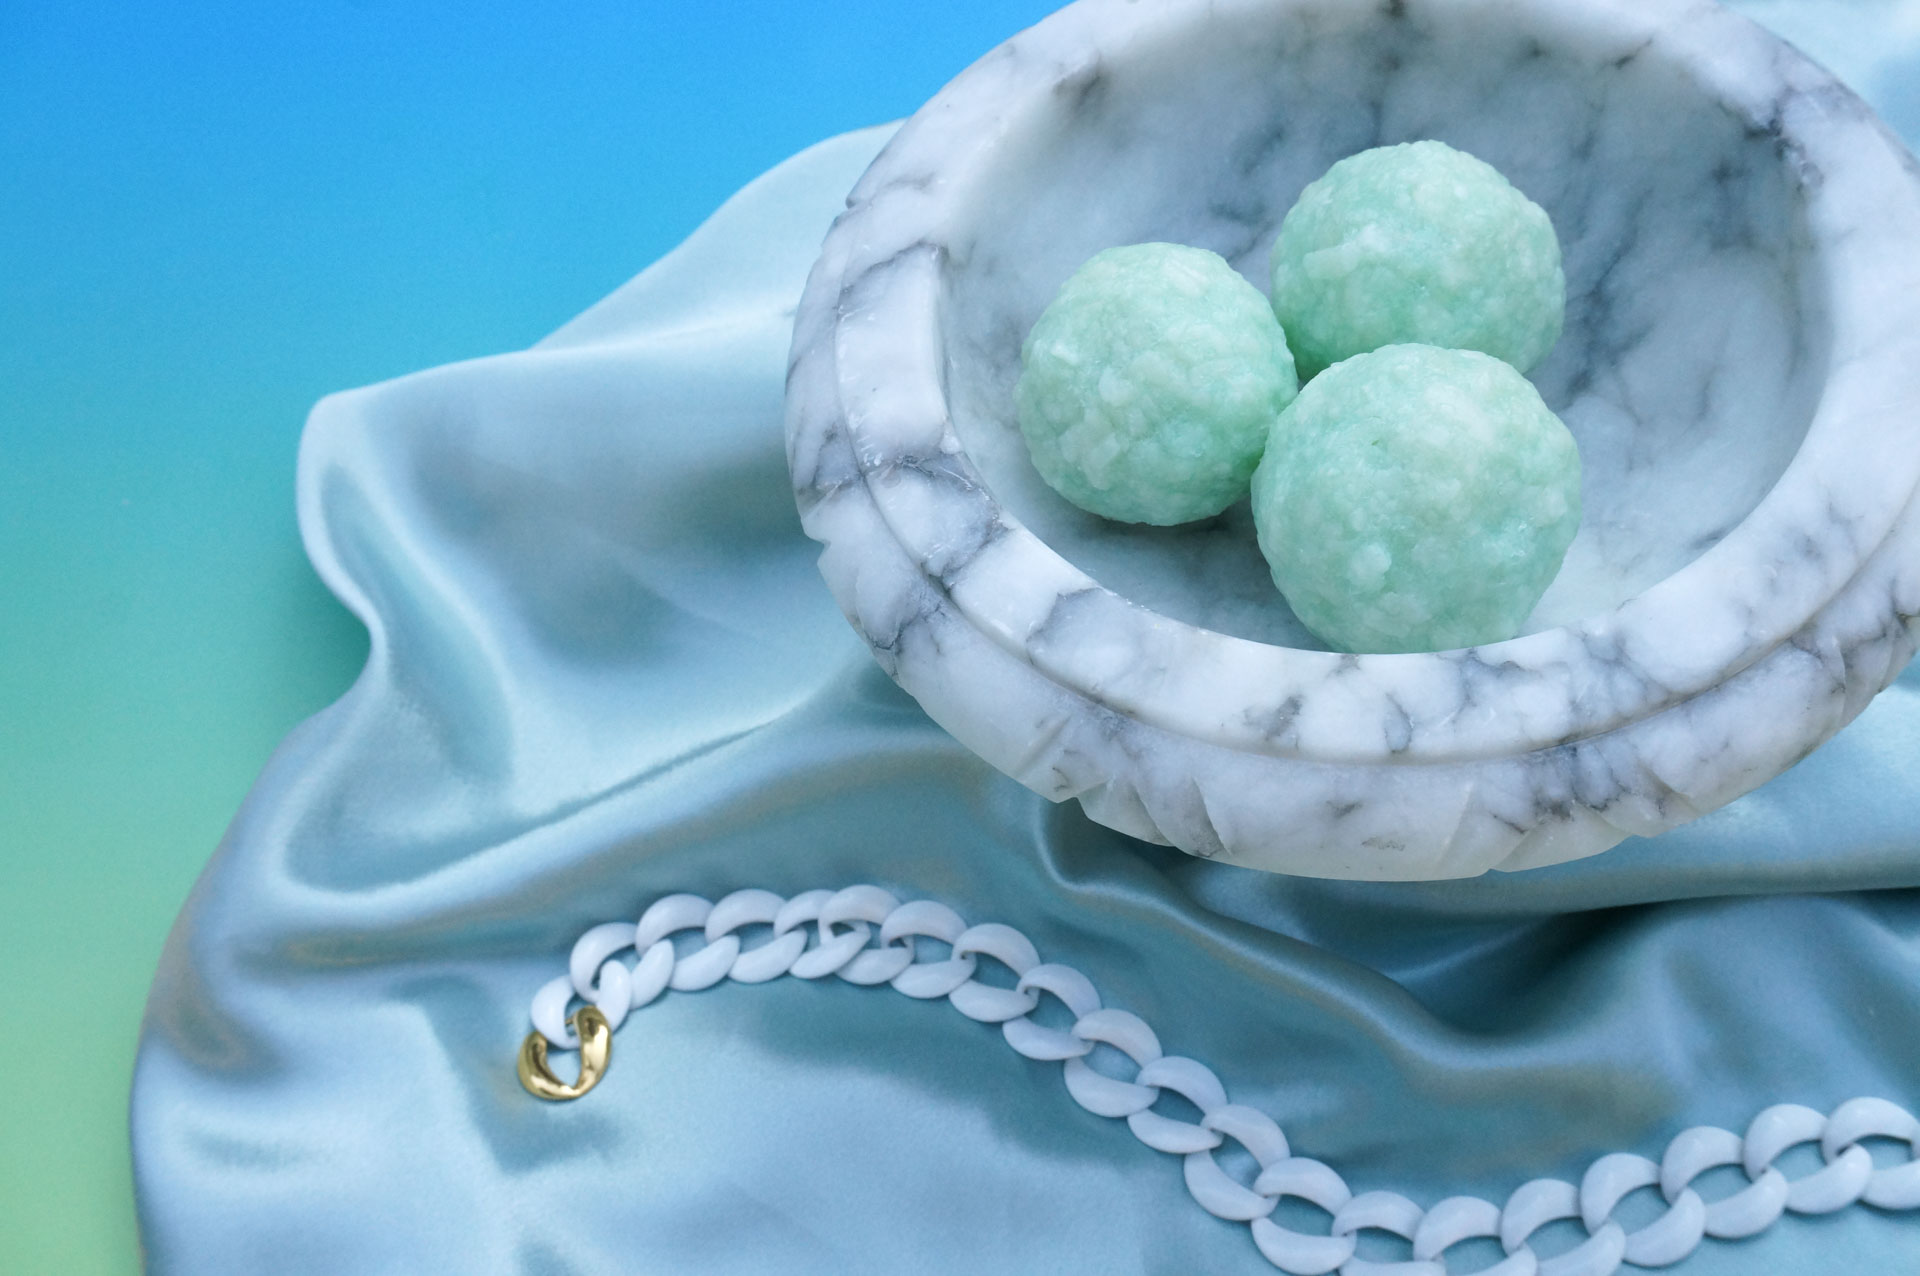
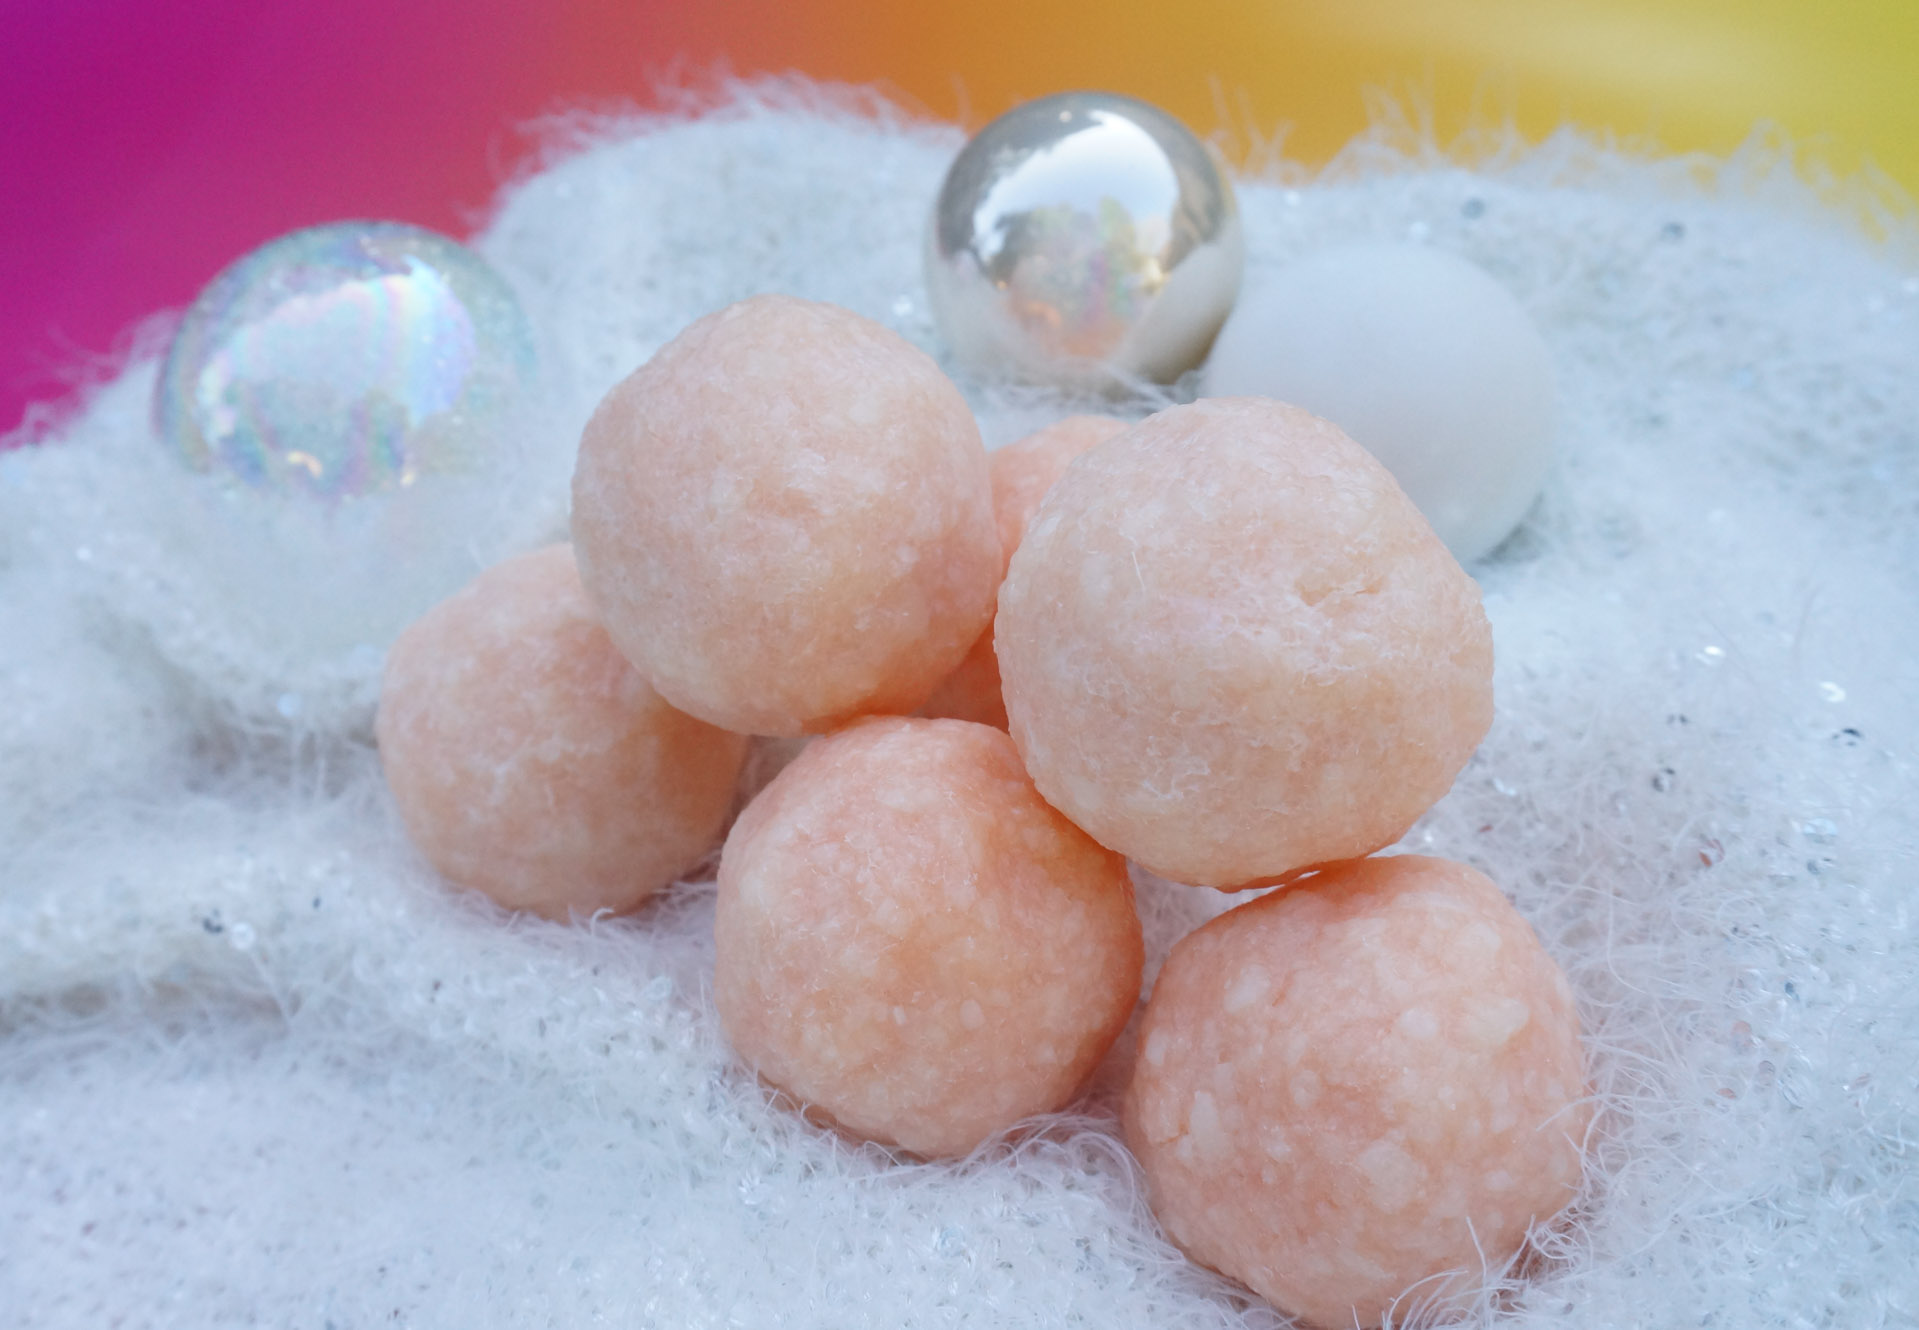
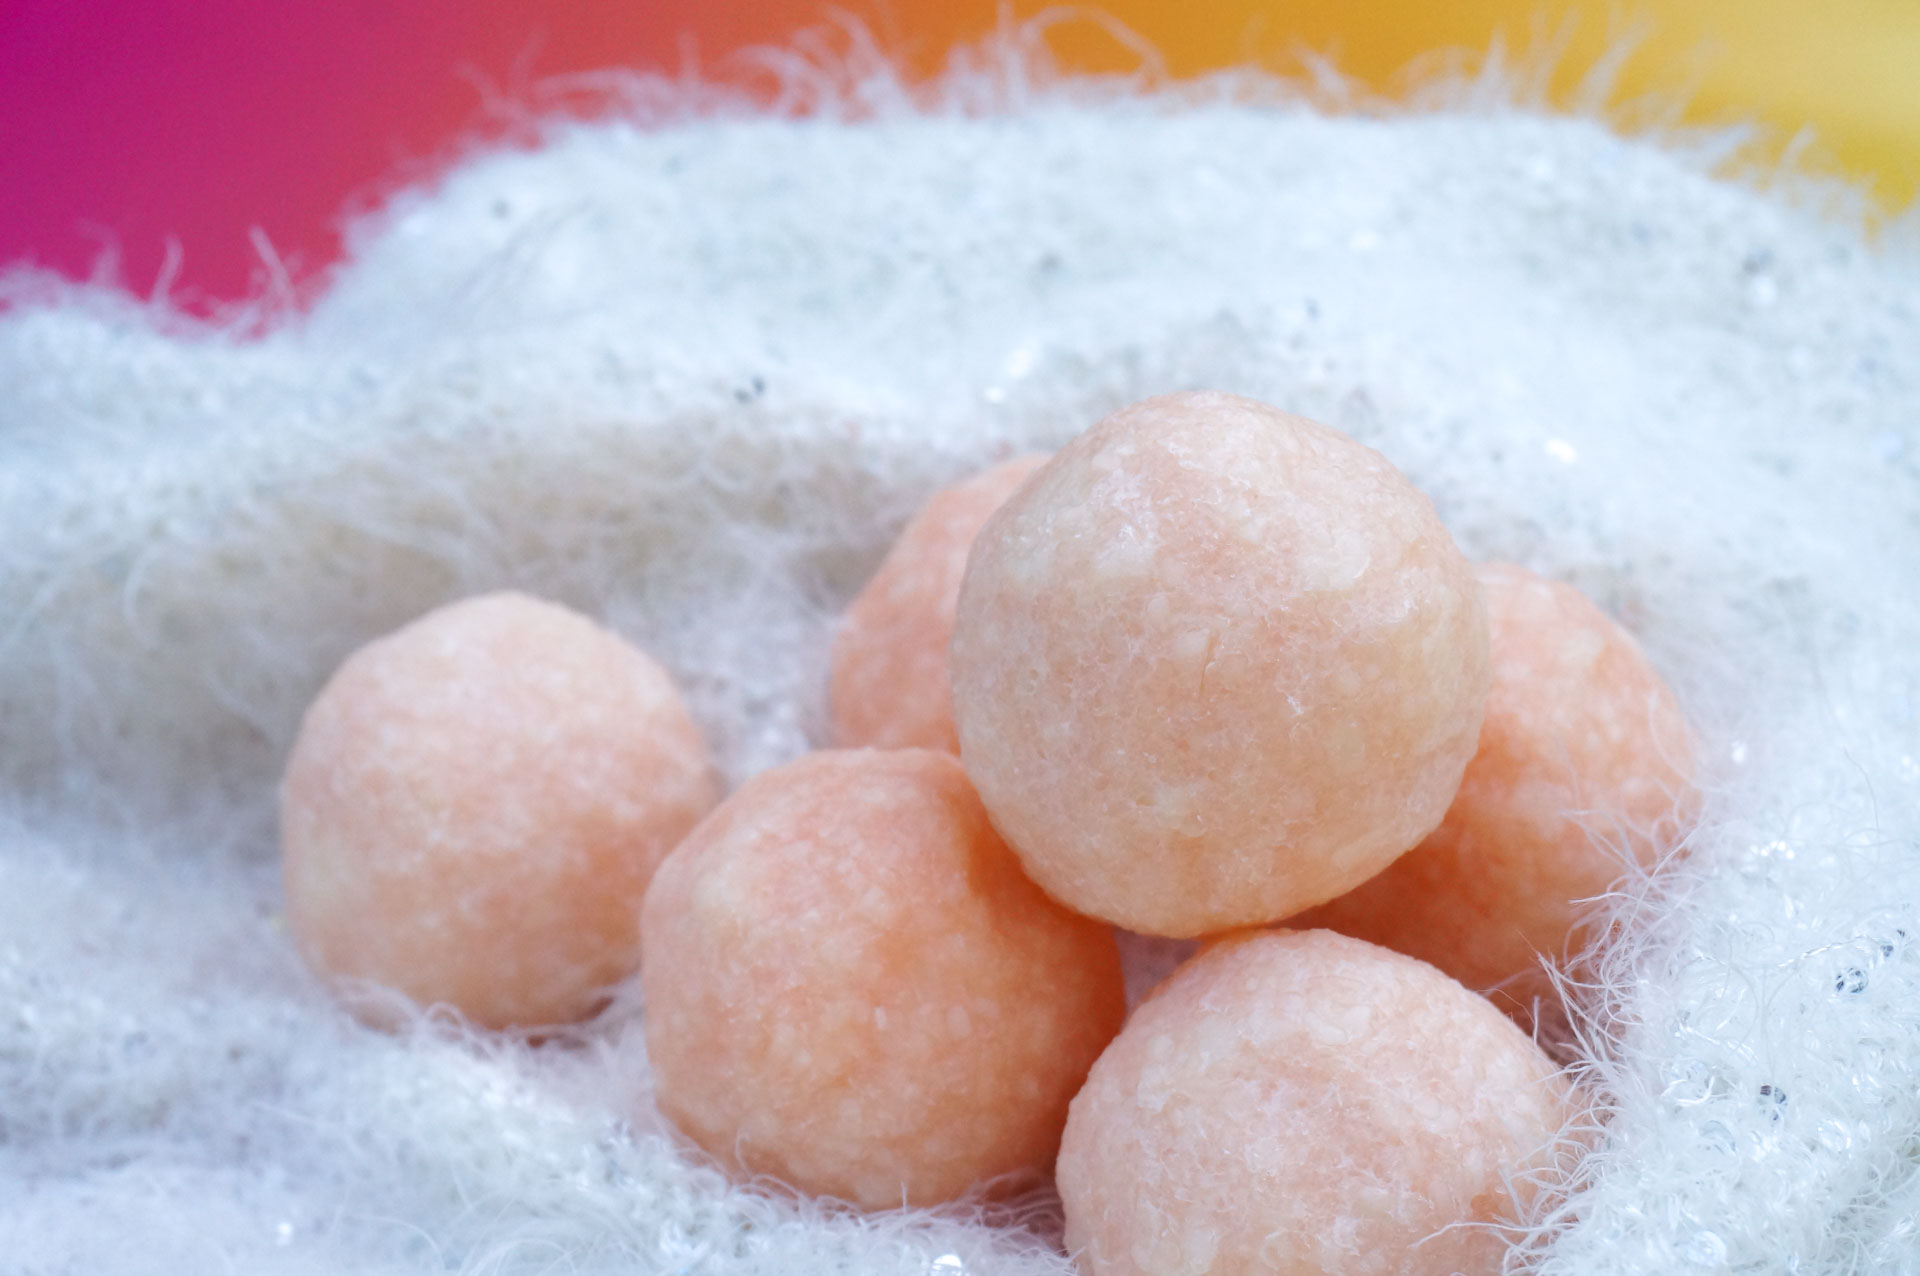
Add some water to a clear measuring cup or glass and sprinkle in a drop or two of food coloring. Start with a very small amount if you want the color to be subtle. For the peach soap balls shown above, I added one drop of red food coloring and one drop of yellow. A little goes a long way.
Step 3: Add the colorful water to the soap and form a paste
Put your grated/chopped soap in a mixing bowl and add the water/food coloring mixture. Start with a small amount, as it’s much easier to add more than to soak up excess water. The consistency should be soft without being too sticky. You can use a spoon to help mix everything together, but use your hands to get a feel for the consistency. This would also be the point to add your essential oil if that’s on your agenda!
Step 4: Form the soap into balls and let them dry
This is the fun part! It will seriously bring back memories of being a kid if this is a project you’ve enjoyed in the past. Let your soap balls dry on parchment paper or another smooth surface. While some people recommend that the soap balls cure for at least a week, mine seemed pretty good to go in a day or two.
Don’t forget to display your soap balls with pride or wrap them up in a lovely way if presenting them as a gift. As mentioned, tulle is an ideal wrapping material. Thanks for reading, and enjoy!








Leave a Reply