Happy (almost) Halloween! We’re in the final countdown, and if you’ve been reading the blog for awhile, you know that I can’t let an October go by without tackling a pumpkin project. It’s become a tradition, and the only thing I love more than creating the pumpkins is the doing photo shoot…which always involves candy consumption, a great ’80s playlist in the background, and fingers crossed, a cool fall day.
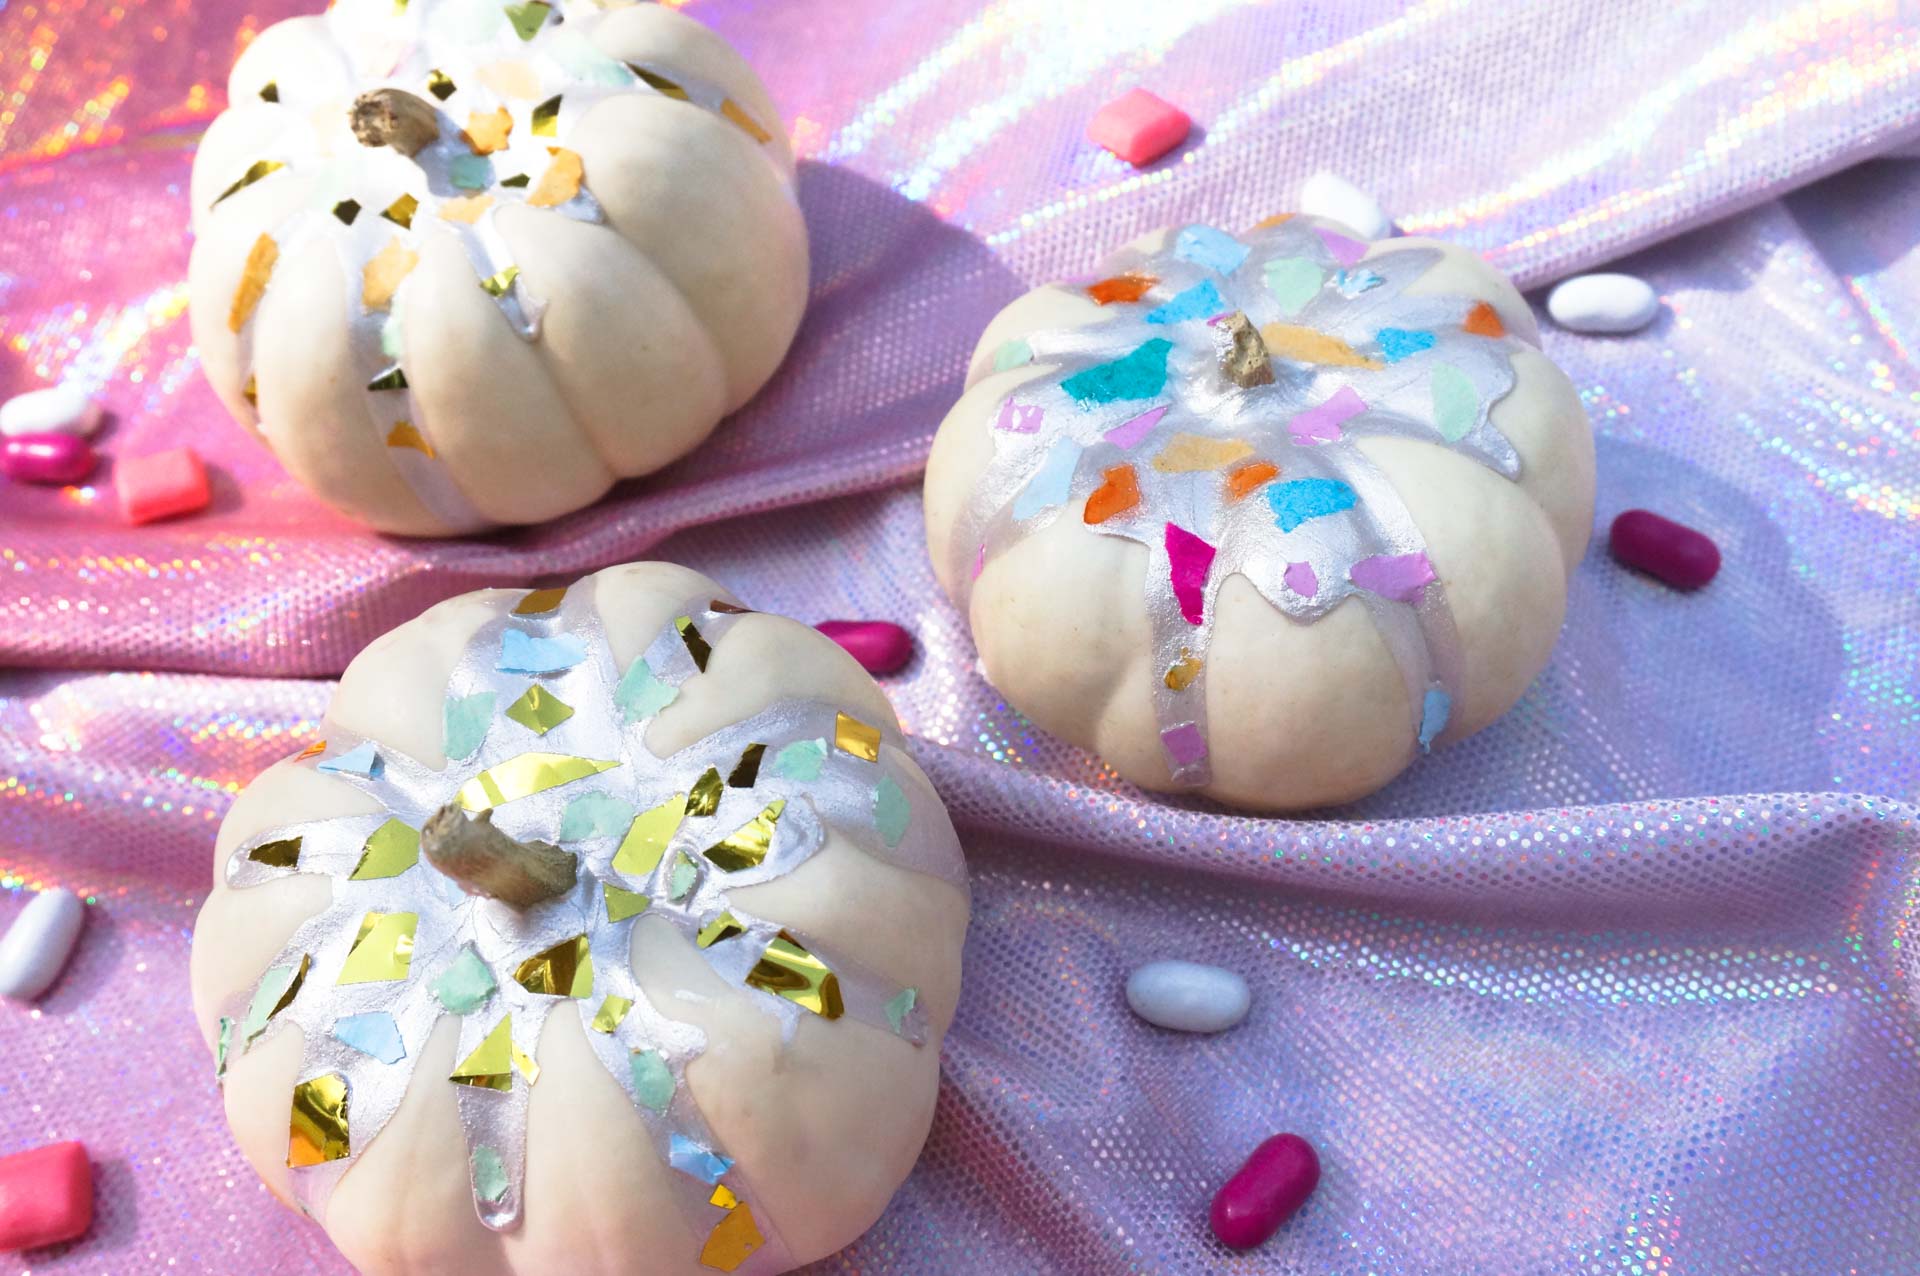
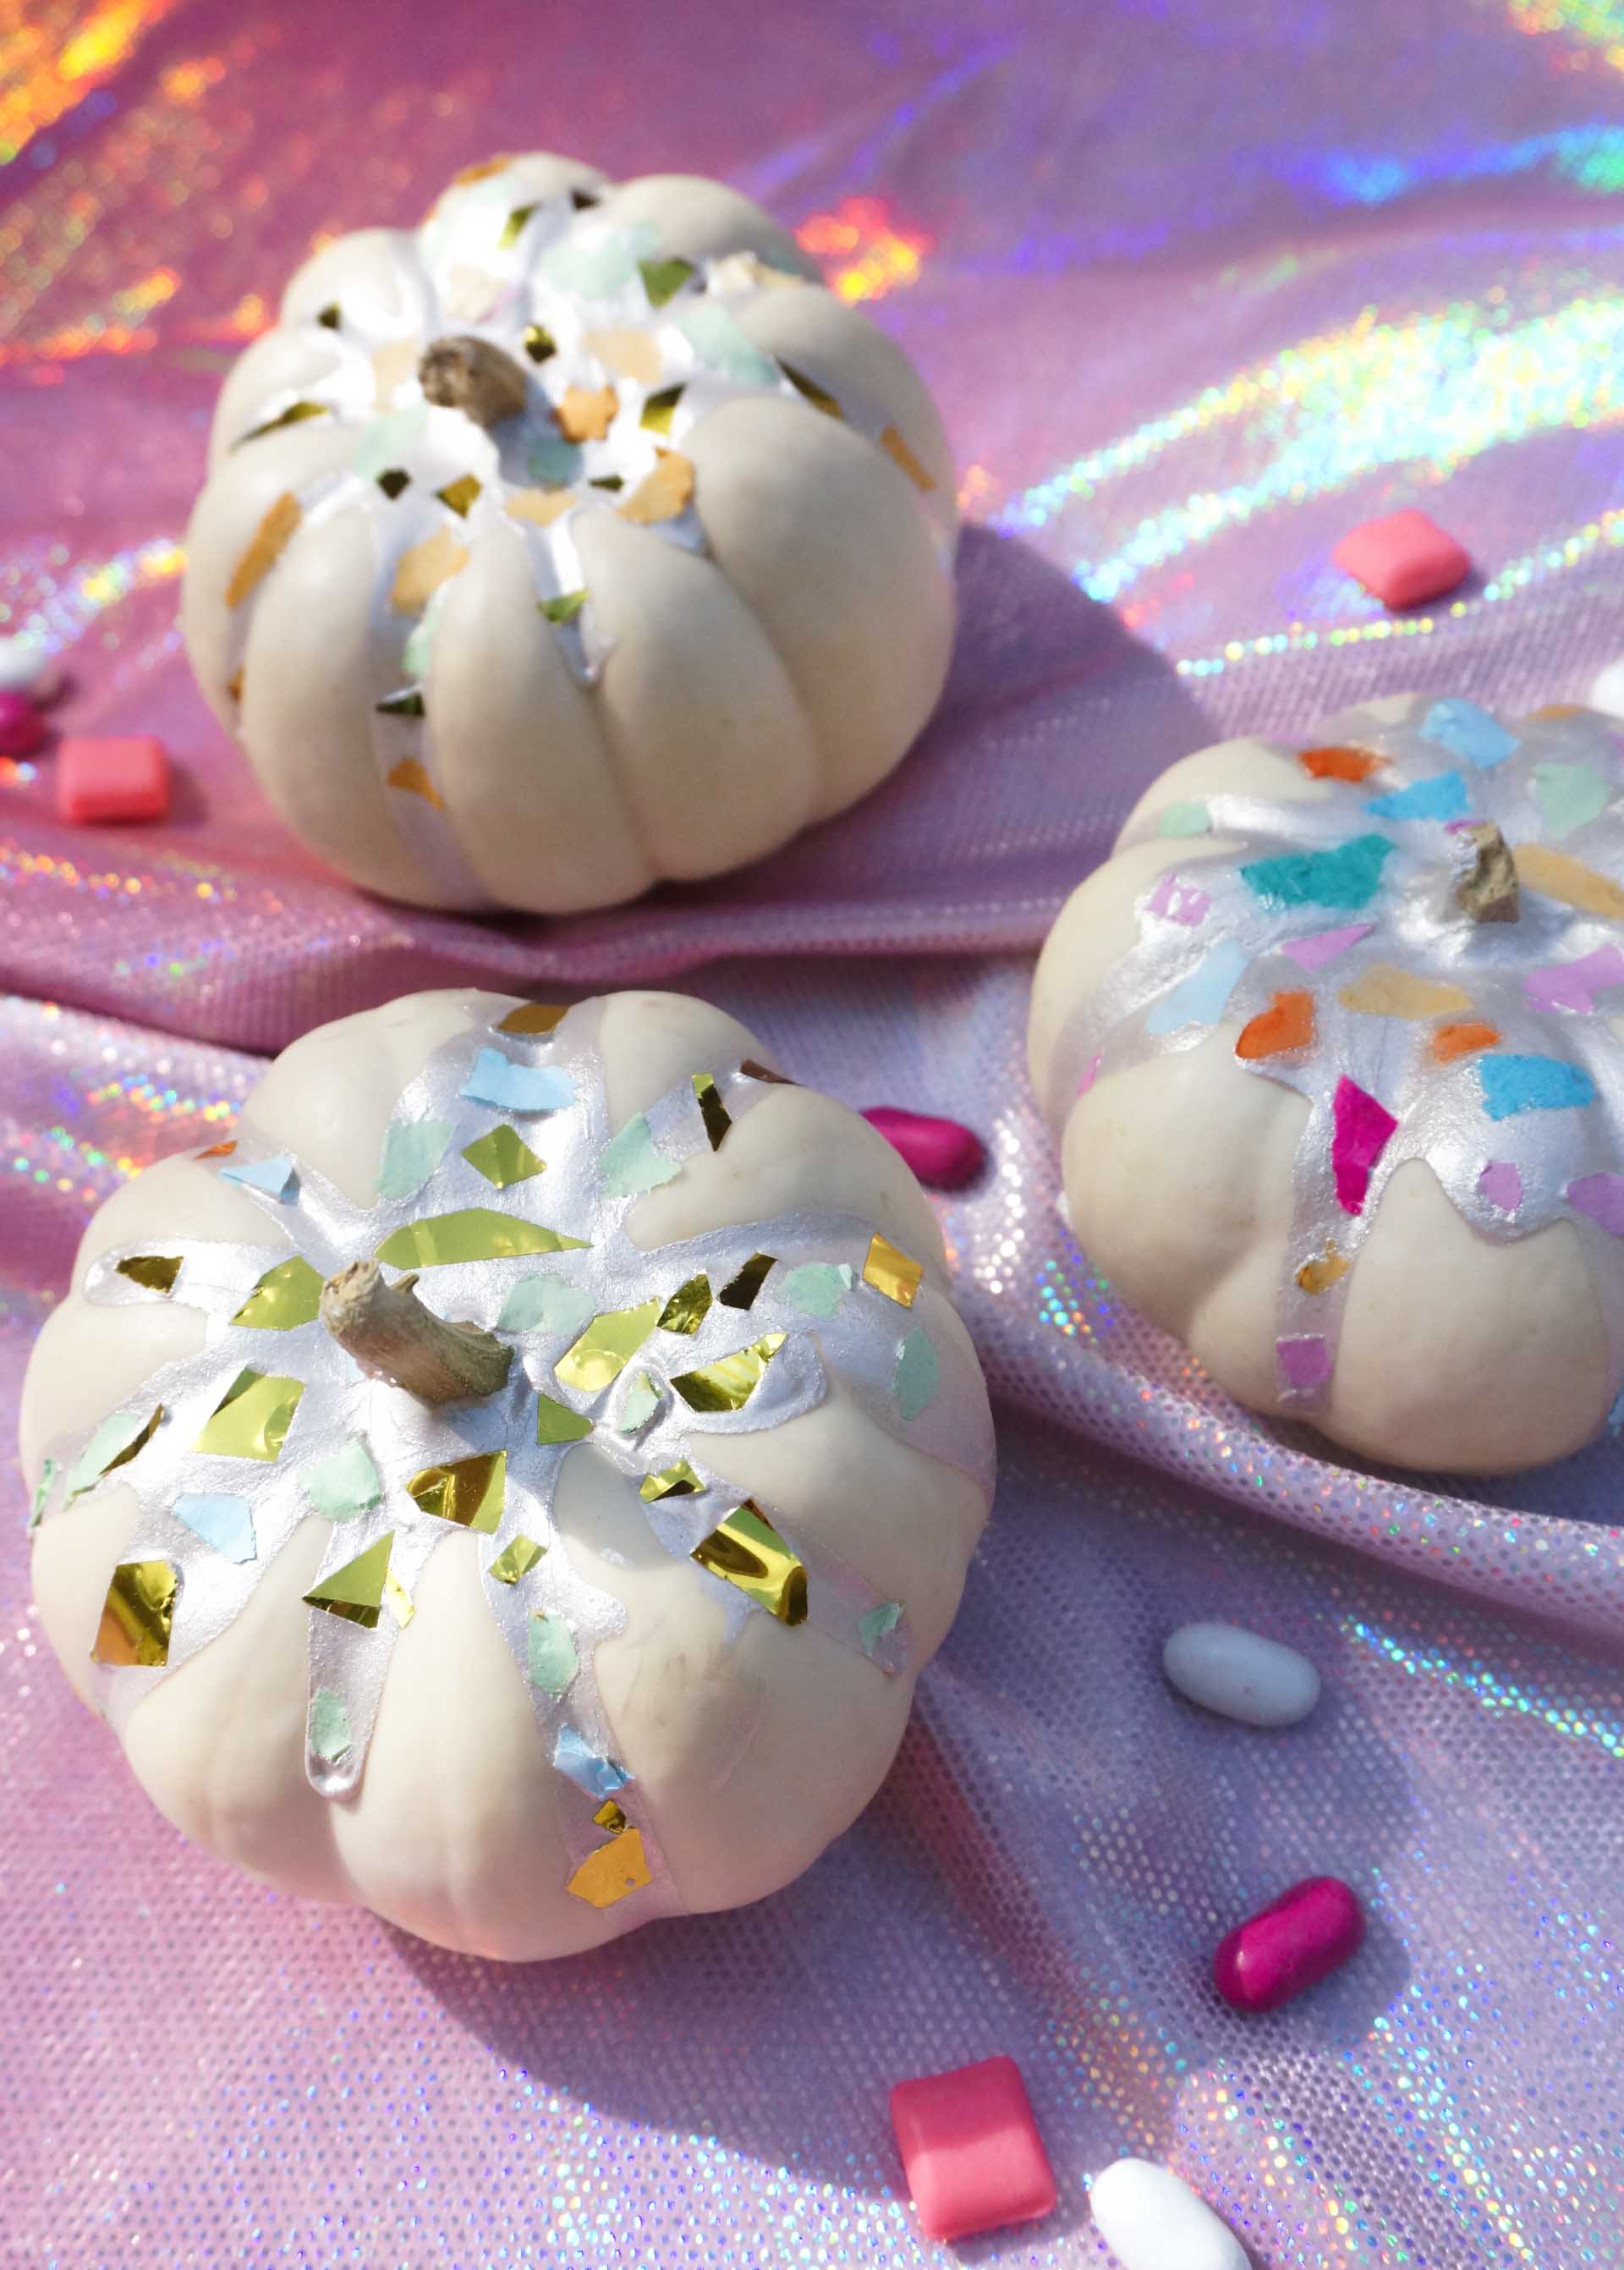
This year I decided to put a confetti spin on my terrazzo pumpkins from 2016. The original project will always be one of my faves, but it was a bit time consuming to create. This year, the terrazzo look is created with confetti and paint. It’s easy, fun, and just the right amount of messy. Read on for the simple steps to creating your own terrazzo confetti pumpkins!

Terrazzo Confetti Pumpkin Supplies

For this project, you’ll need:
- small pumpkins, real or faux
- pearlescent paint
- confetti in the colors of your choice
Crafting Your Terrazzo Confetti Pumpkins

Ready to get crafting? This project is a lot of fun to create, and with just a little bit of time and patience, the payoff is big…
Step 1: Pre-select confetti pieces so they’re ready to set into the paint. As you can see, I chose a mix of gold confetti and multi-colored confetti. Each pumpkin has a different look. Before busting out the paint, I hand-selected about 30 pieces of confetti for each pumpkin and set them aside so they were ready to go once the paint was poured.
Step 2: Gently pour the pearlized paint over the pumpkin, starting from the top down. This may be the trickiest part of the project. Especially if you’re using real pumpkins, you don’t want to pour a ton of paint over the top. It won’t fully dry out, and a blob of wet paint will get stuck under the dry paint. This could be the recipe for a moldy pumpkin. A little goes a long way! You can use a paintbrush to thin out the paint on top if need be. If you finish the project and you find it’s not drying properly, don’t worry! You can poke a little hole in the drying paint and squeeze out the wet paint that’s trapped underneath. I did this with all 3 of my pumpkins and it totally worked!
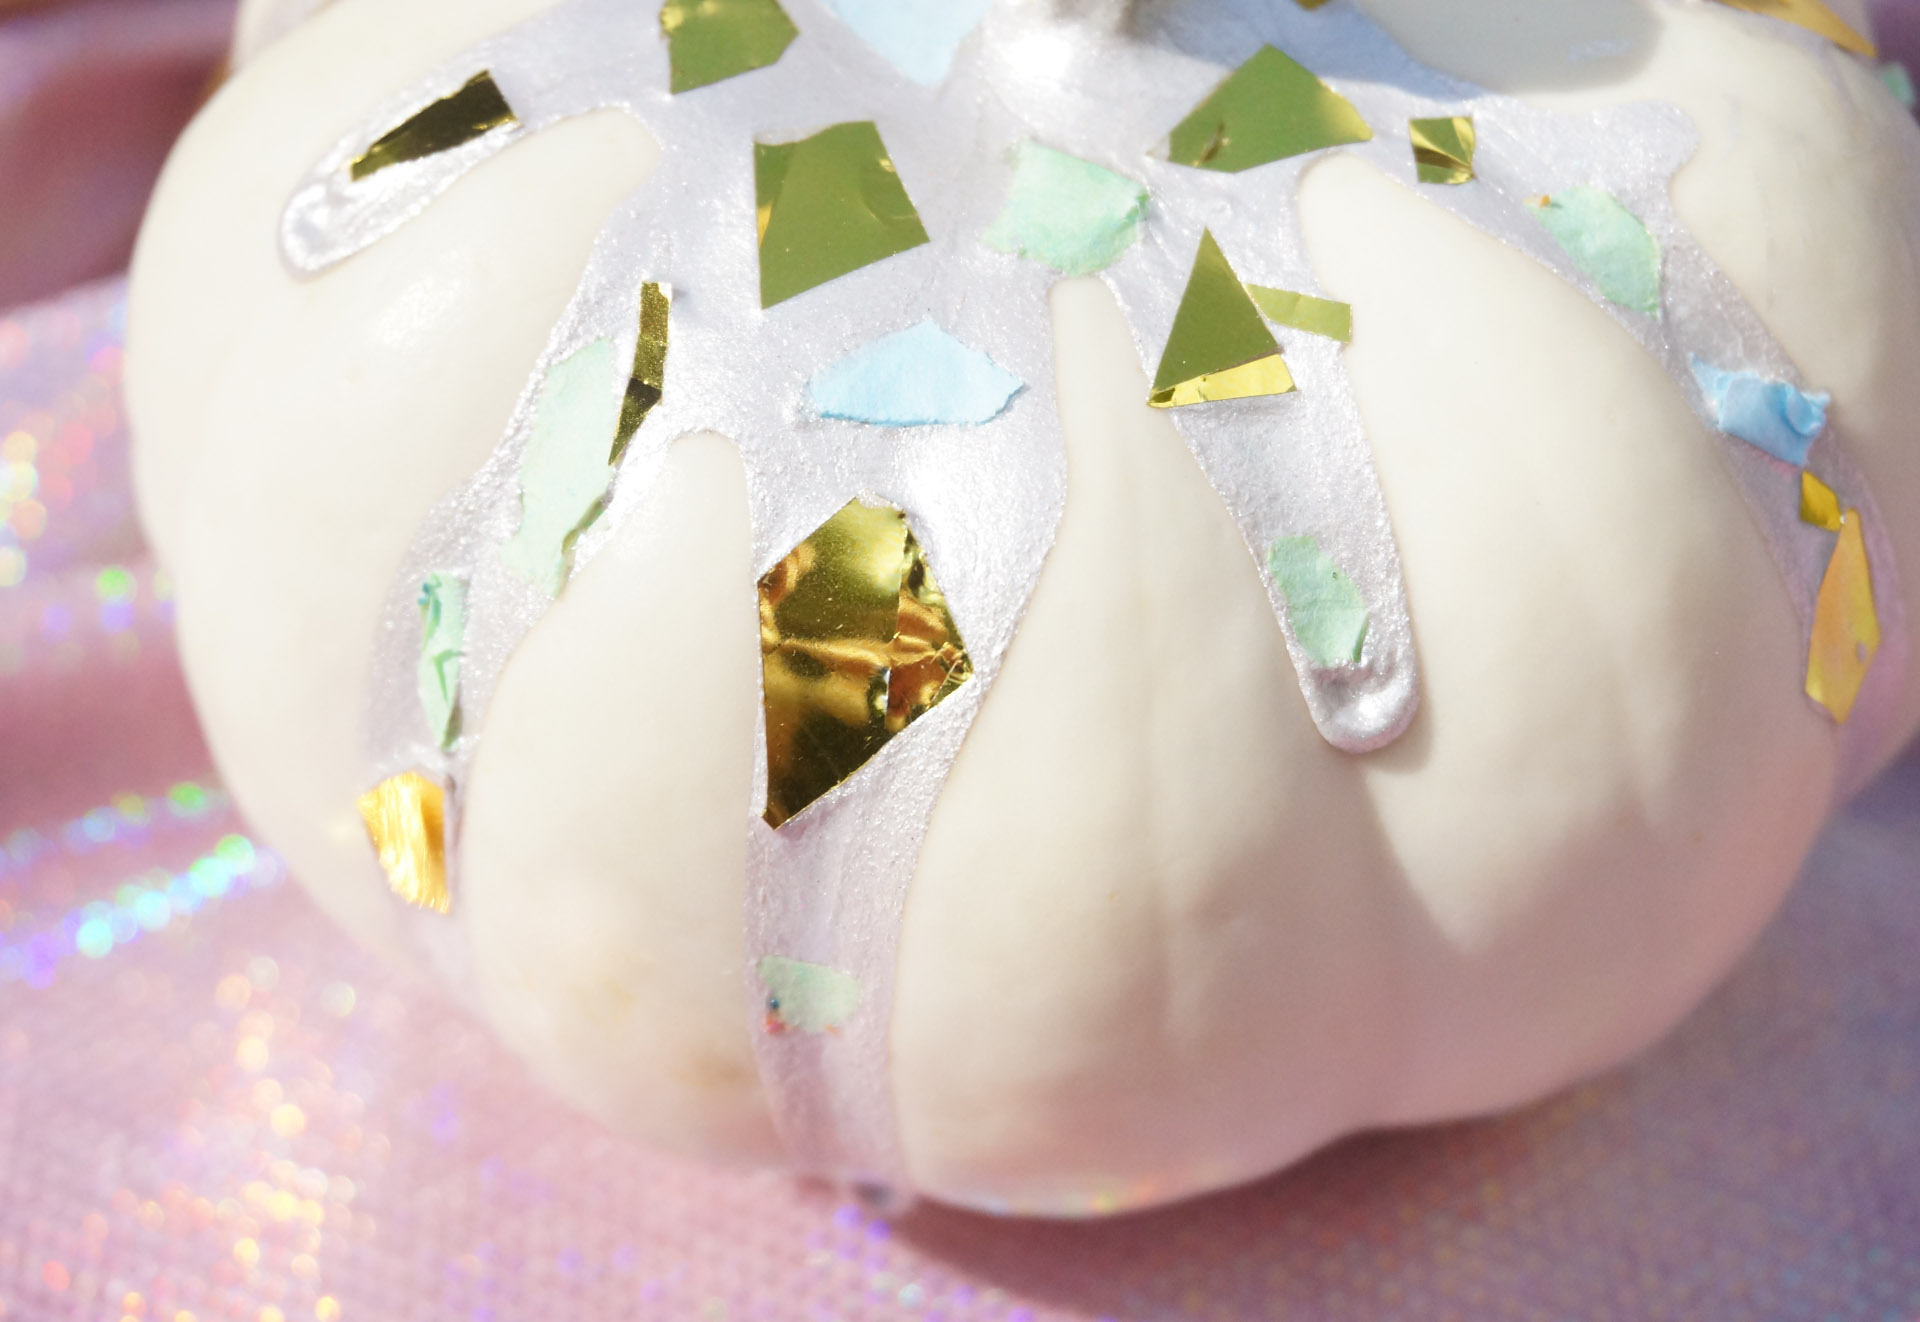
Step 3: Set each piece of confetti into the paint. Use gloves if you’re worried about getting messy. You’ll want to regularly wipe your fingers so you don’t get paint on the surface of each piece of confetti. Also, this project is as messy as you make it. You don’t need to push each piece into the thick of the paint. Setting the confetti on top and giving a slight push should do the trick. Have fun arranging the confetti and creating a custom terrazzo pattern!
Step 4: Let your pumpkins dry. You may want to set them on a sheet of scrap paper in case one or two drips of paint makes it all the way to the bottom of the pumpkin.

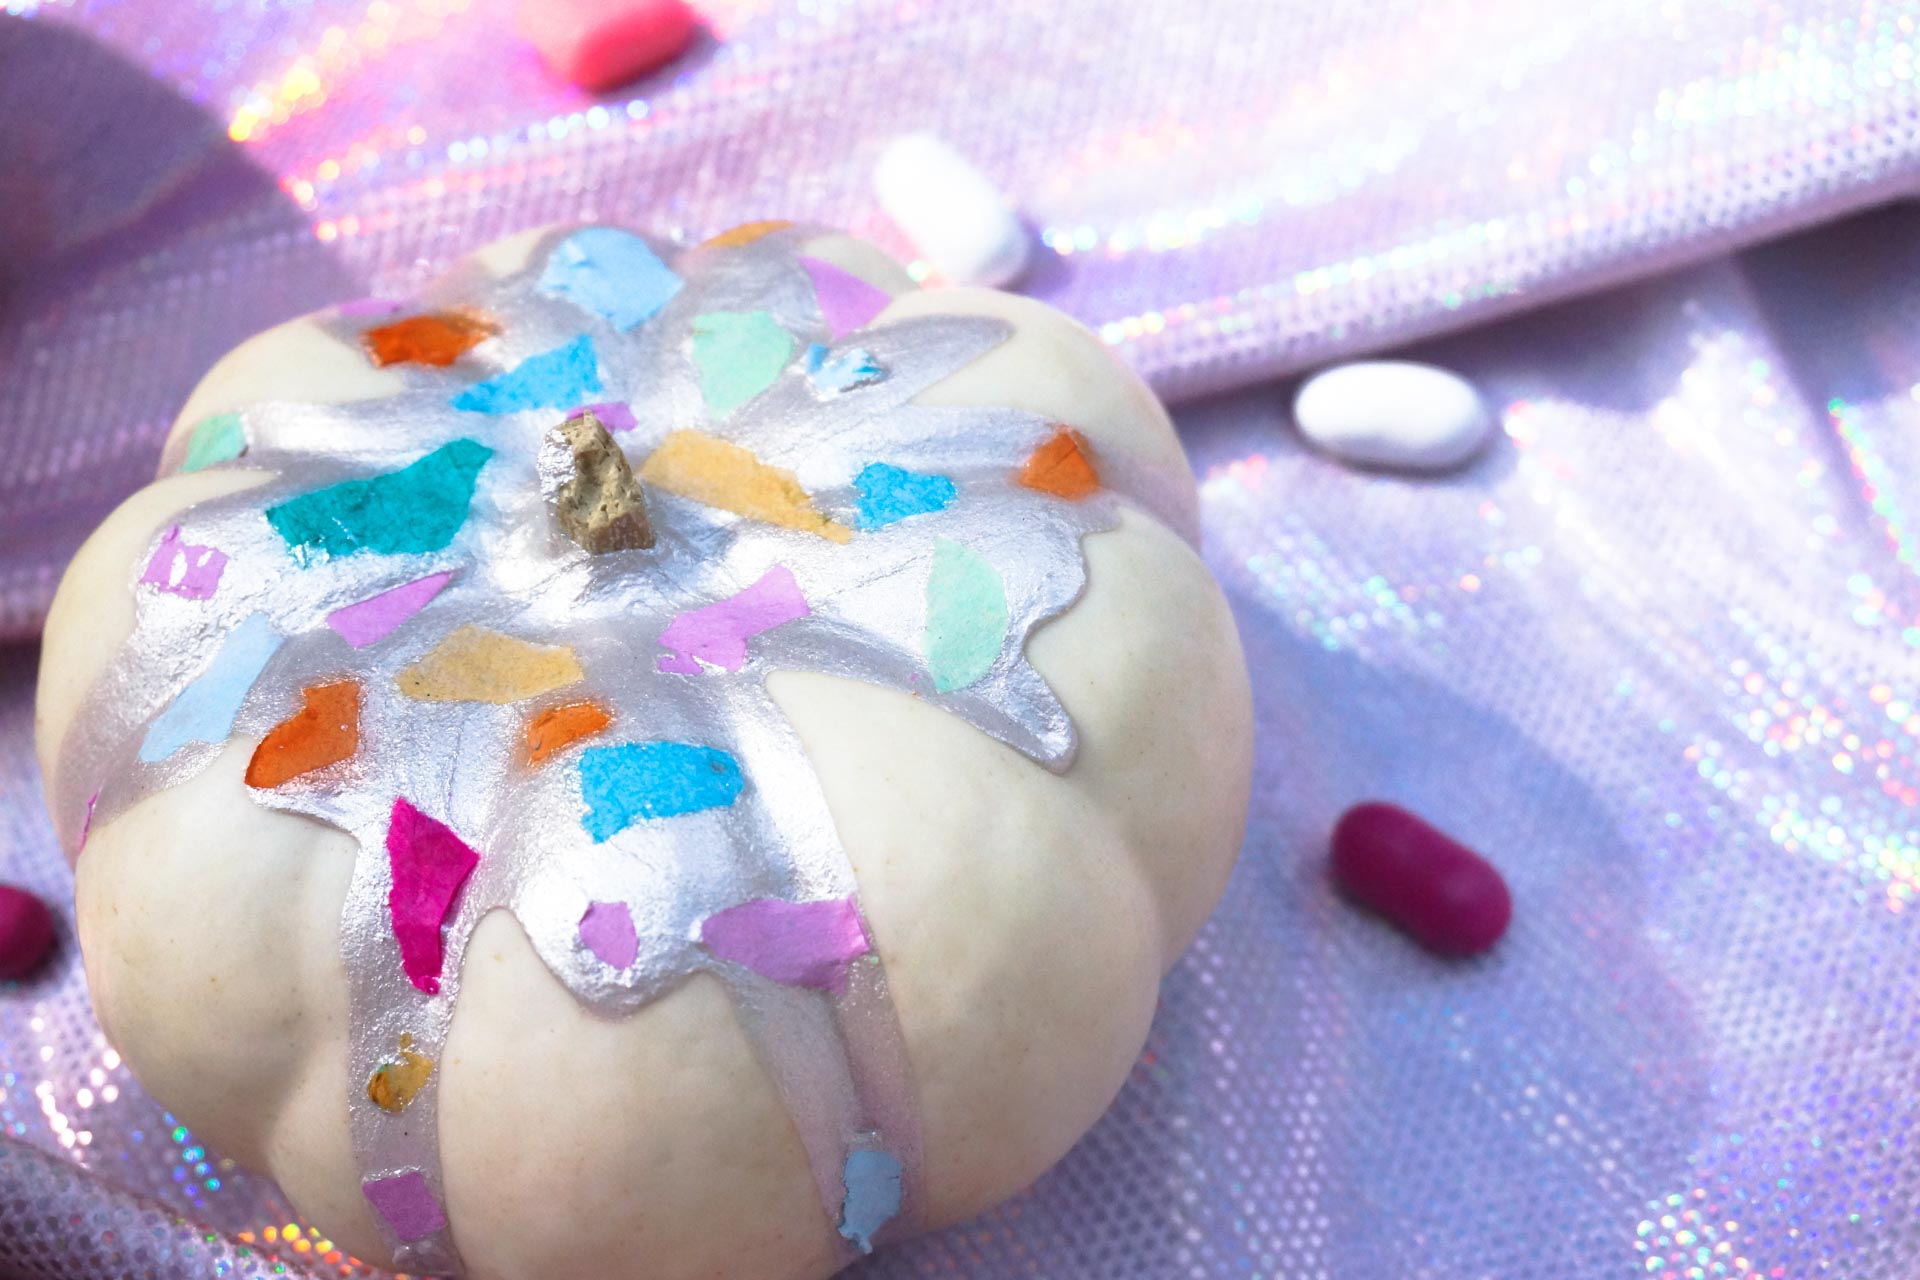
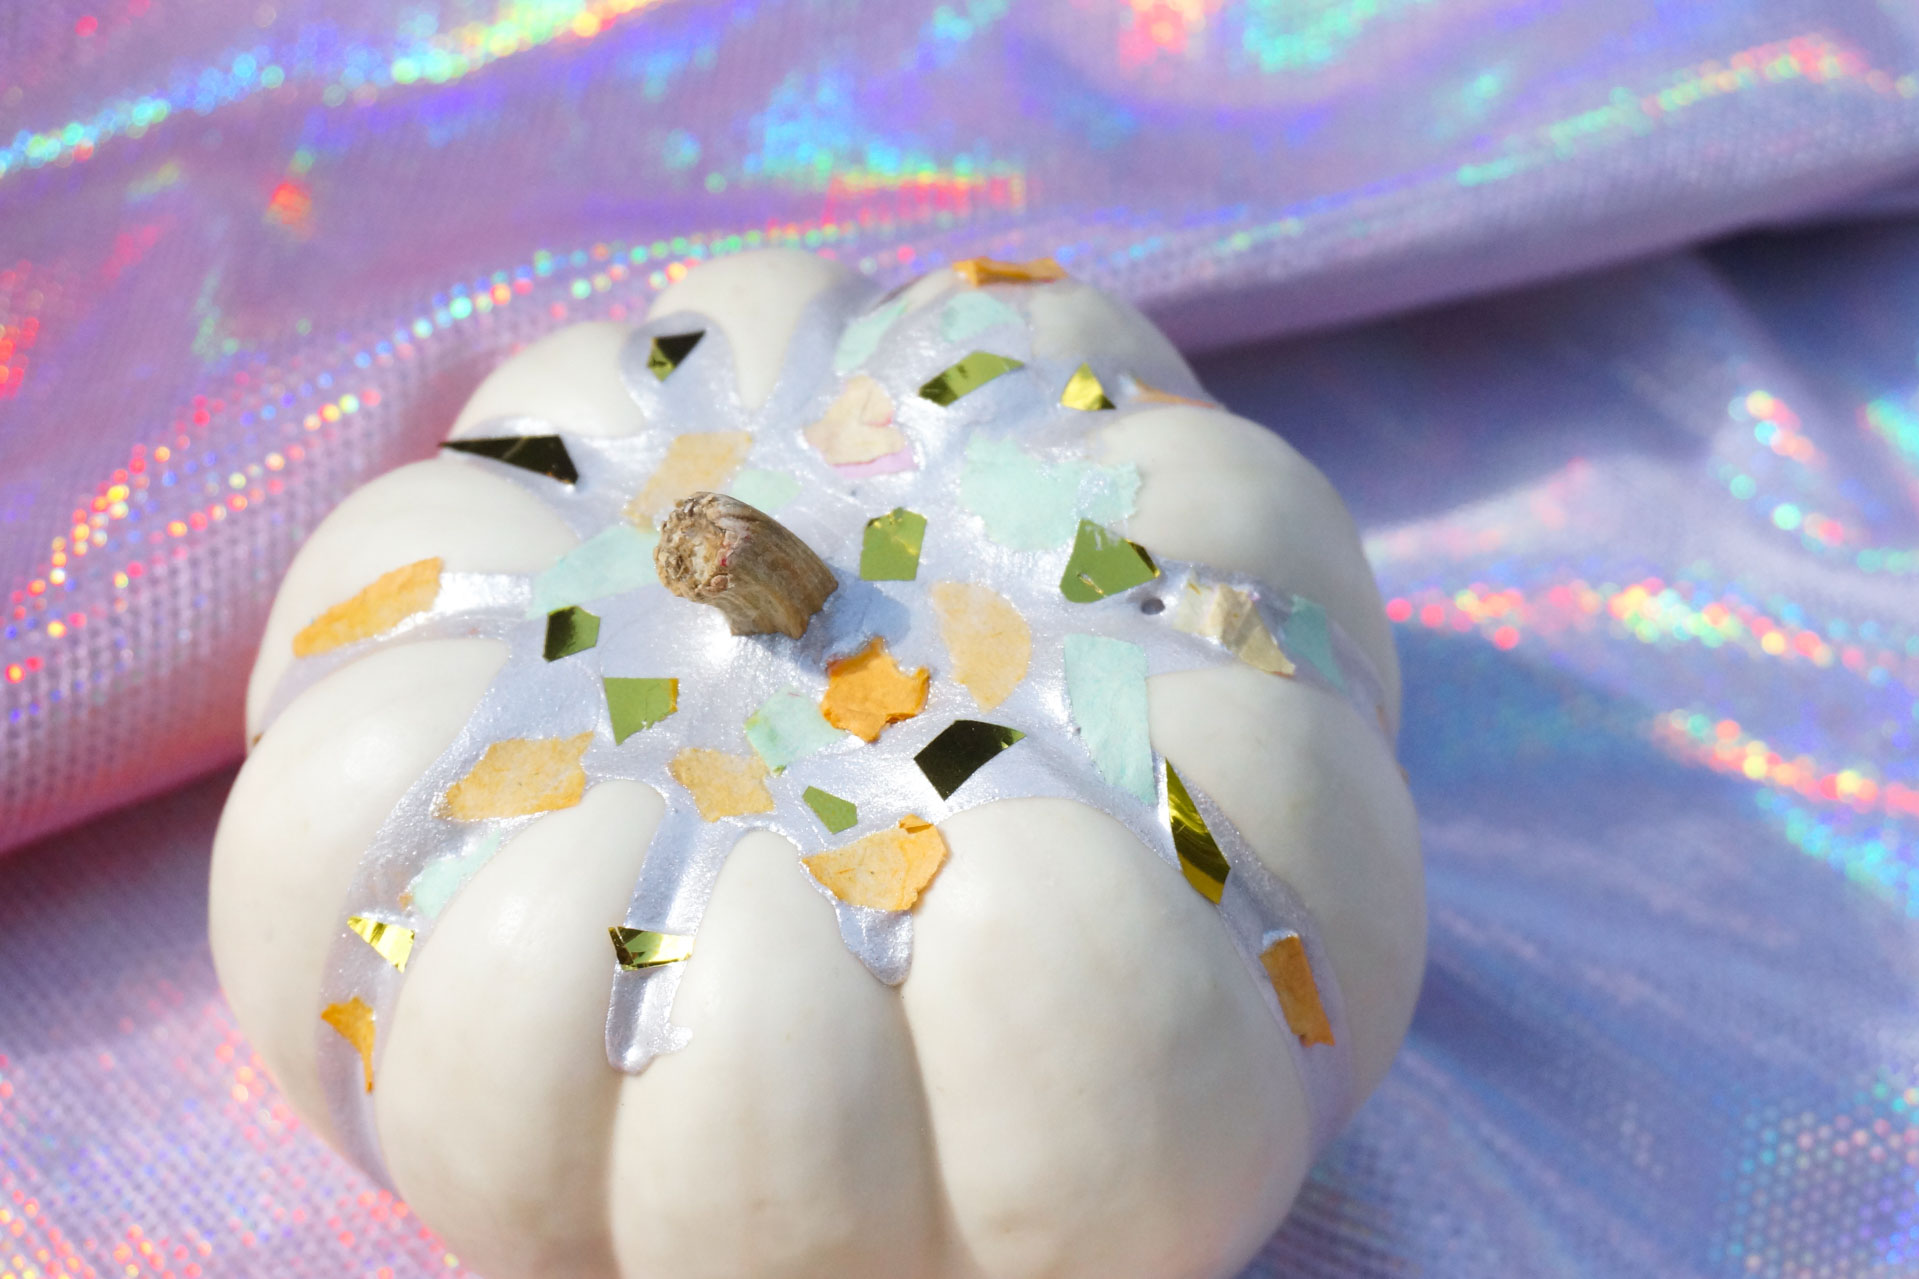
Here are some additional photos of the fun!!
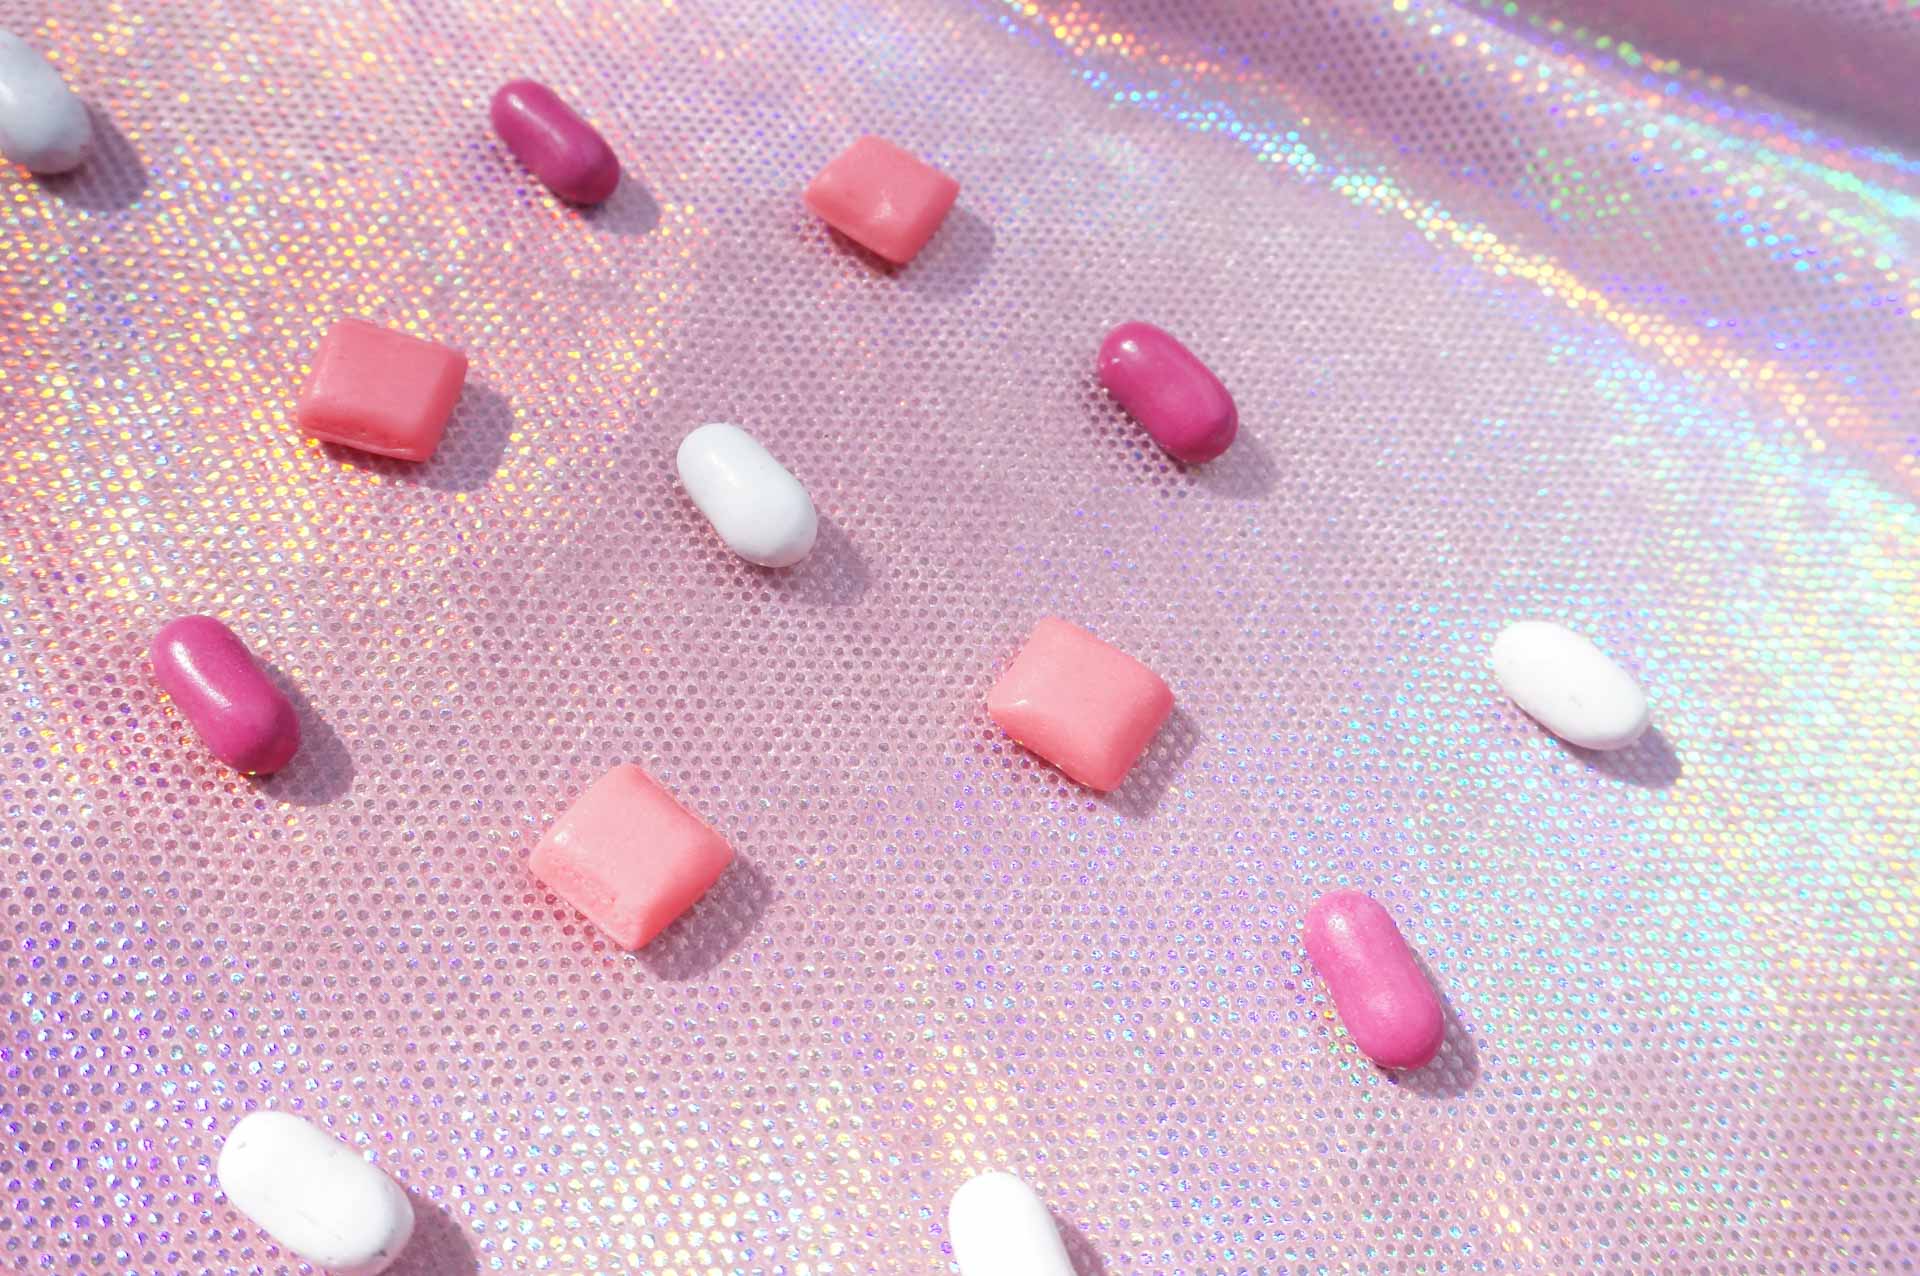
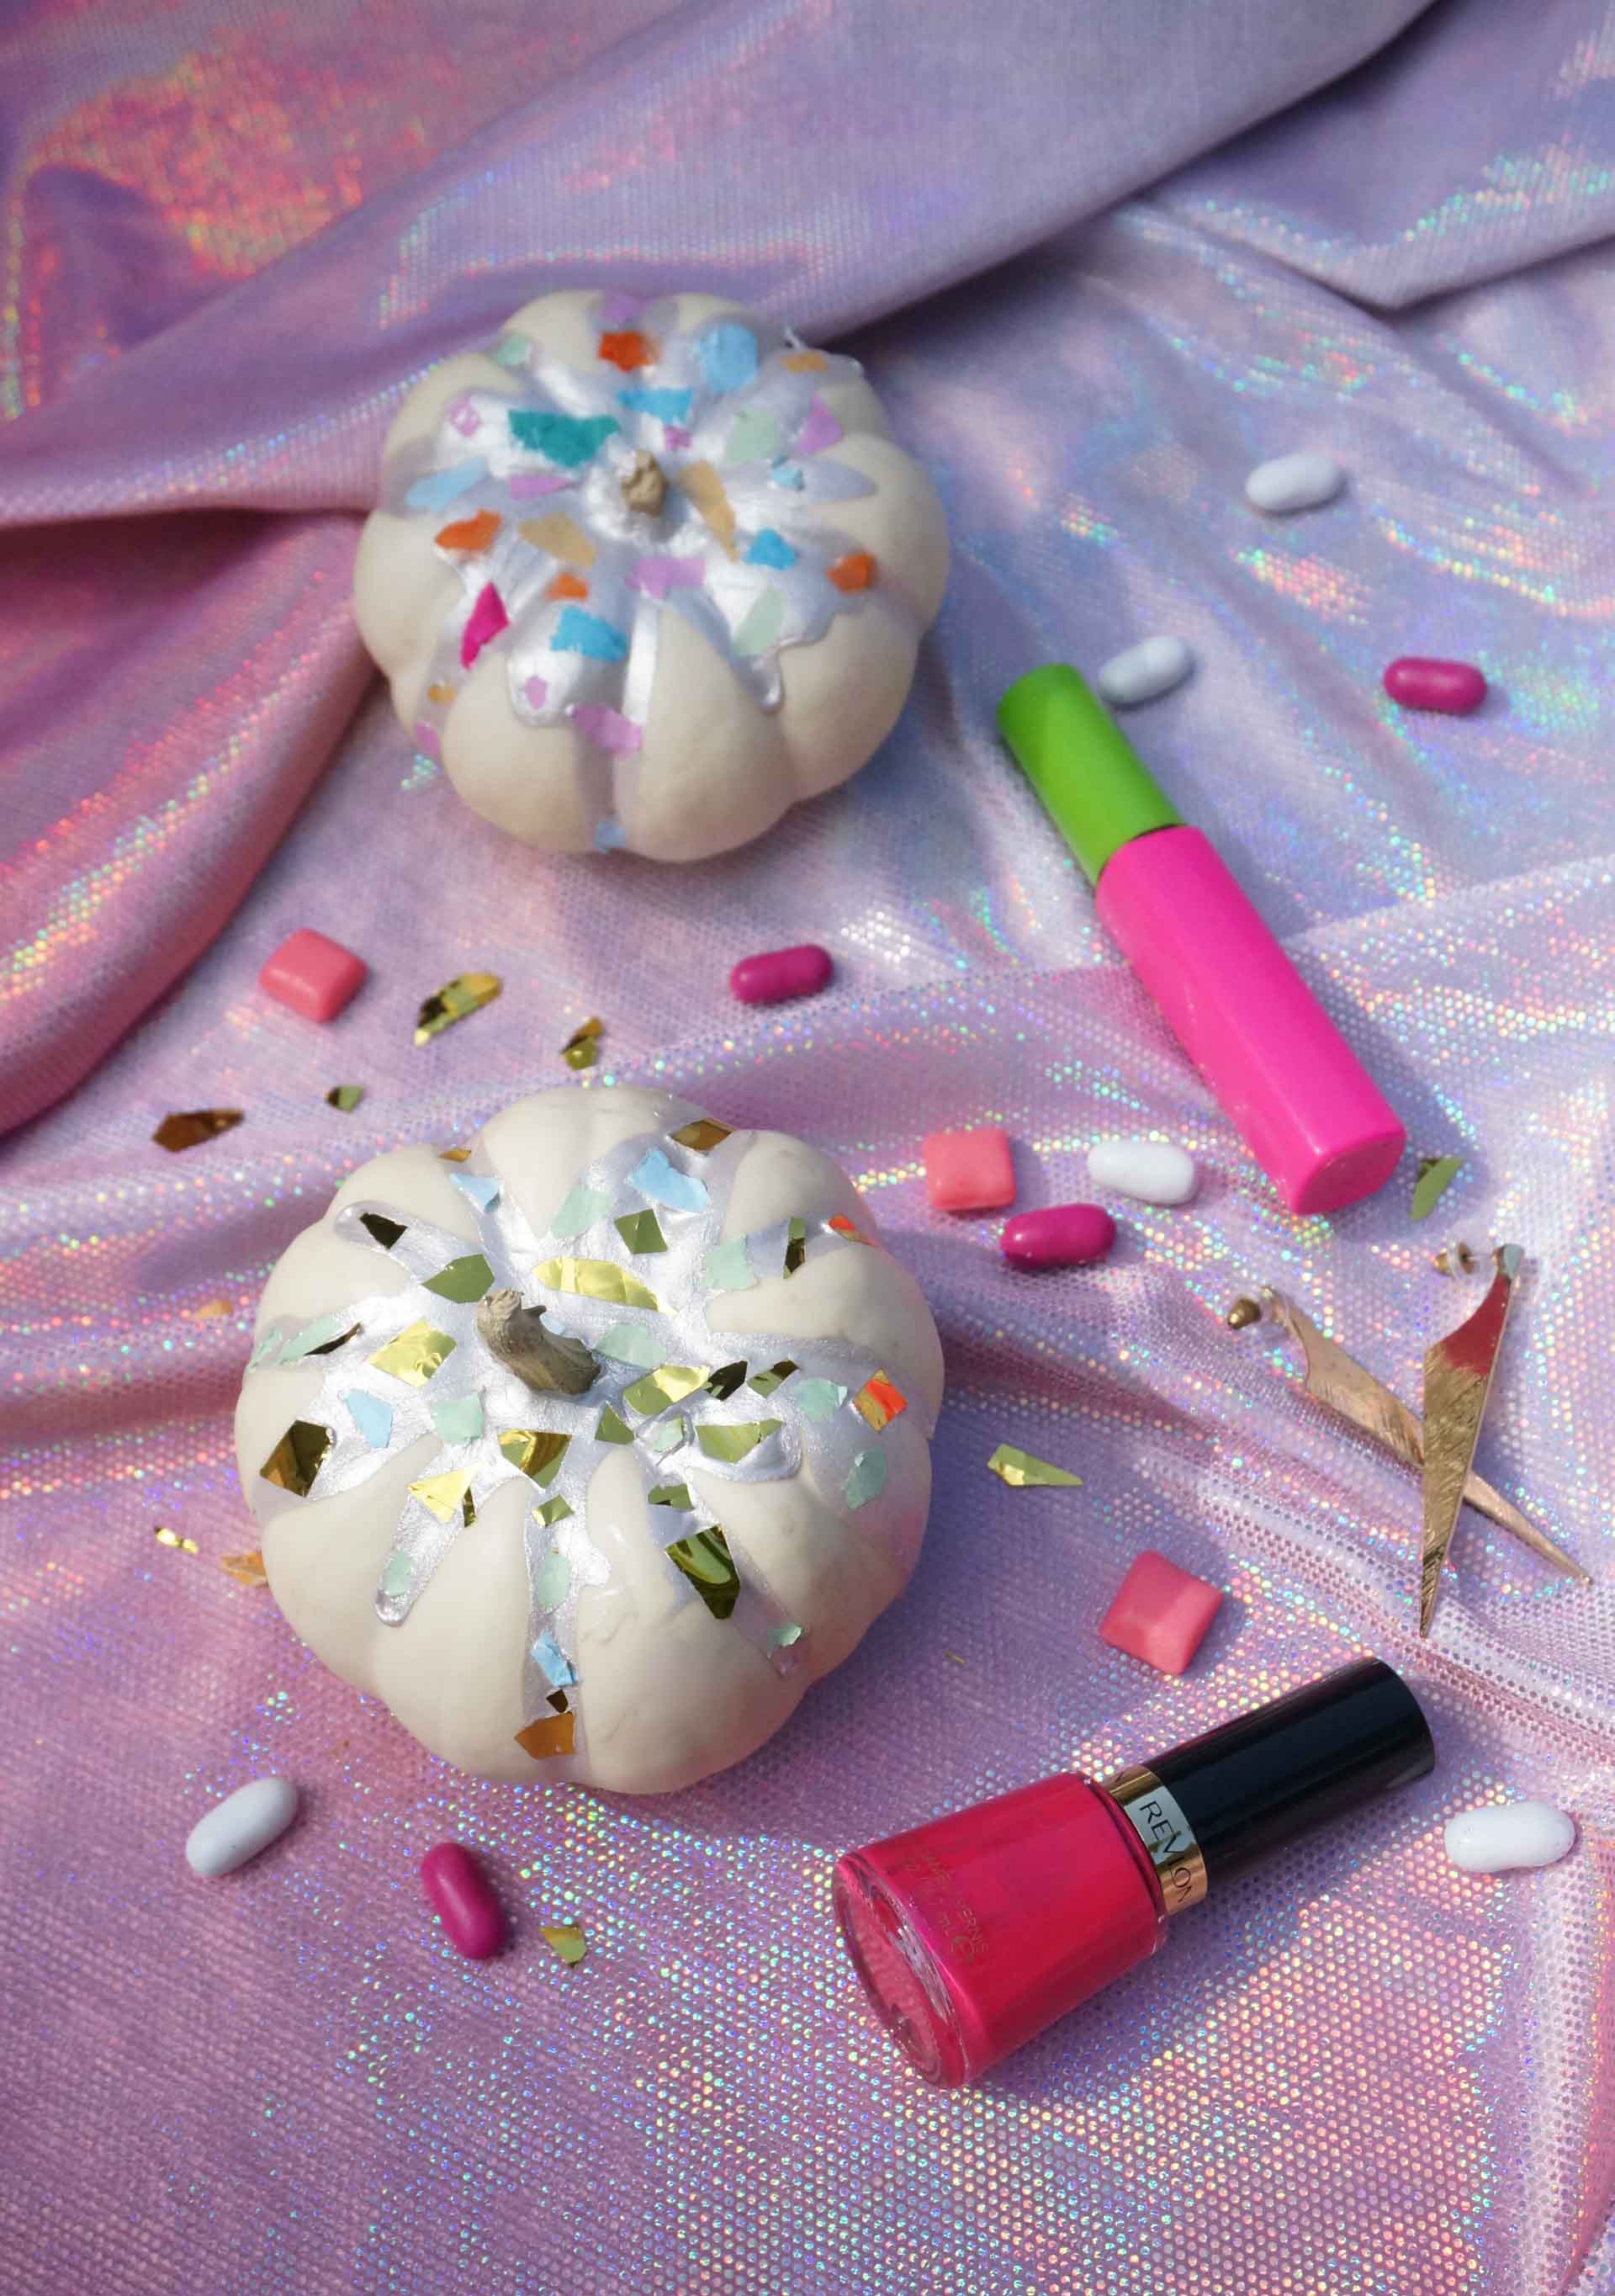
As you can see, mini Starburst and Good & Plenty candies played a big part in my photo shoot fun! These pumpkins are perfect for displaying on tabletops, shelves, and even your vanity. Why not have them nearby when you’re getting ready to go out on Halloween night?! Cheers to you and yours, and thanks for reading!


Leave a Reply