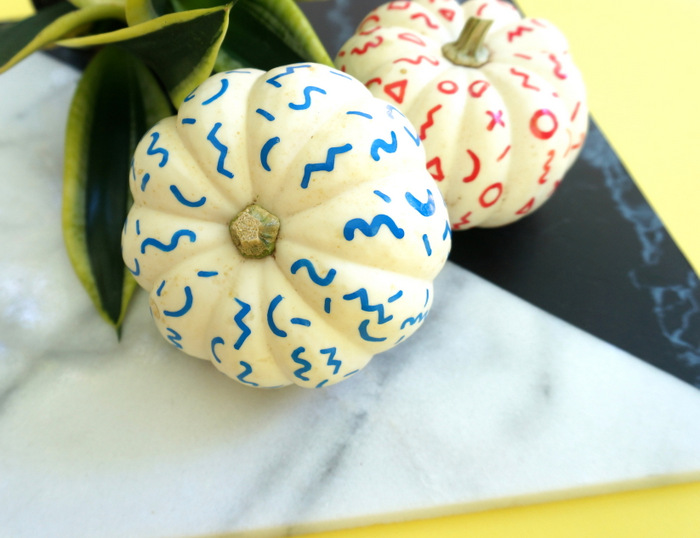
Happy Fall! It’s the first official day of the new season, so I’m sharing a pumpkin painting project with you…and it’s filled with New Memphis style! Not to mention, it couldn’t be easier to pull off. My inspiration: the Memphis Milano-inspired designs that are increasingly covering new pillows, blankets, clothing and ceramics. Below we see new finds from West Elm and Depeapa:
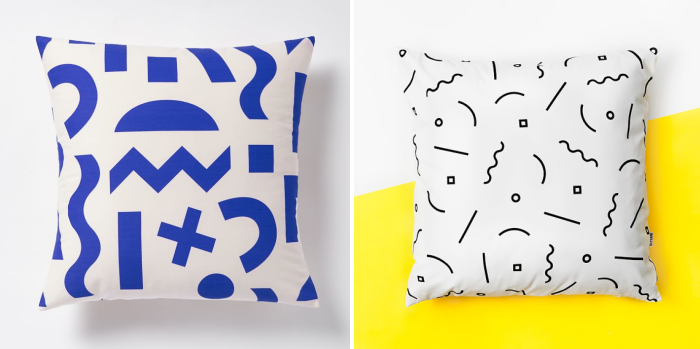
So how do we turn these motifs into pumpkin patterns? Read on for all the details…
Supplies
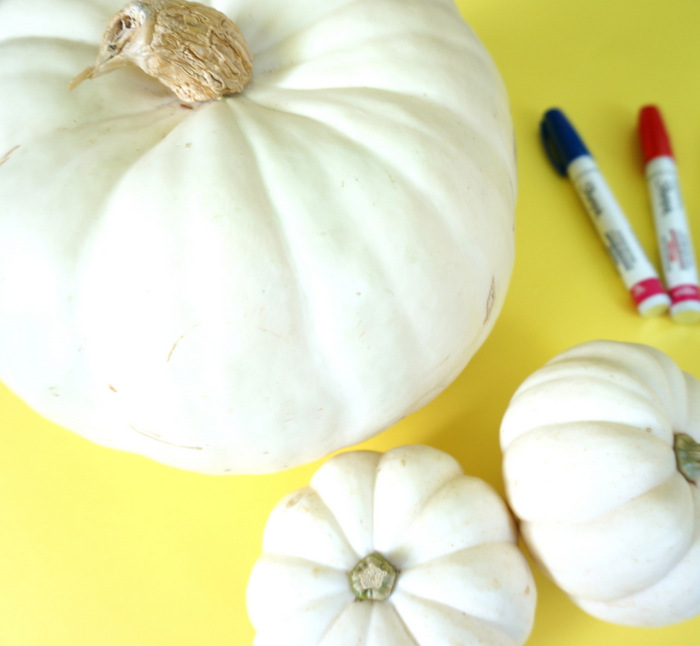
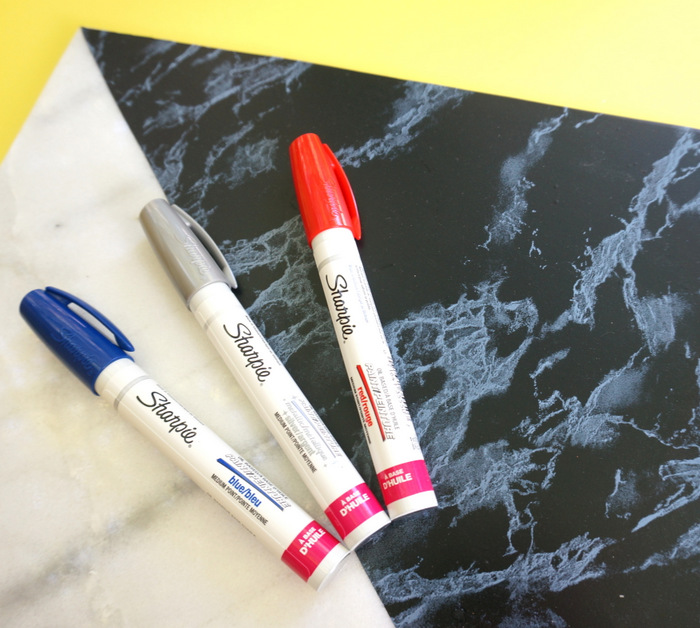
There are 2 simple ingredients for this project: white pumpkins and paint pens. Yes, it’s that easy! I chose three paint markers by Sharpie, and I found them to be more affordable than some of the paint pens on the market, plus easier to work with. It’s a win-win!
Steps
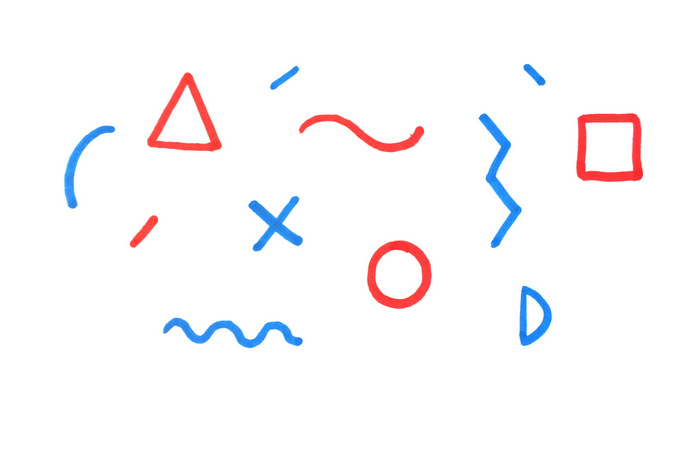
Let’s get started, shall we? What are we looking at below? Is it the book cover pattern from The Da Vinci Code? No, just a few simple shapes and designs that you can draw on the surface of your pumpkin.

Step 1: Practice drawing shapes, squiggles and lines on plain white paper.
This step will acquaint you with your paint markers and will also give you a chance to practice some basic forms. Here are a few design ideas:
- triangles
- squares
- circles and semicircles
- curves
- dashes and sprinkles
- squiggles and zig-zags
Step 2: Draw your designs on the surface of the pumpkins.
I didn’t wait for my top drawings to dry before decorating the lower half of each pumpkin. Especially if you work with smaller pumpkins, you can easily lift and tilt them to have access to blank space without smearing the designs you’ve just created. If it becomes annoying, simply let the current designs dry before adding new ones.
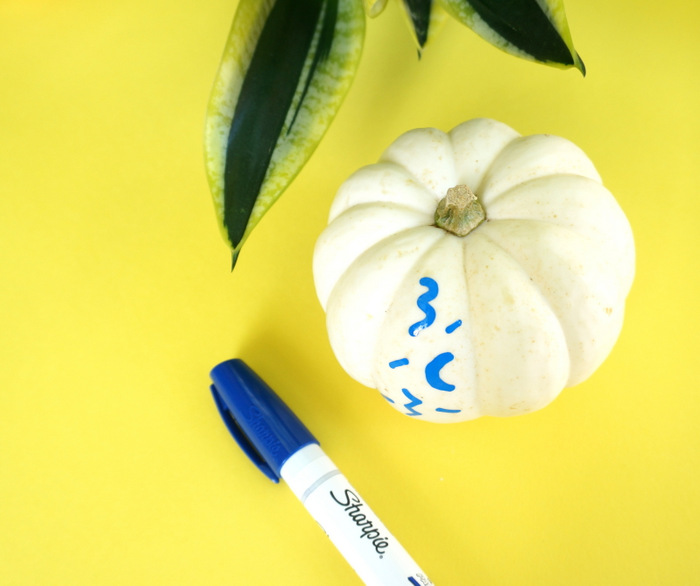
I also didn’t meticulously recreate a pattern all over the pumpkin. This is supposed to be fun, remember?! Just try and leave some space between each design, and alternate squiggles, zig-zags, curves, etc. to avoid too much of one thing in one area.
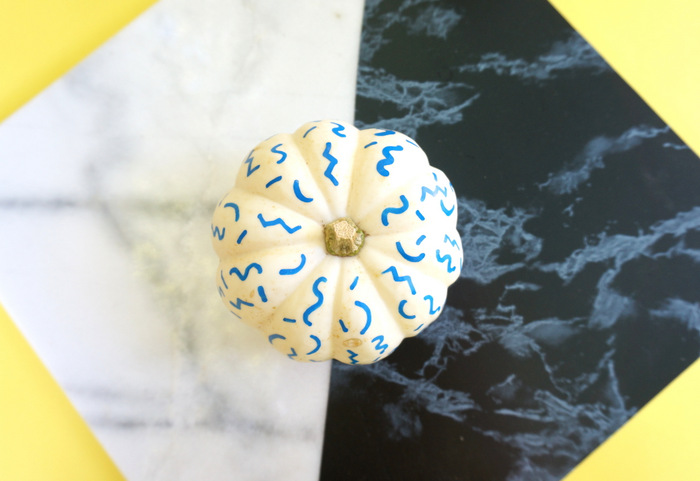
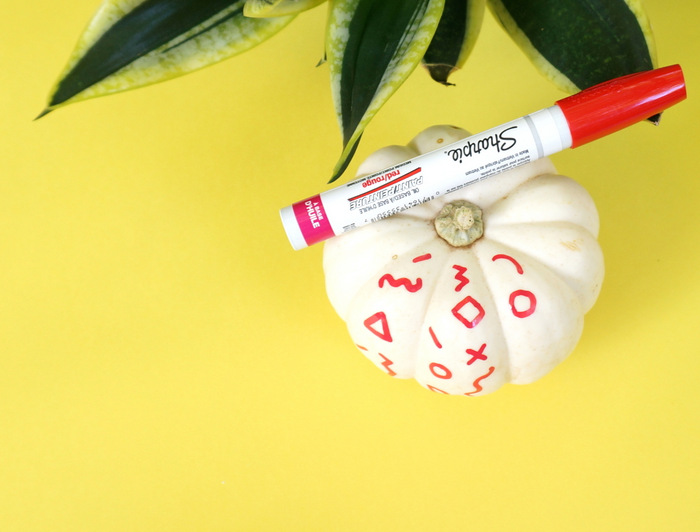
Step 3: Display your New Memphis pumpkins!
Mine are currently on the living room table with my snake plant. It’s also nice to sprinkle them in with plain white pumpkins to avoid a pattern overload. Last year I used orange as a major fall color in my living room, so it was refreshing to go with non-traditional fall colors this year.
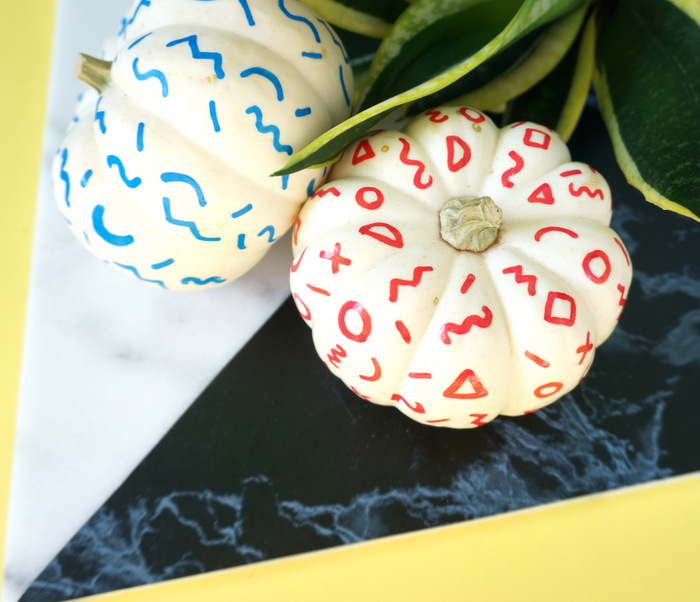
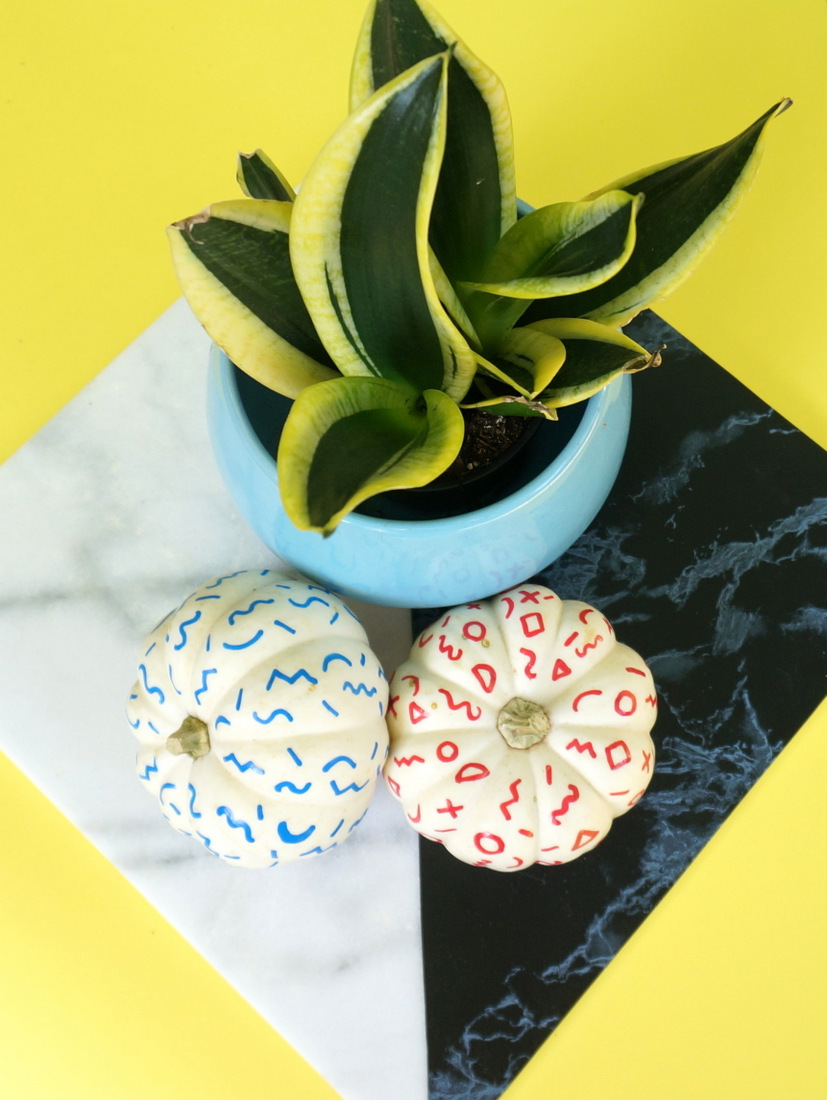
I even covered a large pumpkin with larger New Memphis designs in silver. And you can go bigger than the designs you see here, especially if a sizable pumpkin is involved. I will scale up the markings when I try out the design on the green pumpkin I have on my dining room shelf. Yes, once you start with these New Memphis markings, it’s kind of hard to stop!
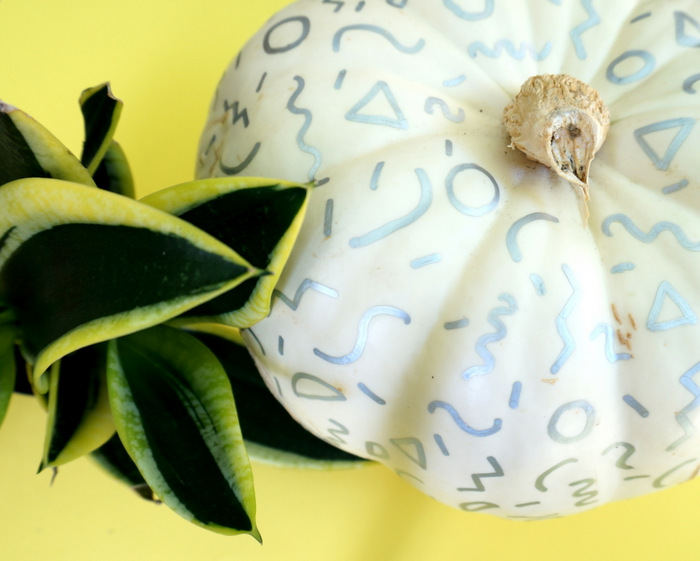
Remember, there’s no such thing as a perfect pumpkin. Don’t worry if your white pumpkins have some natural discoloration or spots on them. And don’t worry if your paint pen markings aren’t precise. This project is about playful, hand-drawn style.
If you create your own New Memphis pumpkins at home, let me know how they turn out! Enjoy…





Leave a Reply