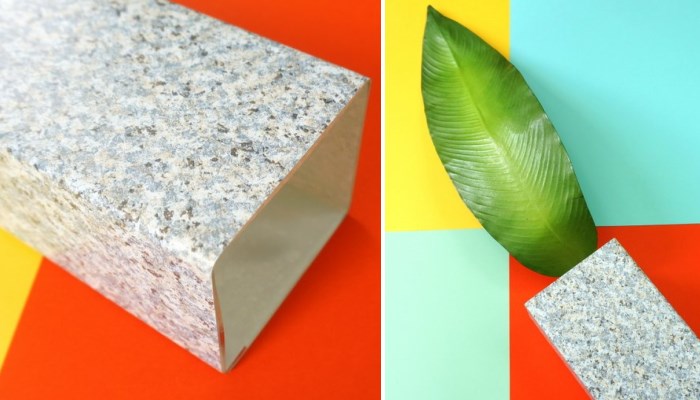
Happy Monday! Let’s start off the week with a super-easy DIY project that can add an instant dose of New Memphis flair to your interior. For a few dollars, you can transform a simple glass vase into a Memphis-style receptacle that’s perfect for holding tropical greenery. The supply of choice: contact paper. I’m drawn to speckled contact paper patterns that look like ’80s doctors’ office laminate countertop designs! Industrial patterns and faux granite prints work well here. Read on for all the details…
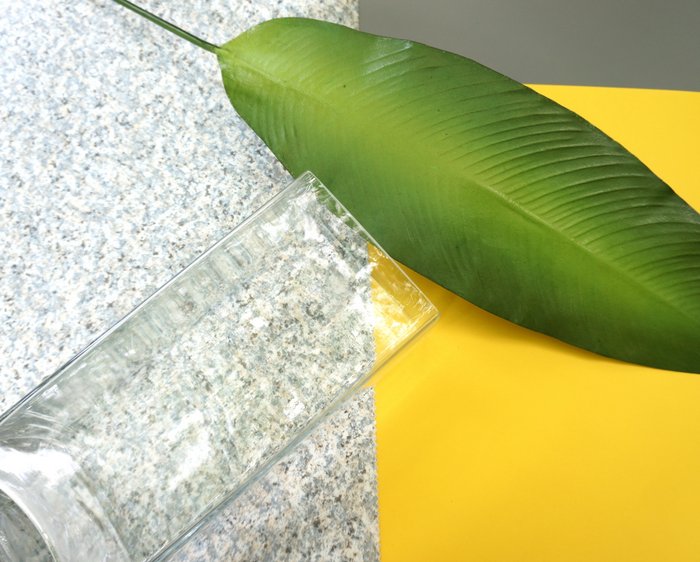
Supplies
Here’s what you’ll need to get started…
- a roll of contact paper in the pattern of your choice
- a glass vase
- scissors
- a ruler or tape measure
- a pencil
- tropical greenery (real or faux)
Project Steps
Step 1: Clean your vase with a damp cloth to remove dust and other debris.
Contact paper is a very forgiving craft supply, as its adhesive backing makes it easy to adjust. However, dust and other particles can get trapped under the paper, creating bumps and bubbles that will interfere with a smooth surface. Starting with a clean vase will make this project even easier!
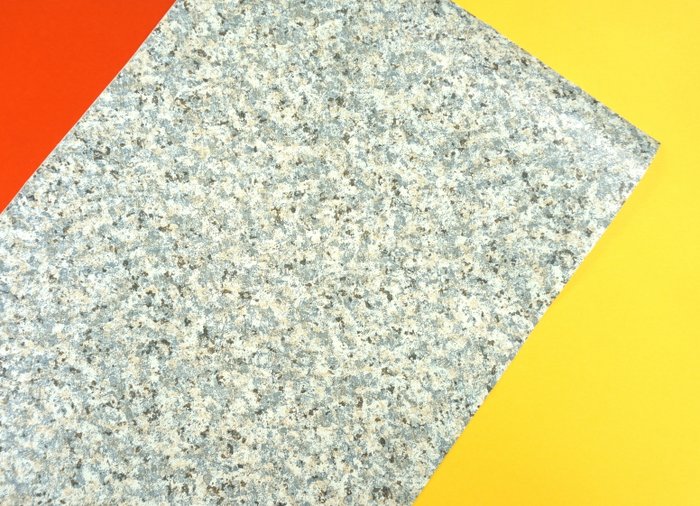
Step 2: Use a ruler or tape measure to calculate the amount of contact paper you’ll need to cover your glass vase.
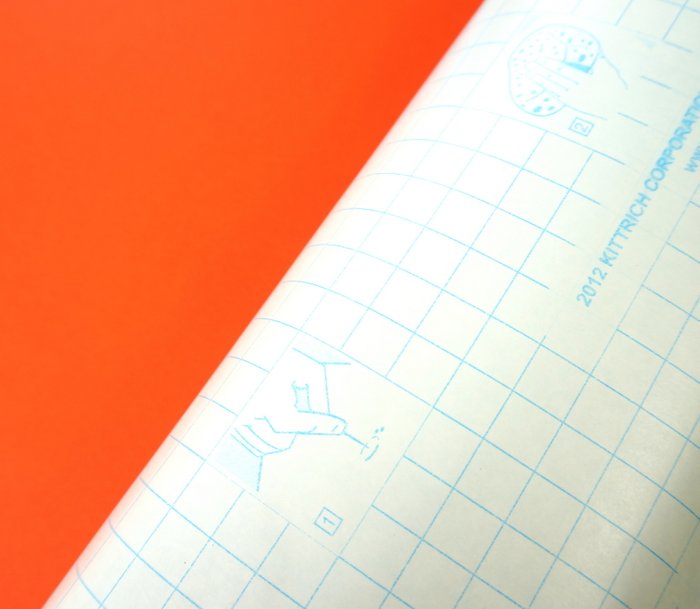
I chose a rectangle-shaped vase, but this project would work very well for a cylindrical vase as well. The paper was purchased from Dollar Tree, and I’ve seen similar patterns at stores such as Target. Use the grid on the back of the contact paper to help guide you as you cut the paper.
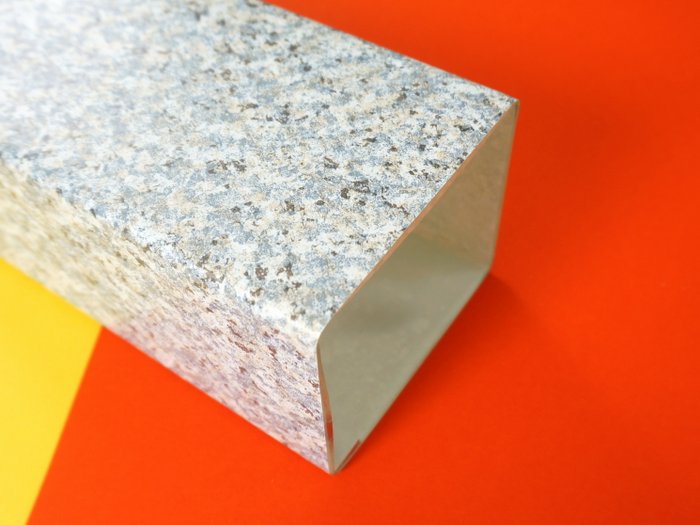
Step 3: Cut the contact paper to fit your vase, remove the protective backing and wrap the paper around the vase.
Luckily contact paper can easily be removed if you need to reposition it. Make sure the paper is nice and smooth as you adhere it to the vase. Use your fingers to work out any air bubbles that form.
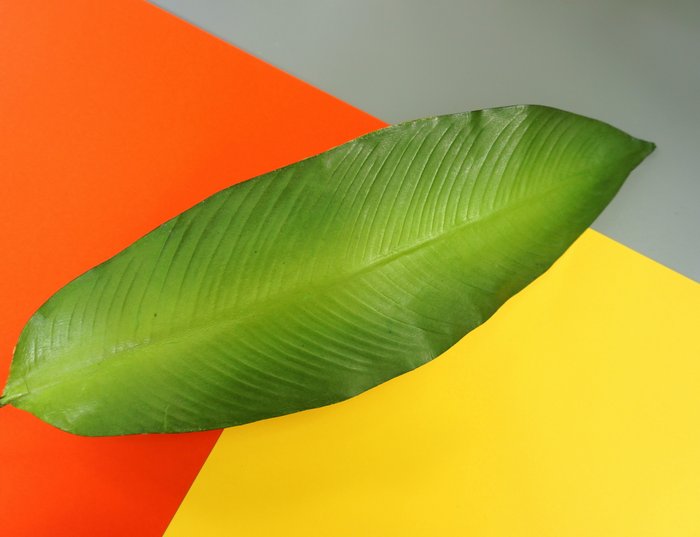
Step 4: Add tropical greenery to the vase!
Use real or faux greenery. I always prefer real to faux, especially since tropical leaves can last for weeks if you keep the water fresh. However, this time I chose a faux leaf that I purchased for $2.99 at Michael’s craft store. Why? Because this vase is in on a media console that my cat has easy access to, and I didn’t want to worry about him trying to drink the water out of the vase or eat a plant that’s toxic. Call it peace of mind!
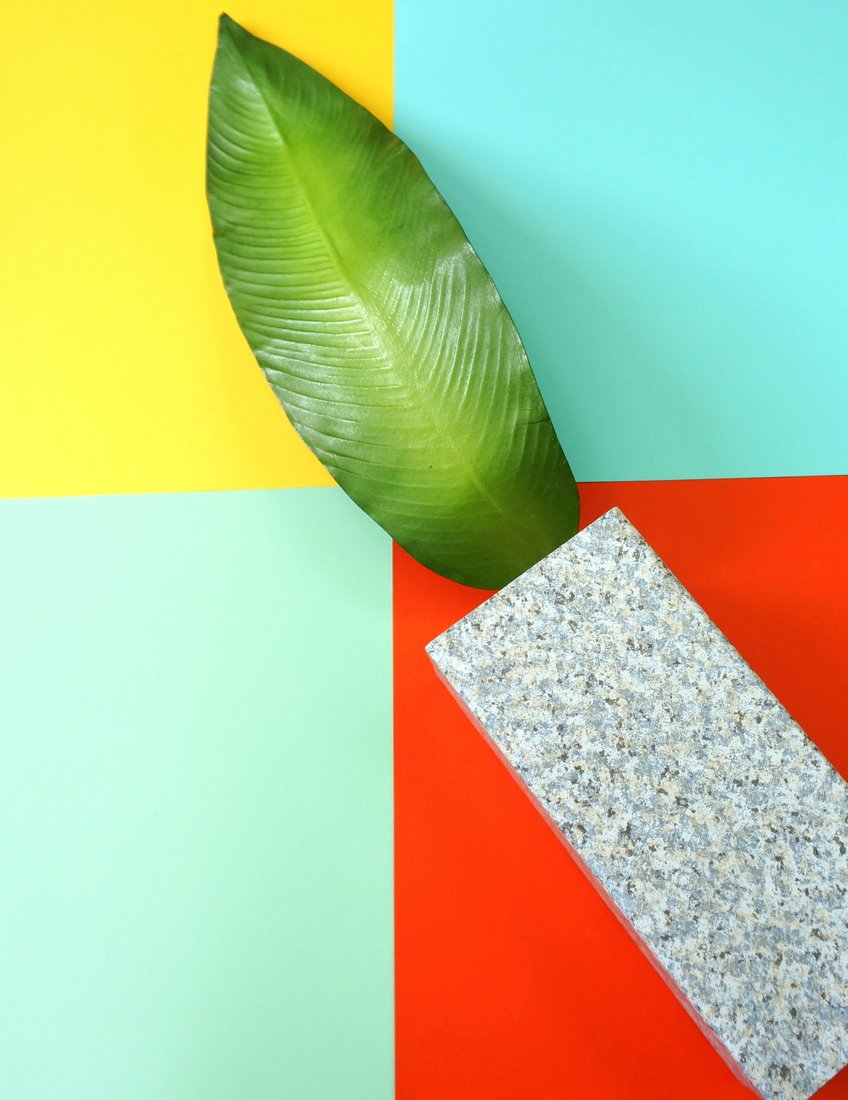
This project couldn’t be any easier! Since it goes quickly, take your time as you apply the contact paper to the vase, repositioning the paper as needed.
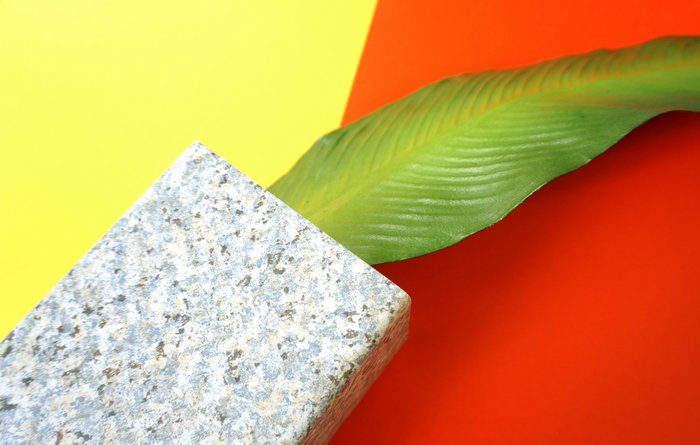
Hope your week is off to a great start. Stay tuned for two additional new posts this week. Until then…





I love this idea, thanks for sharing it. My husband and I have just moved into my new house, which is from the early 90s and has high pitched ceiling – and I was pleased to read on your blog that these ceilings are retro modern 🙂 I had aluminium blinds installed in wet areas, and some verticals in a living area, and I love the sense 80s nostalgia their straight lines give me. A huge fan of anything 70s and 80s, your blog has loads of great information and interior design ideas – so glad I came across it.
Thank you, Alana! Congrats on your new home–it sounds amazing. The aluminum blinds and verticals sound fabulous and picture-perfect for the space. So glad you’re enjoying the blog. Thank you again for getting in touch!
Thanks so much Kate 🙂
Thanks again for this contact paper on a vase idea, Kate! I recently found some blue and white marble patterned contact paper, and used it to cover a lot of cylinder shaped vases I have – they look great. I also covered an ugly old box with the paper, and so it looks like a marble cube; and an old pot plant I used as an umbrella stand at the front door. There were a few air bubbles I couldn’t get out, but the marble pattern is so forgiving. I can’t believe how real and expensive they all look – and how cheap it was 🙂