This weekend is my Pretty in Pink party photo shoot. Yes, I’m re-imagining the look and feel of the film through a festive tablescape filled with appetizers and drinks. It’s funny because I’m not really a person who surrounds myself with the color pink, but there’s something about the style of this 1986 film that’s feminine and romantic, but also ’80s Deco-meets-punk-meets-Midcentury, with Asian flair. I love a design challenge!
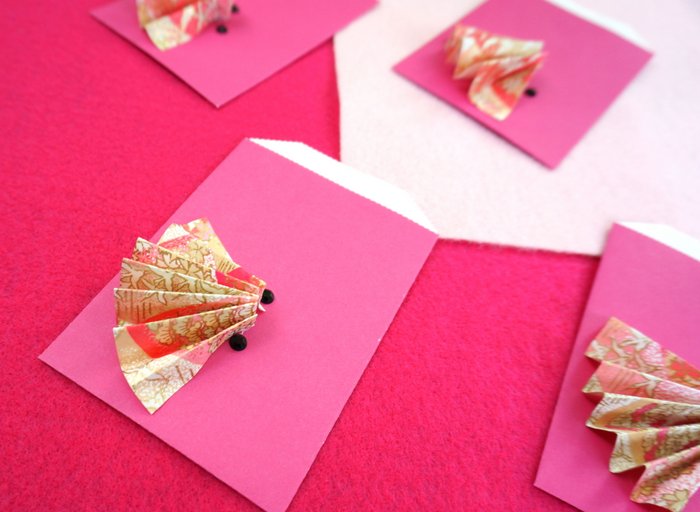
So here’s a little project that will help you channel Molly Ringwald’s style in the film. Use these envelopes to hold party favors, and write the names of your guests on the outside to create instant place cards for the table.
Here’s what you’ll need to get started:
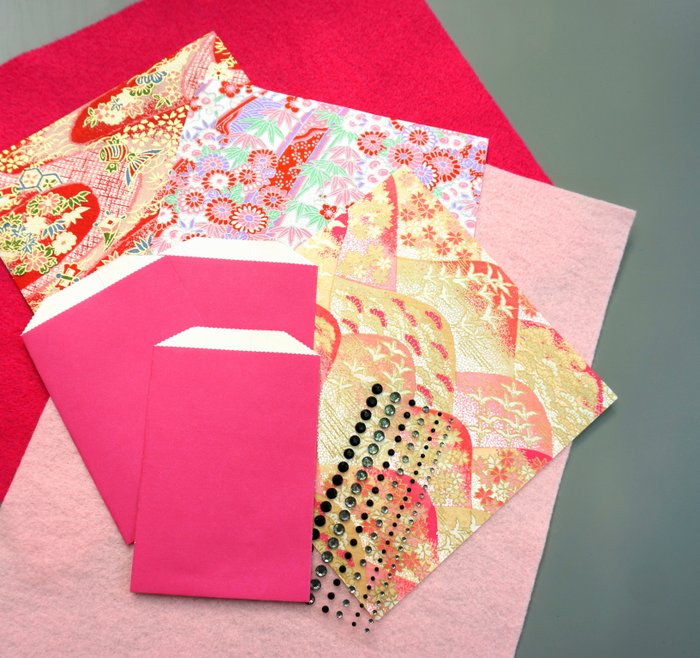
- small paper envelopes (I chose pink, of course)
- origami paper
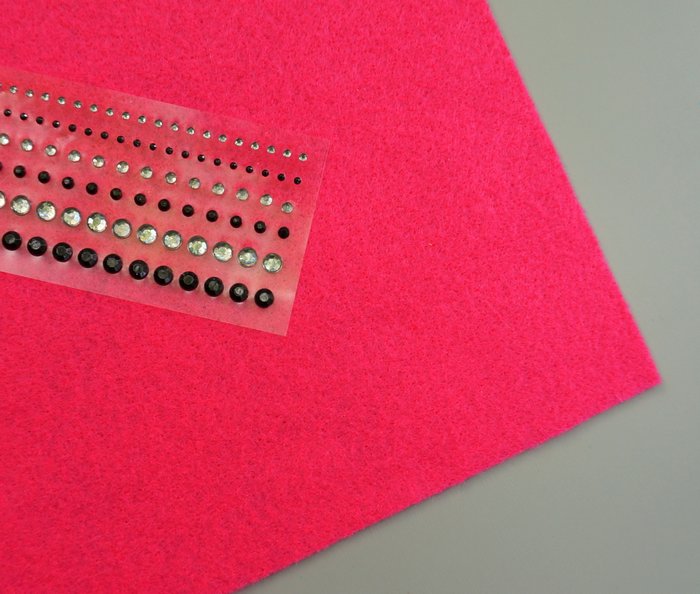
- rhinestone stickers
- scissors
- a glue gun and glue sticks
- a ruler
- a pencil
- a black marker
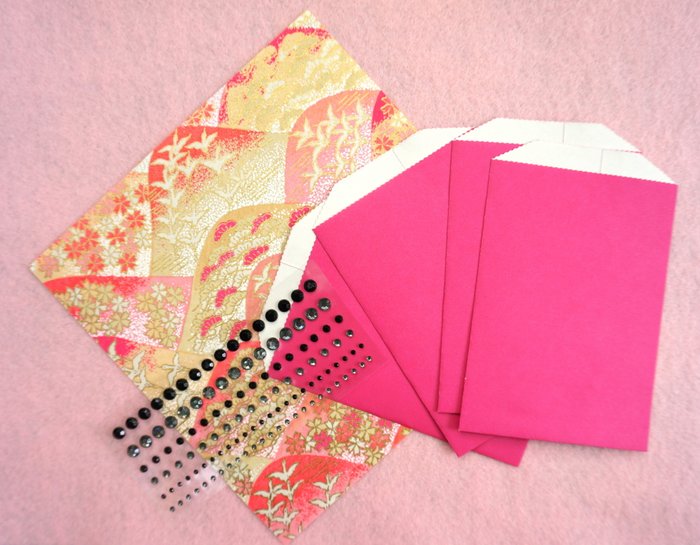
I chose origami paper that reminded me of the colors and motifs of Pretty in Pink‘s interiors (and wardrobe selections)! There are Asian touches throughout the film, from Andie’s robe to the Chinese paper lanterns that hang in the record store where she works. Now it’s time to make the envelopes…
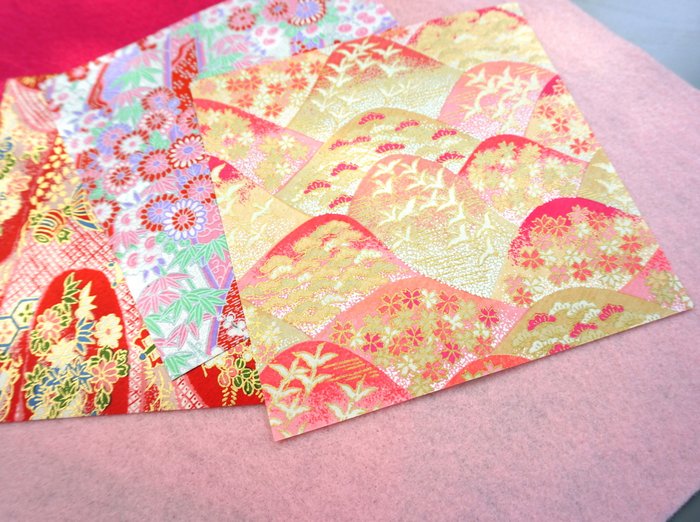
Step 1: Cut your origami paper into strips.
I used 6″ x 6″ origami paper and cut 1.5″ x 6″ strips, but you’re welcome to make the strips wider if you want to create larger paper fans. Use a ruler and a pencil to draw lines on the back of the paper before you start cutting. These will guide you!
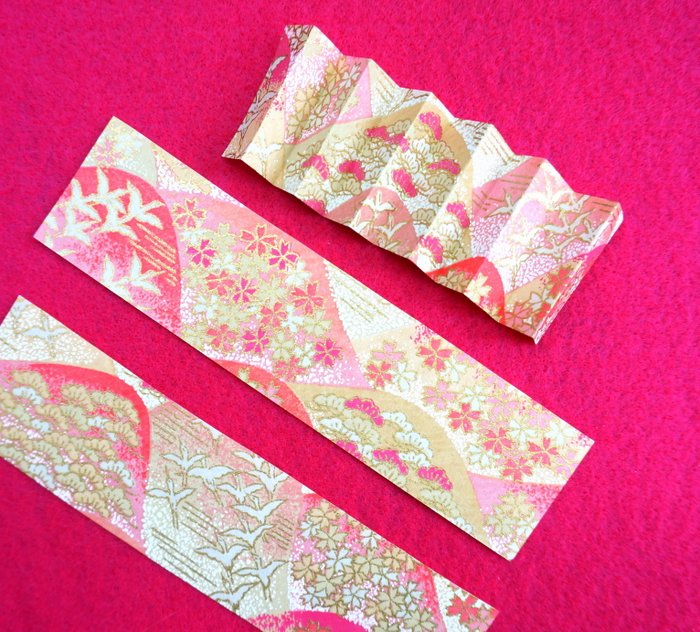
Step 2: Accordion fold the strips.
Super easy, super fun. While there are only 3 folded strips pictured below, you should have 4 of them if you cut 1.5″-wide strips from the 6″ x 6″ origami paper.
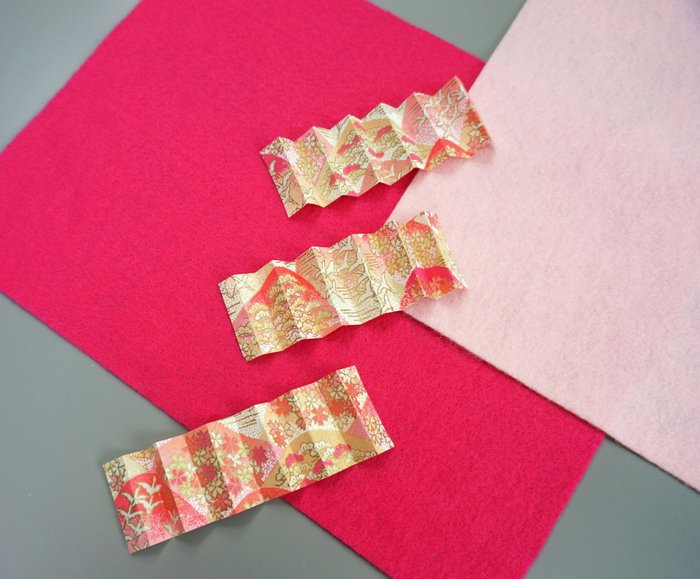
Step 3: Glue the strips into fan formations, then glue the fans to the envelopes.
I used hot glue for this part, and I glued every fold shut at the bottom of the fan, then glued the fan to the envelope, mainly placing the glue at the outer corners and bottom of the fan before sticking it to the envelope. This goes a lot faster than it sounds and probably took me about 15 minutes for all 4 fans/envelopes. With that said, watch your fingers when working with hot glue!
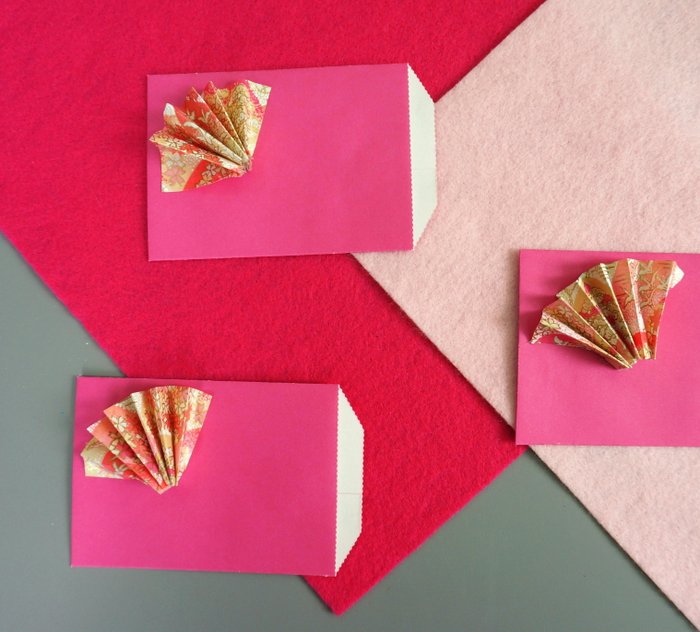
Step 4: Add black rhinestone stickers to the envelopes for a bit of Deco drama!
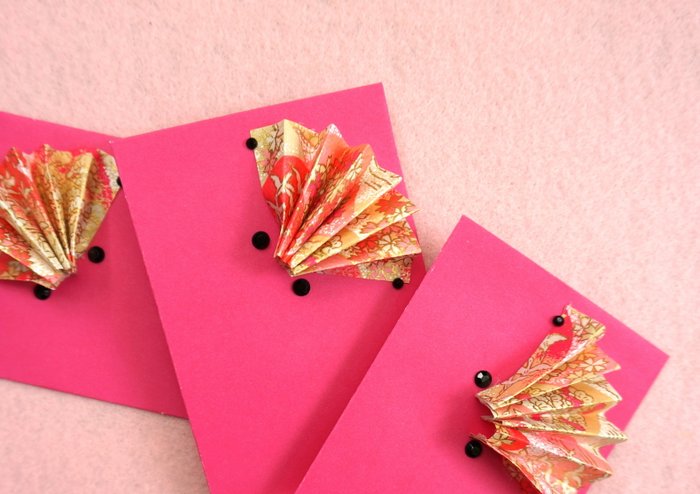
First I stuck the rhinestones on either side of each fan, at the bottom. Then I added smaller black rhinestones to the top/outer edge of each fan, where it meets the envelope.
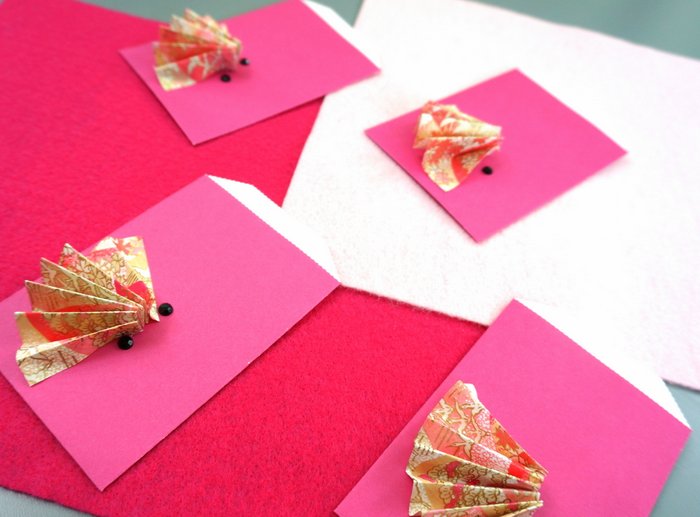
Why black rhinestones? Because I love the way Molly Ringwald’s character (Andie) wore black crystal jewelry with her pink clothing items. Kind of a punk take on feminine motifs!
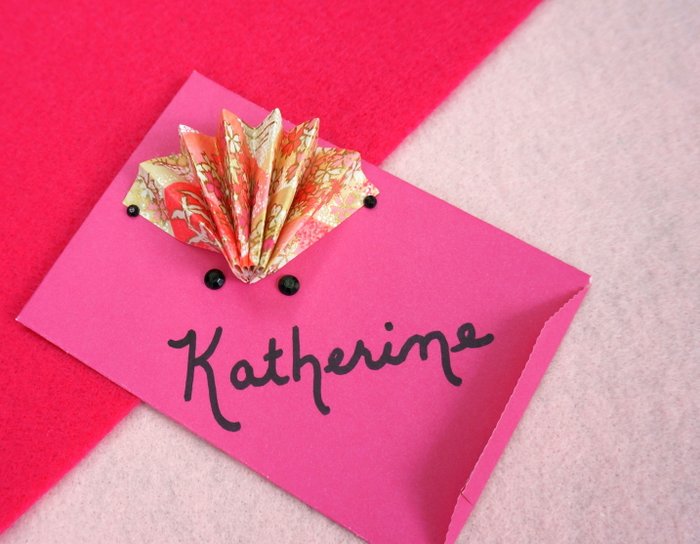
Step 5: Write your guests’ names on the envelopes.
This step is optional. The envelopes are interesting enough without the writing. If you add your guests’ names, the envelopes can double as place cards. You decide!
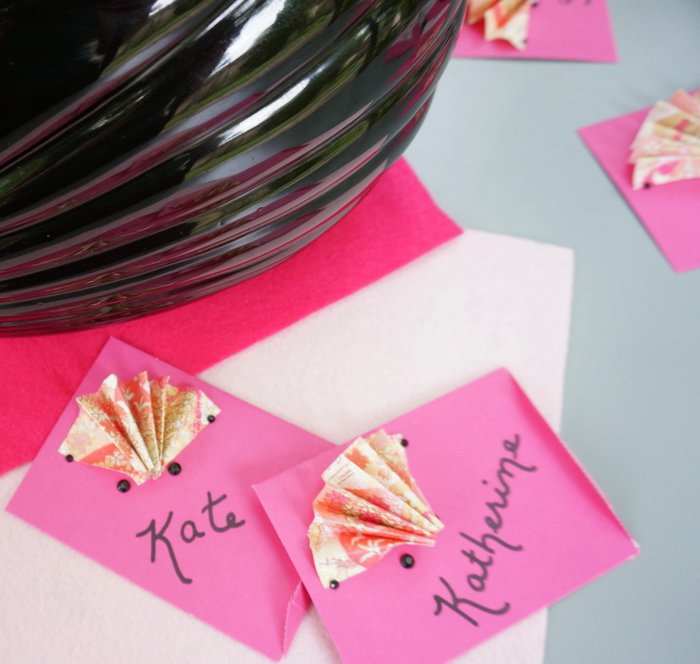
I’ll be sharing photos from the party next week, but as you can tell by the black ’80s Deco vase in the photo below, a mix of styles will be involved. Whether you’re planning a Pretty in Pink movie viewing party or you’re simply looking for a way to celebrate spring with Deco flair, give this easy project a try!
Check out Mirror80’s Pretty in Pink post for more details on the style of this classic ’80s film…








Leave a Reply