Today I’m excited to share Mirror80’s latest project: a DIY geo necklace. The popularity of necklaces that celebrate simple geo forms can’t be denied. The materials of choice are often wood and metal beads suspended on a chain or a leather cord. I decided to make my own geo creation using a few wooden beads, as well as some necklace remnants from my jewelry box. When it comes to geo necklaces, the possibilities are endless!
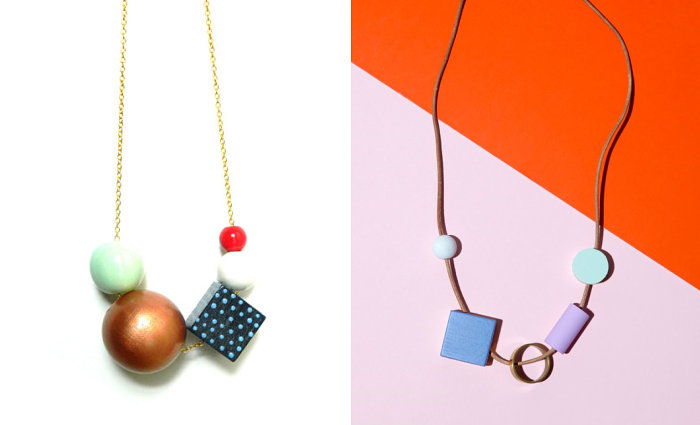
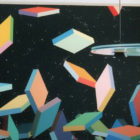
Let’s start with the inspiration for today’s project. Have you noticed the growing popularity of necklaces featuring geo forms? They also have an ’80s look, which I love. Below we see two of my favorite selections: the Tamu-Multicolored Beaded Necklace from Etsy shop r-ki-tekt (left) and the Bloc Necklace from L & G Studio, which we previously featured in this post.
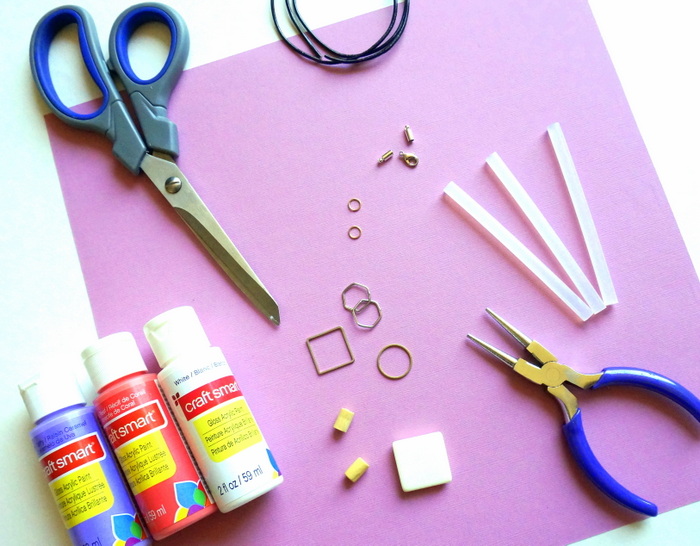
Supplies
Here’s what you’ll need to get started:
- scissors
- leather cording
- a glue gun and glue sticks
- acrylic craft paint (I chose glossy)
- aluminum foil (perfect for mixing paint on)
- paintbrushes
- the beads of your choice
- end caps for the leather cording
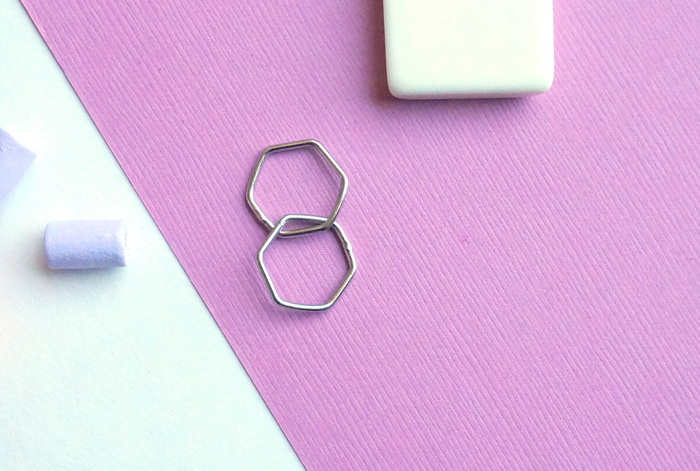
- split rings
- a clasp
- jewelry making tools, such as pliers
Let’s start with the beads. I had some plastic and metal beads/remnants from old necklaces and bracelets that I wanted to incorporate into this geo necklace. I also bought some wooden beads for a few dollars at the craft store. Don’t have remnants at the ready? No problem. Visit a bead store, or order some interesting pieces (including metal geo forms) online through Etsy shops such as Geometric Land.
If you’re working with natural wooden beads, you may want to paint them. I did! Aluminum foil was the perfect surface for mixing the paint colors. I chose coral and lavender paints, then lightened them up a bit with white paint. I didn’t plan on finishing off the beads with a sealant, so I used glossy acrylic paint for a shiny finish.

Steps
1. Gather your beads and paint them if necessary.
The wooden beads I bought were a natural tone, yet they had a bit of a glossy finish on them. I sanded them first so the paint would go on more smoothly. When it comes to painting beads, there’s no one right way to do it! Some prefer to roll them around in the paint. I stuck the round bead on the end of a paintbrush and then held it in the air while using another brush to paint it. Super easy!

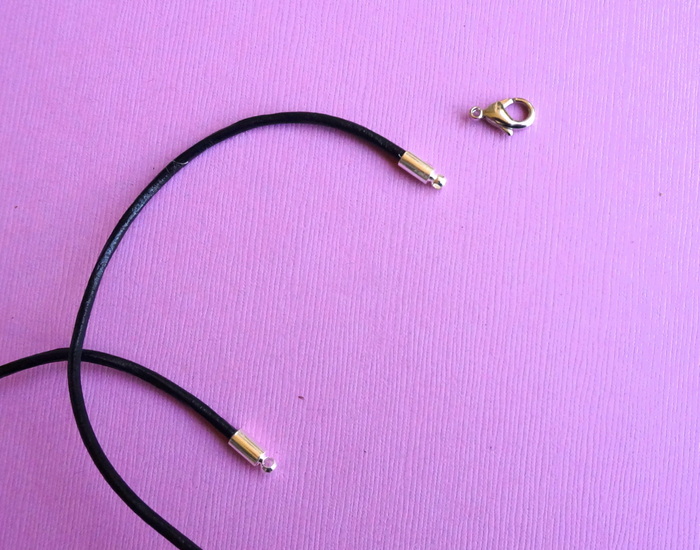
2. Cut your leather cord and glue an end cap to one tip.
Let me start by saying that you might simply want to tie a knot with the leather cord to secure your necklace and call it a day. You don’t have to finish it off with a clasp. But if you do, follow step 2! You’re welcome to wait and glue both end caps at once. But if your beads are slippery, an end cap on one end will keep them from rolling off while you’re stringing. I used a dab of hot glue to secure my end cap in place.
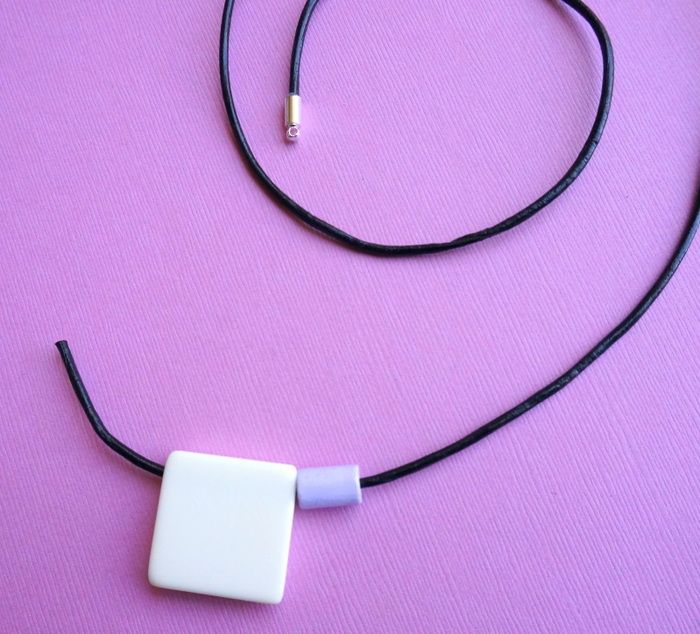
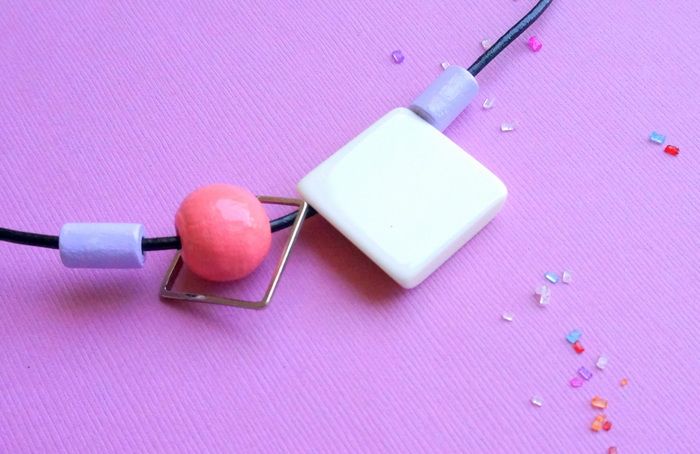
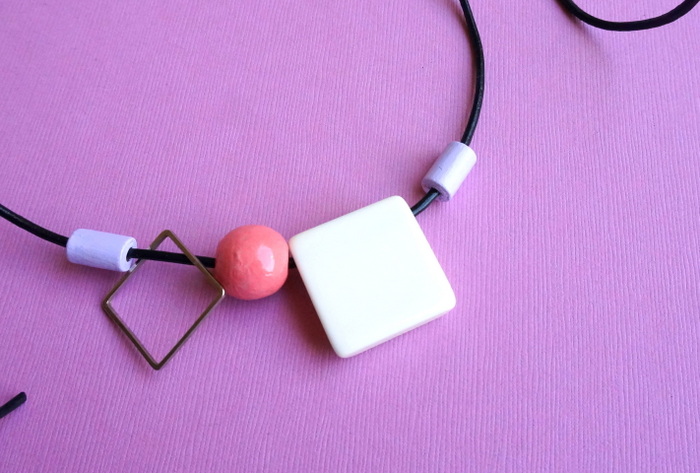
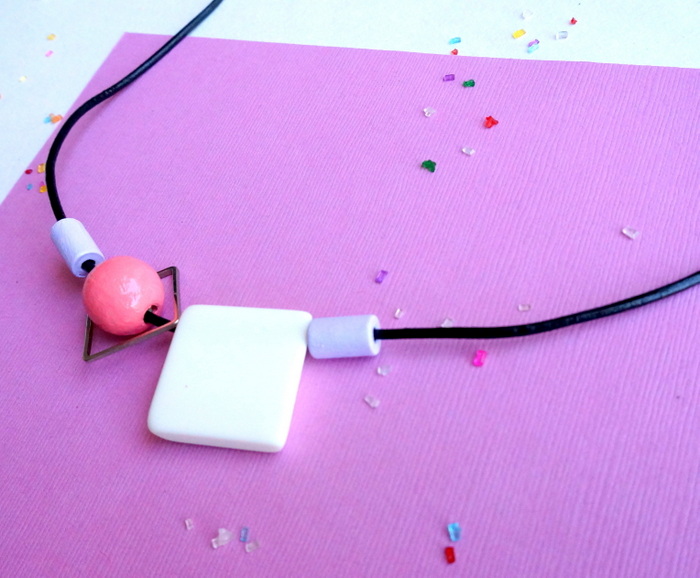
3. String your beads.
Have fun trying out different arrangements. This was my very favorite part of the project!
4. Finish the necklace with the second end cap and a clasp.
When the second end cap was in place, I attached split rings to each end cap (split rings not pictured below). Then I attached a clasp to one split ring. Done! I’m definitely no jewelry making expert, but flat end pliers really helped me with these final steps.
Step 5: Wear your necklace with pride!
I’m debuting mine today. I can’t wait!
Happy Friday–have a wonderful weekend!


Leave a Reply