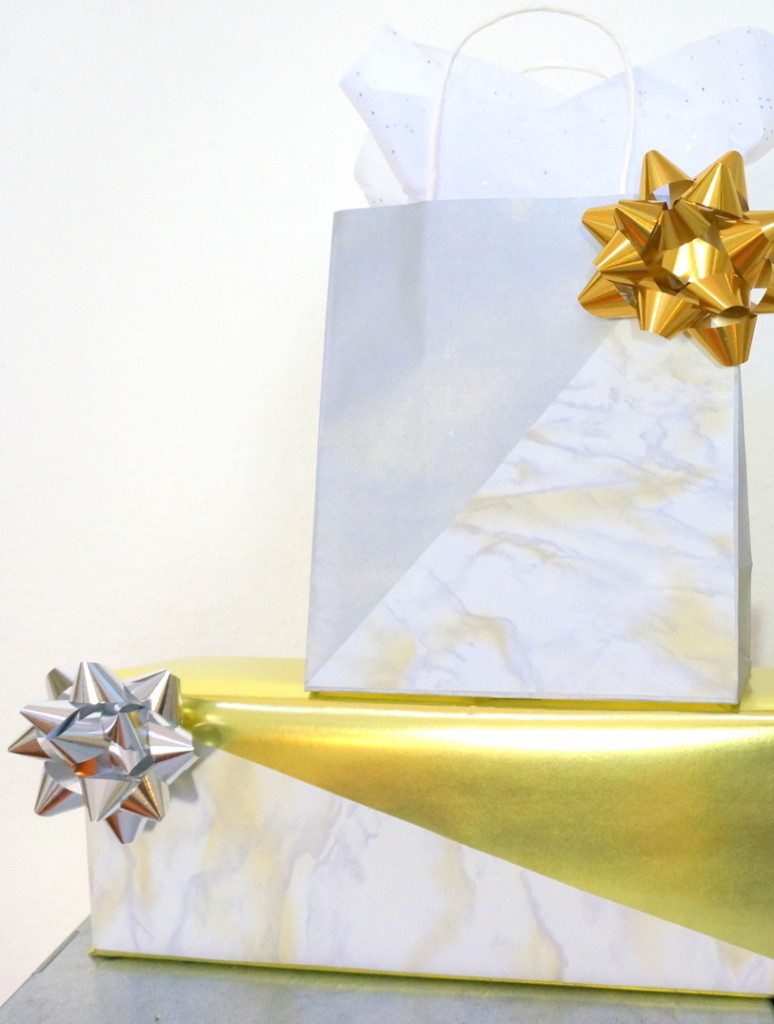
Marble and metallic gift wrap
Looking for some last-minute gift wrap ideas? This weekend I had a major gift wrapping session, and I let the ’80s be my guide. From the tears of a clown mask to the marble tile of a hotel lobby, the inspiration for today’s projects comes from a variety of sources. Read on for more shiny retro fun, including all of the DIY details…
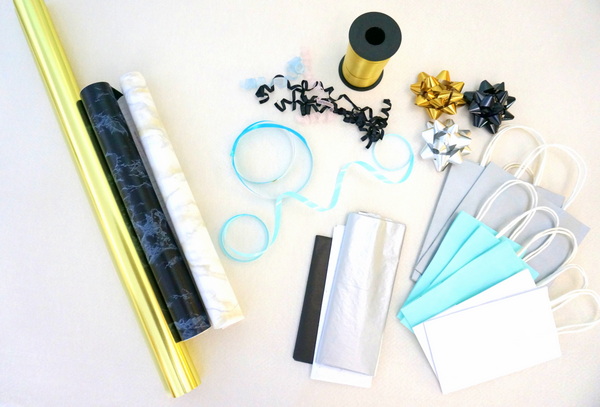
Gather your gift wrap supplies…
When it comes to Christmas shopping, I still have a few items to purchase. But at least I can say I was on the ball with my gift wrap this year. My color scheme for 2013: metallics, marble and a touch of blue! Now on to the inspiration. Remember Christian Dior’s 2011 Fall-Winter Collection? I was particularly drawn to the ’80s Deco selections. When viewing dresses like the one below, I couldn’t help but think of the porcelain masks that were so popular in the 1980s (such as this bold selection from Etsy shop Vintage Penny Lane). When I stumbled upon a white pearlescent gift bag from Target, I decided to let the mask be my guide, and a DIY project was born!
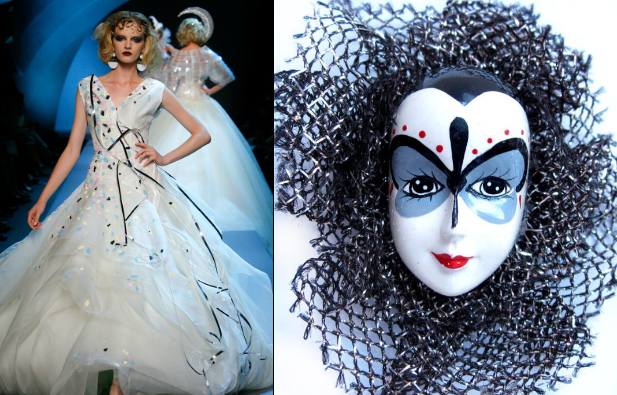
Gift wrap inspiration
’80s Deco Confetti Bags
What You’ll Need…
- white gift bags
- black tissue paper
- ribbon in shades of blue, black, pink and silver
- scissors
- glue

’80s Deco gift wrap
Steps:
- Cut the ribbon into small squares. This will be your confetti.
- Glue the squares to your gift bag.
- Open the bag and fill with black tissue paper.
- Tie ribbon in the colors of your choice to one of the bag handles.
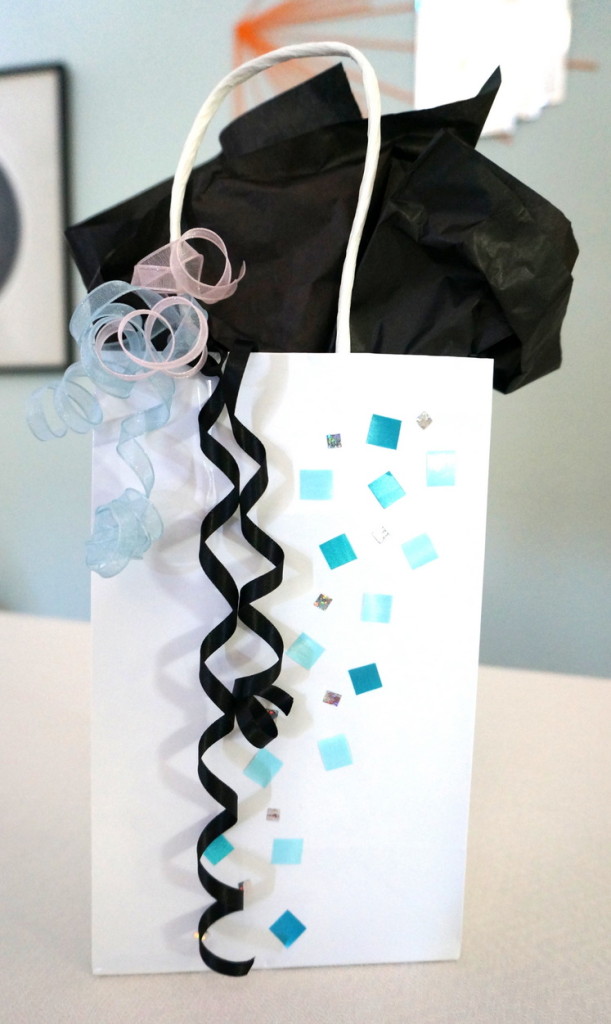
Confetti meets ’80s Deco
It’s just that easy! Next we have a gift wrap project with a slightly different look. Marble meets metallic for a geometric finish…
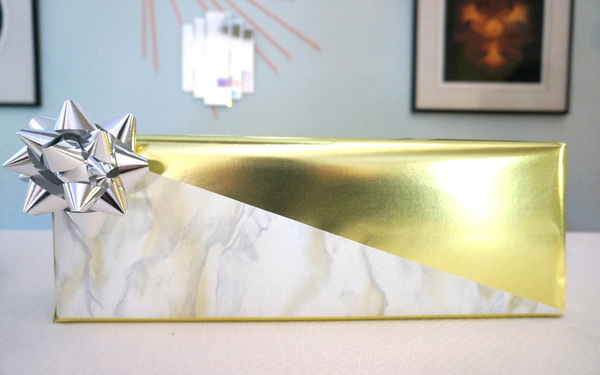
Marble meets metallic
My inspiration for this project came from the solid marble platters from Stone Theatre, available at Darkroom and pictured below. These gorgeous pieces are part of the So Sottsass collection, which you can read more about in this blog post.
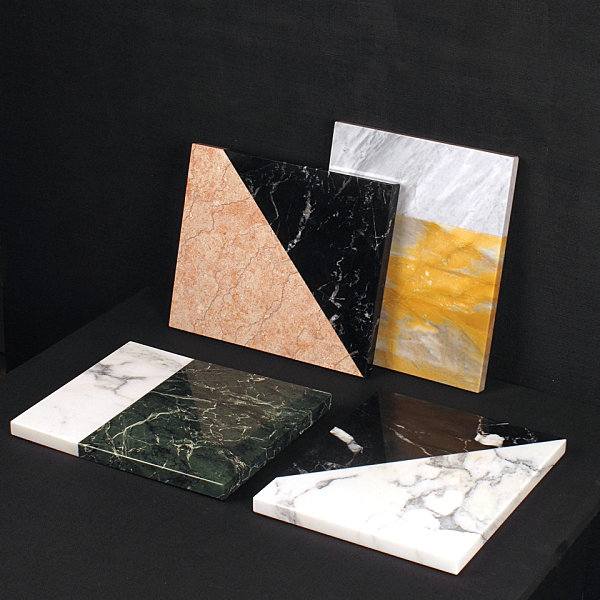
Marble platters with ’80s style
Marble Geometric Gift Wrap
What You’ll Need…
- wrapping paper and gift bags in the colors of your choice
- marble-patterned contact paper
- scissors
- ruler
- gift bows
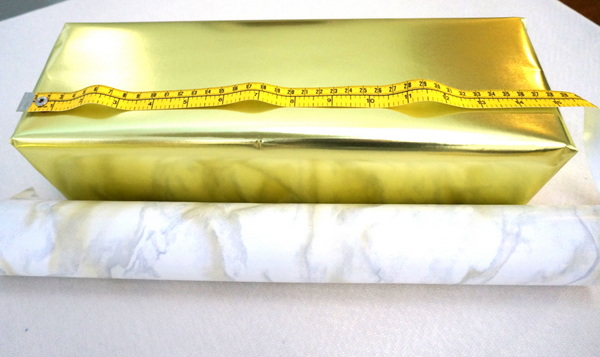
Wrap your gift, then measure the top
Steps:
- Wrap your gift in the paper of your choice.
- Measure the top of your gift, noting the length and the width.
- Use a ruler to mark the contact paper. Your goal is to create a rectangle or square the same size as the top of your gift.
- Cut the shape from the contact paper.
- Now use a ruler to mark a diagonal line across the contact paper. You will be cutting the paper shape in two. You will have two triangles when you finish.
- Remove the backing from one of the contact paper triangles. Stick the contact paper to the top of your wrapped gift.
- Add a gift bow.

Preparing the contact paper
And there you have it! There’s something about black marble and gold paper that makes a dramatic statement…
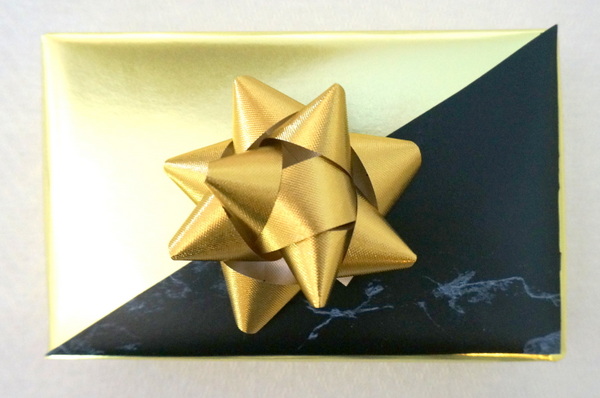
Gold and black marble make a big impact
Then again, this white marble and gold package makes me want to head to my favorite hotel lobby. Or bank lobby. ’80s-style, of course!
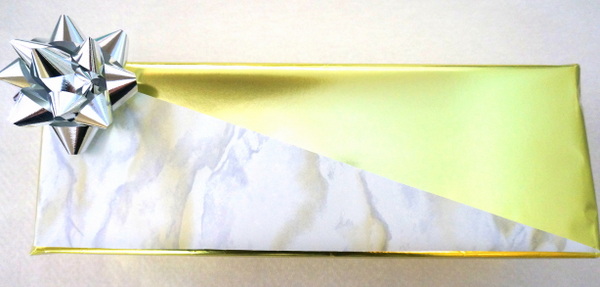
White marble and gold gift wrap
The same process works for gift bags. Instead of using the marble-pattern triangle to embellish the top of the package, you will be decorating the front of the bag!
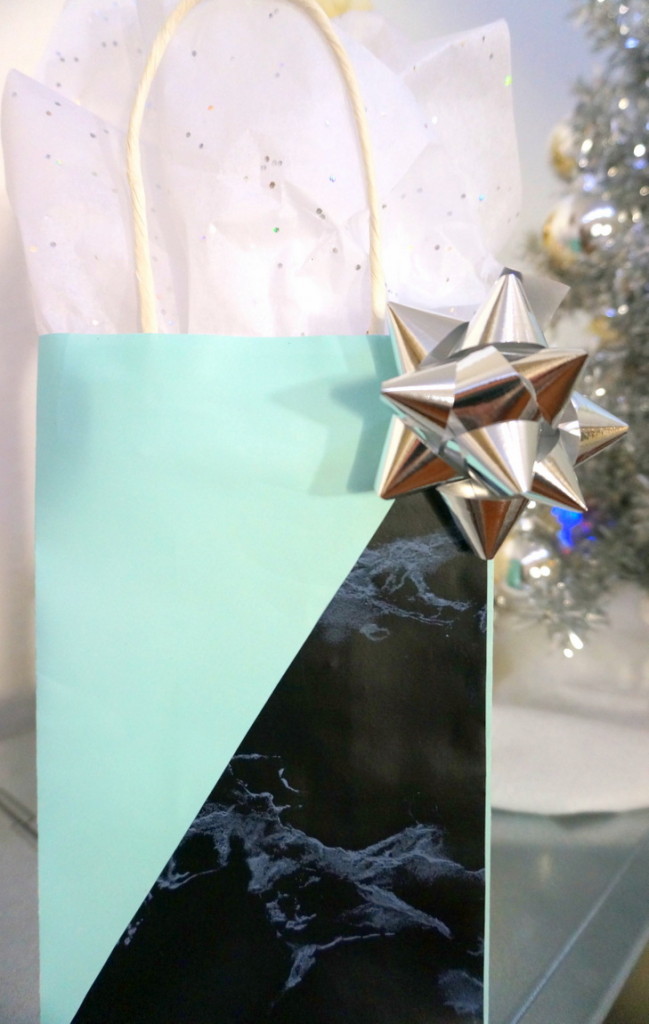
A geometric gift bag
The design possibilities are endless. No need to stick with triangles. You can create a variety of shapes from the contact paper. And if you don’t have marble-style contact paper, any contact paper, craft paper or wrapping paper will do!
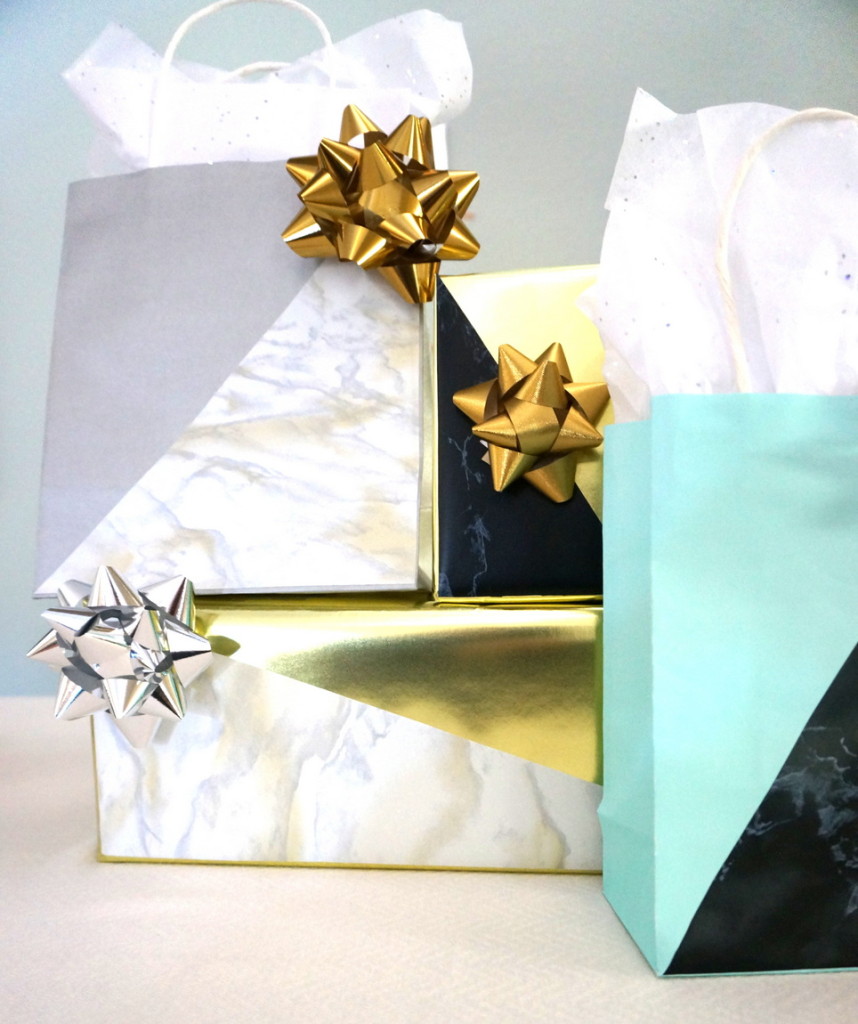
Geometric gift wrap
Happy Holidays from Mirror80… Wishing you a festive celebration!








Leave a Reply