A sparkly fall vignette
Halloween is tomorrow, folks! This past weekend I got a bit crafty and decided to create a DIY painted pumpkin. Then I started thinking about the colors I was interested in featuring, and it occurred to me that the peach tone of butternut squash would make the perfect canvas for my ’80s-style landscape design. Plus, I’ve had pumpkins in the house for the last month, and a butternut squash would be a refreshing centerpiece for November! Read on for all of the retro DIY fun…
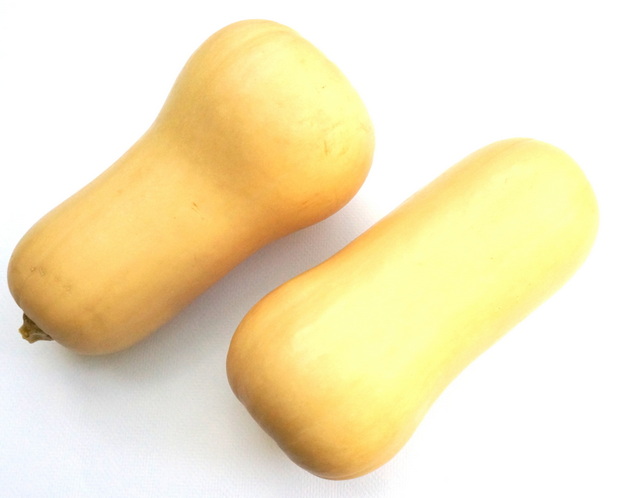
Start with butternut squash
1. Gather your supplies.
I purchased two butternut squash–you know, in case one of my designs didn’t work out. Guess what? One of my designs didn’t work out. It pays to be prepared! I cleaned the squash with a damp rag before beginning this project. Also helpful to have on hand: glossy acrylic paint, sponge brushes, paint pens, and a slim paintbrush for touching up the edges.
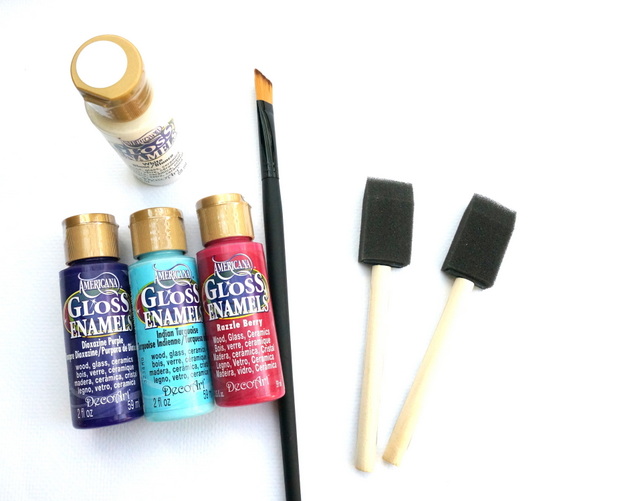
Painting supplies make this project pop
A word about the paint: While this project spares you the fumes of spray paint, note that glossy acrylic craft paint and paint pens are not fume-free! Which is why this project is a good one to do outdoors in the fresh air for ventilation purposes. Or at least near an open window.
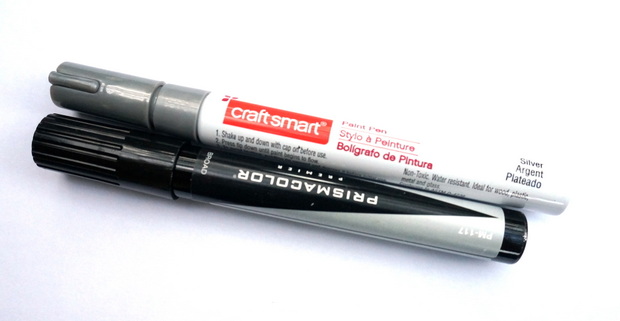
Don’t forget the paint pens!
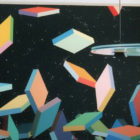
2. Paint row after row of color across the surface of the squash.
The wavier the lines, the better! I ended up mixing my own paint colors using the bottles I purchased. As you can see below, darker colors may not be as consistently thick as the lighter ones and therefore may require more than one coat. Overall, mixing in white paint is a great way to lighten the color while adding thickness and coverage. The sponge brushes were the perfect width for distributing the paint. The smaller brush helped with the curves. My inspiration for this project: ’80s landscape art! Remember the DIY paper landscape project we created last year? Same idea!
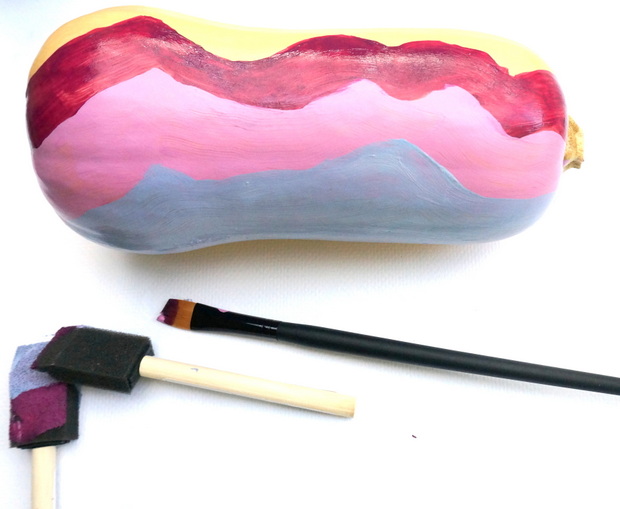
Add row after row of color
3. Allow time for the paint to dry.
We’re not done yet! There’s still much embellishing to do with the help of paint pens. But it’s time to take a little break and let the paint dry. I left the squash outside to dry overnight (this also helped the fumes to dissipate), but you can get the job done in far less time if you want to make this a one-day project. Just make sure the paint isn’t too sticky before proceeding. Remember when I said one of my painted squash turned out far better than the other? I ended up preferring the vertically orientated squash shown below…
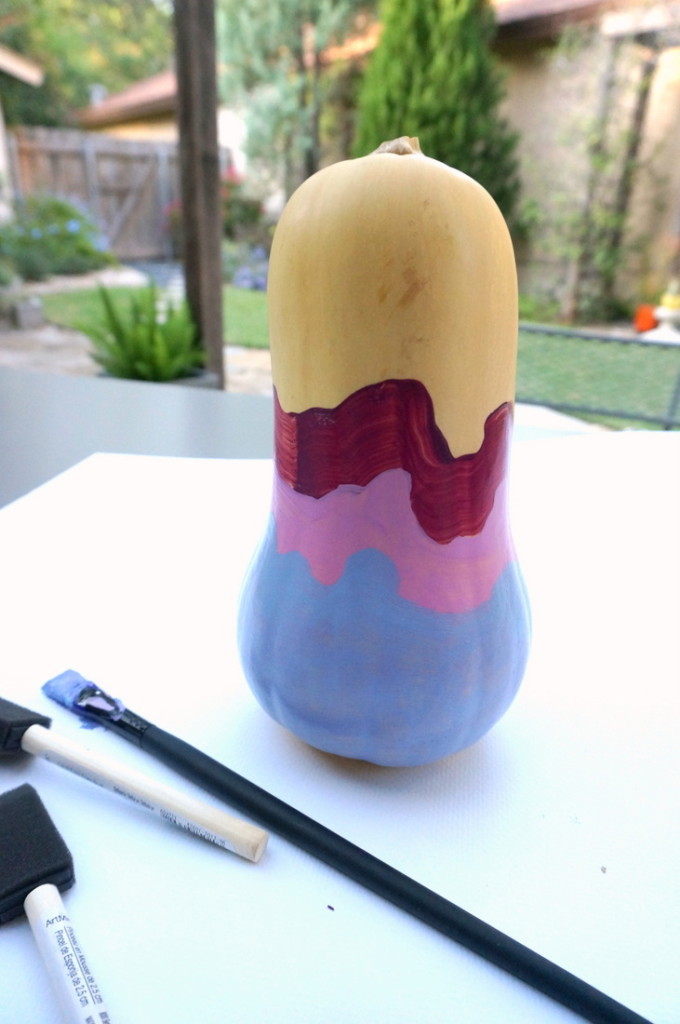
Allow your design to dry
4. Outline the layers with a paint pen or two.
Now it’s time to make the design really pop! I chose silver for my accent color and went to town, creating lines of different thicknesses for variety. Note: You will likely need two coats of paint pen for a bold outline…
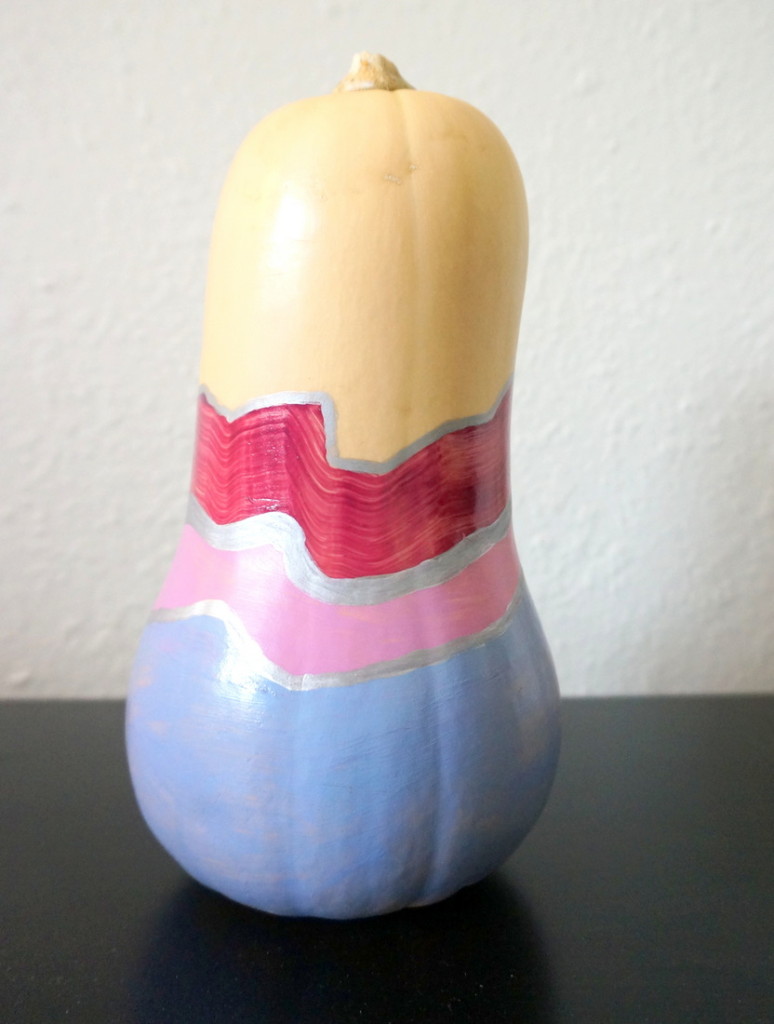
Outline layers with the paint pen of your choice
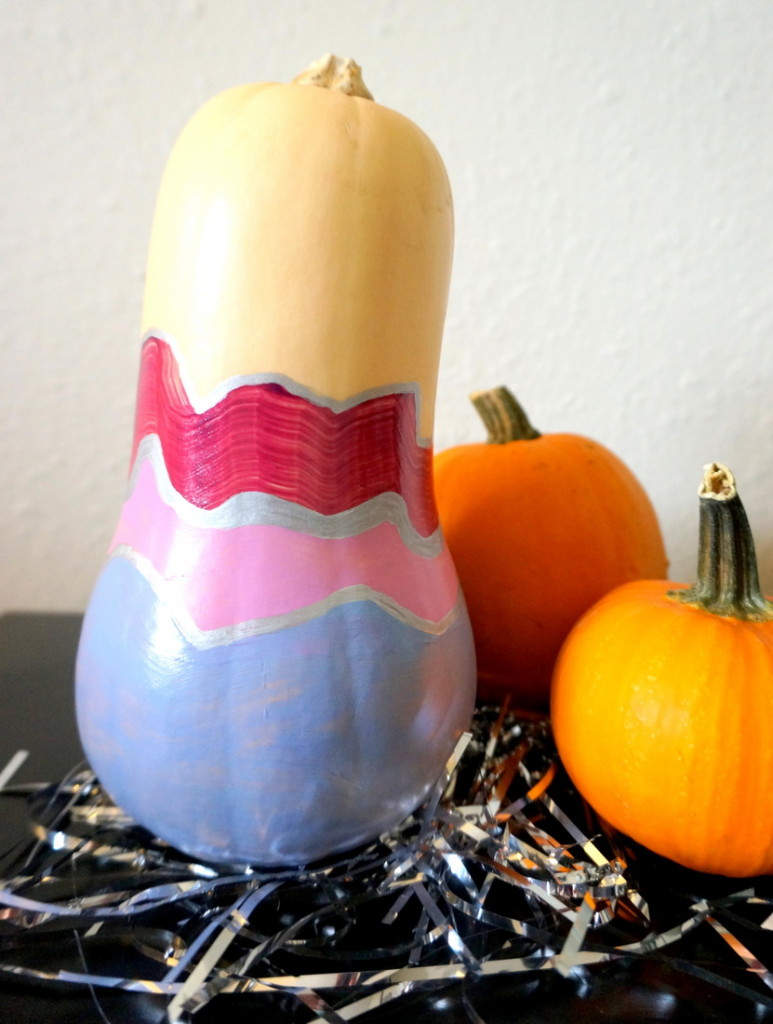
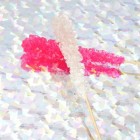
This is a project you can truly make your own! I liked the banded look that resulted from the top row of burgundy paint. It reminded me of agate. So I opted against a second coat for that layer of color! One great display option once the project is completed–rest the squash on top of a pile of metallic shred, as shown below.
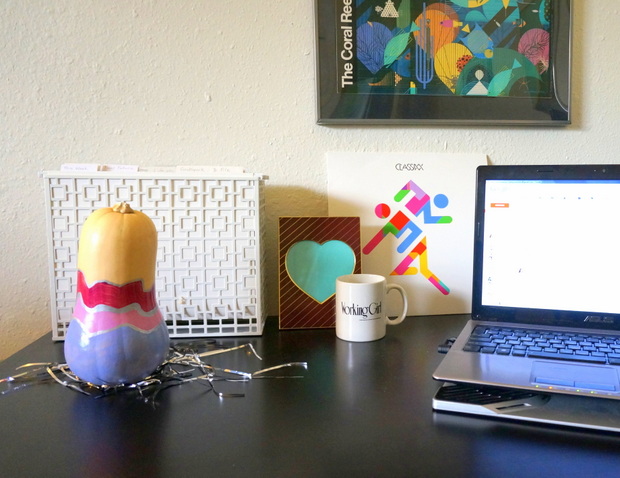
Happy Fall from Mirror80!
From the desk of Mirror80 to your home… Happy Halloween, and Happy Fall! Hope your autumn is retro-fabulous!


How do you keep it from rotting?