After reading the title of this post, you might think we’ve taken an office packed with ’80s decor and given it a more modern look. Not entirely so. The point of this interior design DIY was to take an office–in this case, the home of Mirror80–and give it a streamlined nod to the ’80s.
But rather than making the office a one-dimensional homage to a decade gone by, there was an effort to include elements of today’s design, particularly the juxtaposition of geometric patterns with sleek ceramics. ’80s design doesn’t have to be about kitsch or an over-the-top nostalgia-fest. Incorporating a few 1980s pieces into decor can create a surprisingly modern look.
The Goal: An ’80s fusion-style office incorporating vintage swank and contemporary style.
But there were a few challenges that made this task a real labor of love:
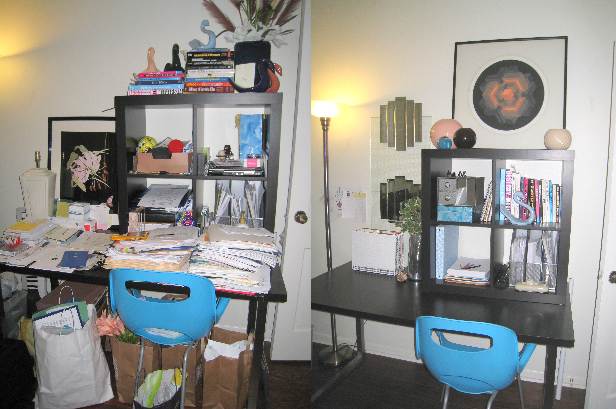
- Clutter. The desk had mostly been used for storing files, as well as thrift store finds featured in previous posts. This needed to change! A shift in my career to full-time writing made a clean work space a must.
- Color clash. Although fabulous, a framed 1980s lily-motif picture was creating a heavy look for the desk and its contents. A bright blue chair fought the pastel colors of collected ceramics.
- Shared space. This desk was currently meeting the storage needs of both me AND my husband. He was willing to fork over the space, but cleaning it required both of us to carve out time for this daunting task.
Oh where to begin?! Like any project, breaking the work down into baby steps minimized what could have been a grueling process. And the fun of designing the space was a huge motivator! Let’s get started…
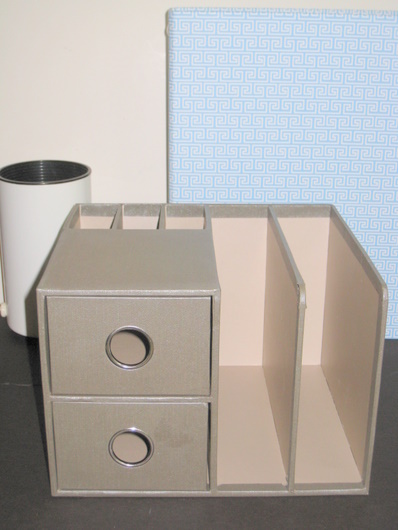
A decorative binder, Real Simple desktop organizer (both from Target), and a cylindrical portable light (a thrift store find) are great incentives to get to work!
Day 1: Come up with a plan, then bribe yourself
Yes, you heard me. There are times when a monumental task requires a treat at the starting line. But not just any treat…
Perhaps it’s helpful to have a motivator that can’t be fully claimed until the project is completed, a.k.a. some very affordable home decor smalls to be featured on the newly de-cluttered desk . So on the first day of the project, I assessed the situation and noted the necessary work at hand. Then I went shopping!
I hit Target (with the help of a gift card) and Savers, and I found the treasures shown above: a desk organizer, a binder with a Greek key-style pattern and a portable light. The light was a thrifty second-hand find, and it ended up being eliminated due to the alarmingly high temperature the metal reached when the light was plugged in. Oh well! Not every purchase can be a winner.
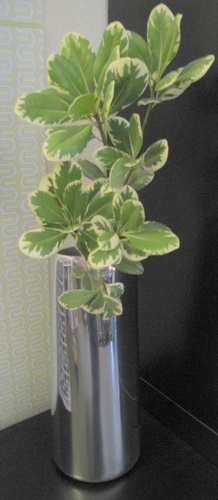
During a “just for fun” outing to IKEA that evening, I was delighted to find a metal vase that mirrored the look of chrome planters that highlighted interior spaces of the ’80s. Filled with fresh greenery, it’s an eye-catching focal point. I couldn’t wait to introduce the vase to its new spot. But before I could enjoy it, there was much work to do…
Day 2: Clean the desktop
This is where things got less glamorous–the underbelly of the project emerged, and my dedication was tested.
I’d like to take a minute here to advocate the value of accountability at a time like this. The fact that I’d be featuring the desk in a blog post kept me centered. But other accountability strategies could involve having the clean-up coincide with a good friend’s similar de-cluttering, or even pre-inviting someone over to see the finished product. There’s nothing like impending company to inspire a redesign!
With that said, I knew it was time to start with the most tedious of jobs–the filing. A year’s worth of paperwork was staring me in the face, and I needed it put away. And not just shove it into a closet. With a go-getter attitude, I tackled this portion of the project in 2 and 1/2 hours (see bottom image from the pics above–yes the desktop shelves still need work). But there was more to be done…
Day 3: Remove Overflowing Clutter
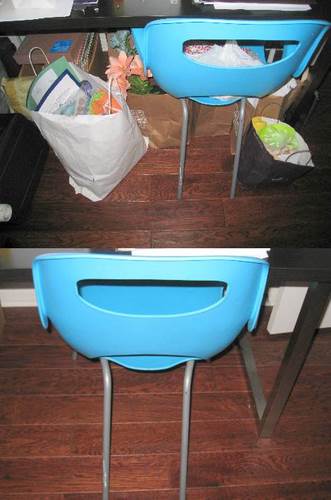
Yes, folks, the clutter had spread to areas such as the floor! There were bags to go through and items to donate, including a box full of records, a few of which I was able to sell to a well-loved local record store. The bottom image to the right shows the progress made at the end of Day 3. Again, I aimed for the job to take 2-3 hours, and the goal was met.
It was nice to see the floor again! The clean space ushered in a new phase of teamwork. Clearing the floor was the last organizational task I could do alone. The remaining clutter belonged to my husband, and in the day or two that followed, he and I would team up to find new spots for many an item.
Days 4 and 5: Let the Fun Begin!
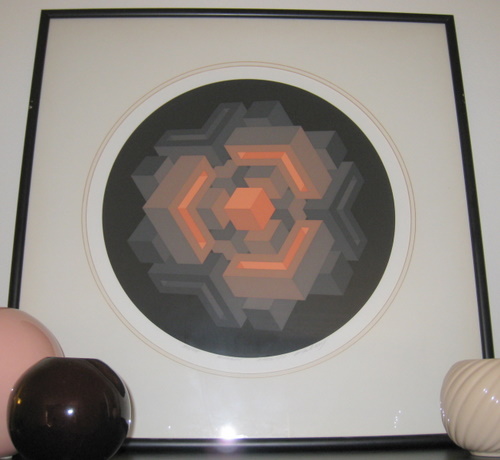
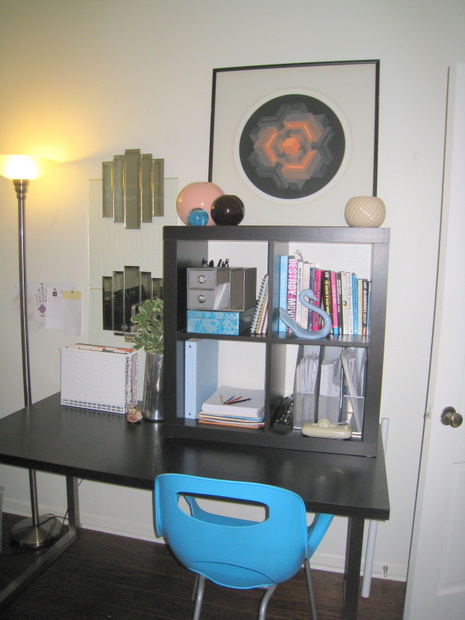
A few surprises ushered in the last phase of the project. For one, my dear friend Jeff (who was also looking to de-clutter) gifted me with the artwork you see above: an ’80s piece called Paragon by Halsey. I also received its counterpart piece, which I hope to feature in a future post. I’d been going from Goodwill to Goodwill looking for a painting or print to unify my office vignette, and I’d decided to make due with what I had when the call from Jeff came. Thanks for saving the day, Jeff!
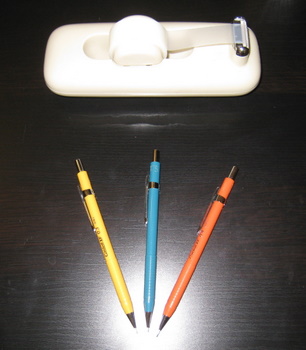
Then when digging through a bag of old office supplies (my husband’s from grade school), I came across the tape dispenser and mechanical pencils you see to the right. If they’re not ’80s, they certainly have a vintage look that was perfect for my new office!
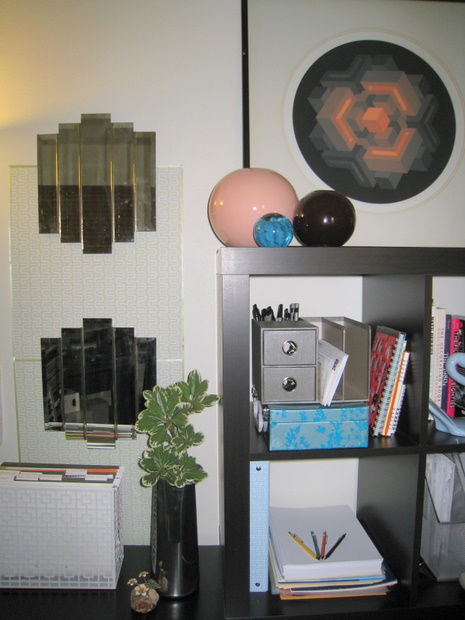
Now it was time to incorporate all of the pieces and supplies in a way that was both stylish and practical. Using well-loved items like the ’80s globular vases and powder blue swan you see below, I pulled together a space that (I hoped) would evoke a 1980s office with modern touches. I was very happy with the result:
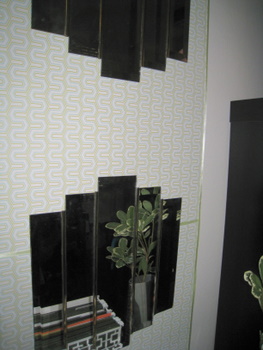
To embellish the blank wall, I used ribbon to frame some hefty gift wrap I’d purchased at The Container Store several years ago. Two ’80s-style mirrors with brass detail filled the space, adding a reflective quality that matched the shine of the metal vase. This is Mirror80 after all!
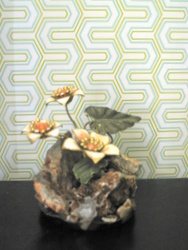
And let’s not forget the little things that gave life to the vignette–like the metal and rock floral mini-sculpture you see below. Purchased at an estate sale years ago, it’s finally found a permanent resting spot:
Thanks for joining me on my office redesign adventure. A few tips if you embark on a similar journey:
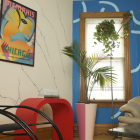
- Use what you have. I limited myself to one or two days of hunting for affordable finds to add to the project, then I simply incorporated items I already owned. The result: using blue as an accent color, as shown below. I would’ve loved to buy new desk chair, but in all honesty, I’m kind of pleased I was forced to welcome the color!
- Get creative. If you’re willing to mine an item for multiple uses (for example, using sturdy gift wrap as wallpaper), your decorating options will increase.
- Stick to your guns. While adaptability is essential, knowing what you want pays off. I could easily have fashioned a pastel- and heart-themed ’80s office from a variety of candy-hued items I repeatedly encountered at thrift stores. Don’t get me wrong–that would’ve been awesome. But it’s not what I was going for. Staying focused was hard, but it paid off:
Happy decorating, and Happy Friday!









Leave a Reply