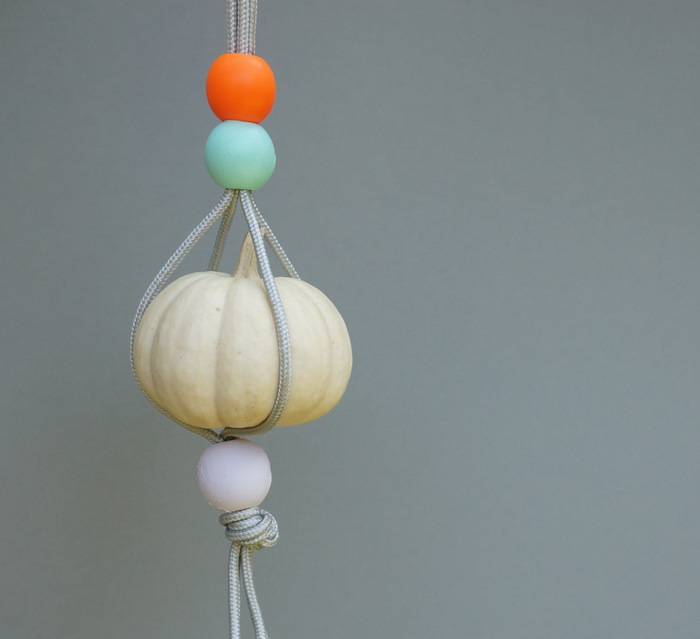
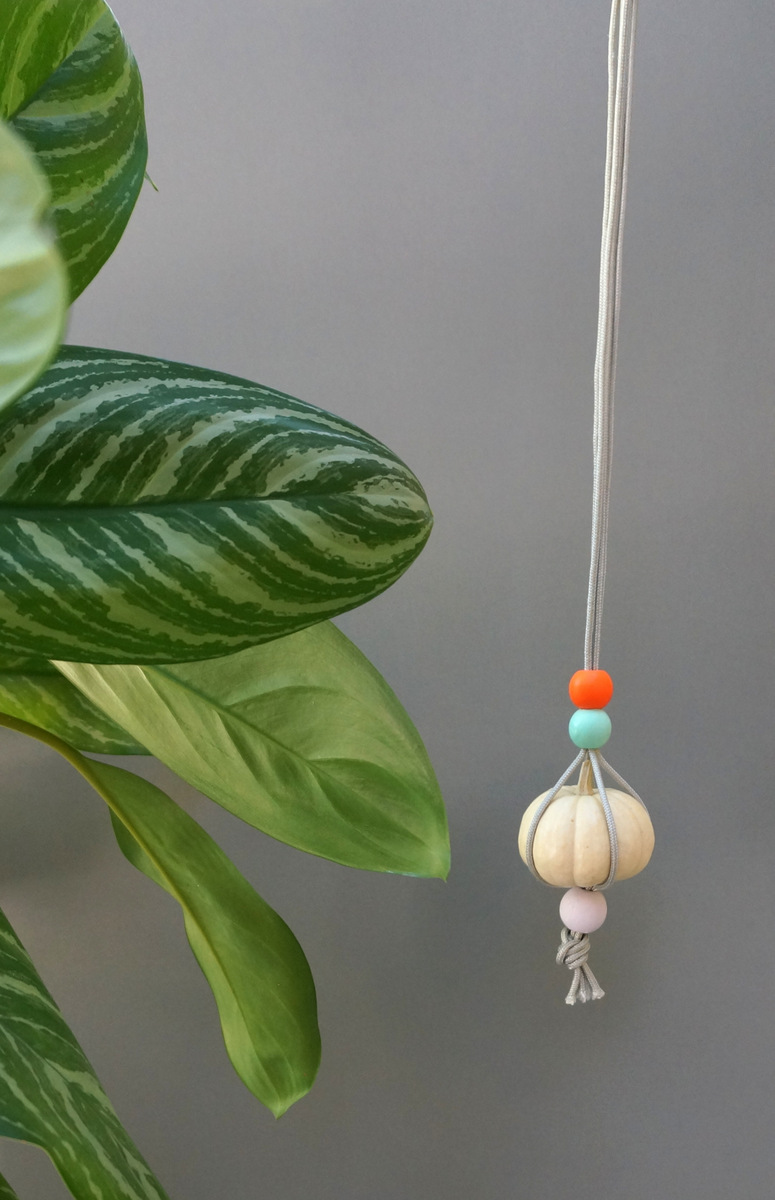
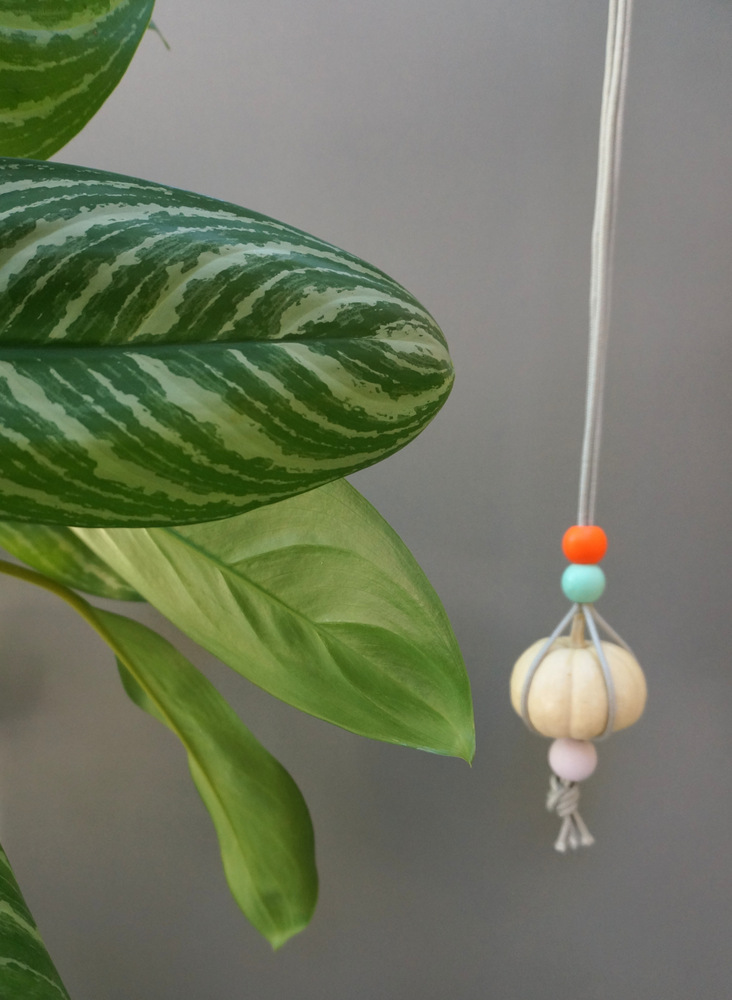
If you love hanging planters, today’s project is for you. Add some fall style to your interior with a DIY pumpkin hanger. It’s super easy to create, and the payoff is big. Plus, this project is budget-friendly! Read on for supplies, steps and details…
Project Supplies
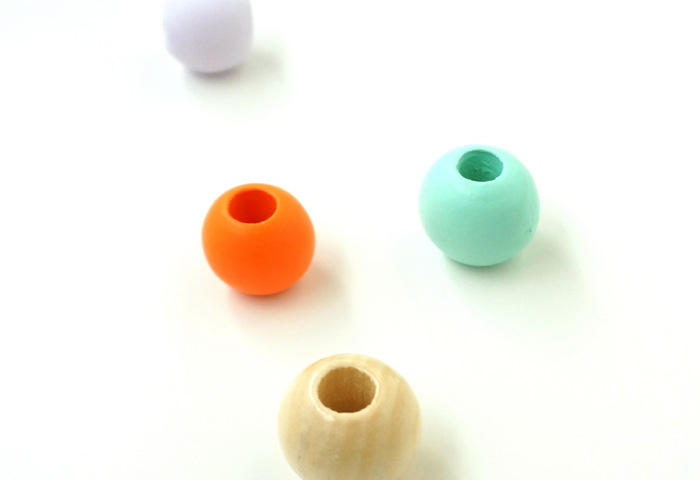
Here’s what you’ll need to get started…
- wooden beads
- a mini pumpkin
- craft paint
- paracord
- scissors
- tape
- containers for the paint
- paintbrushes (optional)
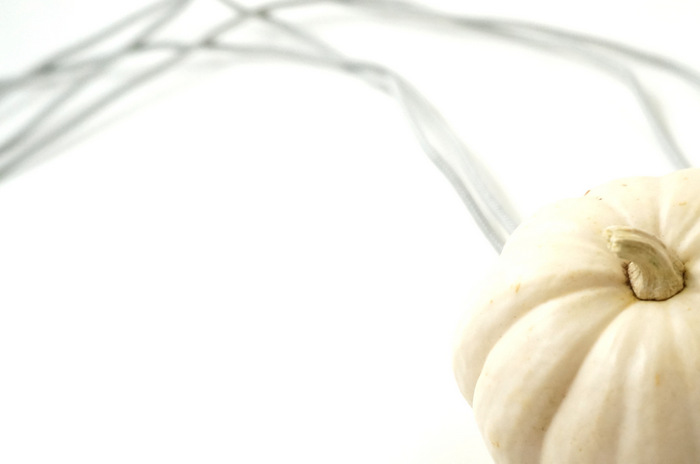
Make sure the beads you choose have a wide opening, as you will be stringing the equivalent of 4 paracord strips through each hole. While I chose grey paracord and white pumpkins for this project, the color possibilities are endless (especially if you decide to paint or decorate your pumpkin).
Steps
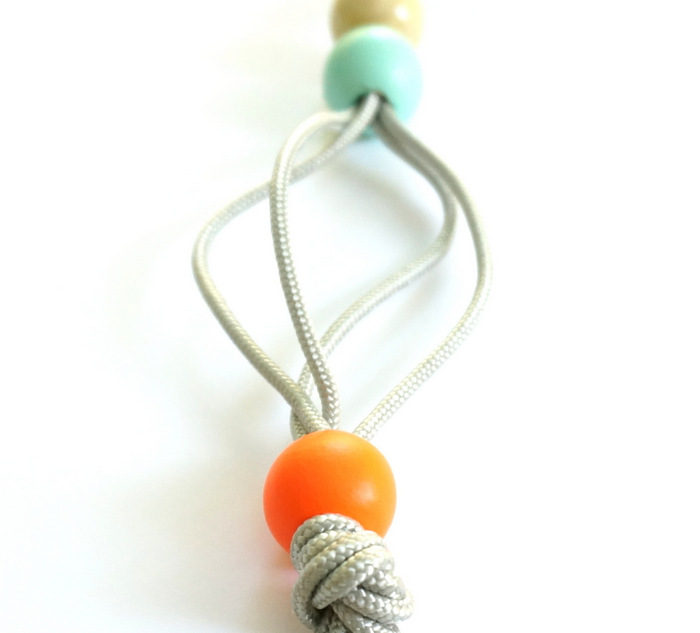
Step 1: Paint your wooden beads. You can use paintbrushes, or you can dunk the beads in paint. I wrapped the ends of a few pens in painter’s tape, skewered the beads, and then dunked them into containers of paint. It can be a bit messy making sure they dry without being smudged, but you definitely get smooth coverage (and only need one coat) if you use this method!
Step 2: Cut two strips of paracord. Each of my strips was about 5 feet in length (you will fold the strips over, so the actual length of the hanger in this case was 2.5 feet). Choose a length that works for you, depending on what you will be hanging this project from and how low you want the pumpkin to hang!
Step 3: Fold the two paracord strips in half. You will now have a loop at the top and four cut ends at the bottom. You will be stringing the four ends of the cord through each bead (which is why those beads need large openings)! I found it helpful to tape the ends of the cord so they would easily fit through the holes of the beads without fraying.
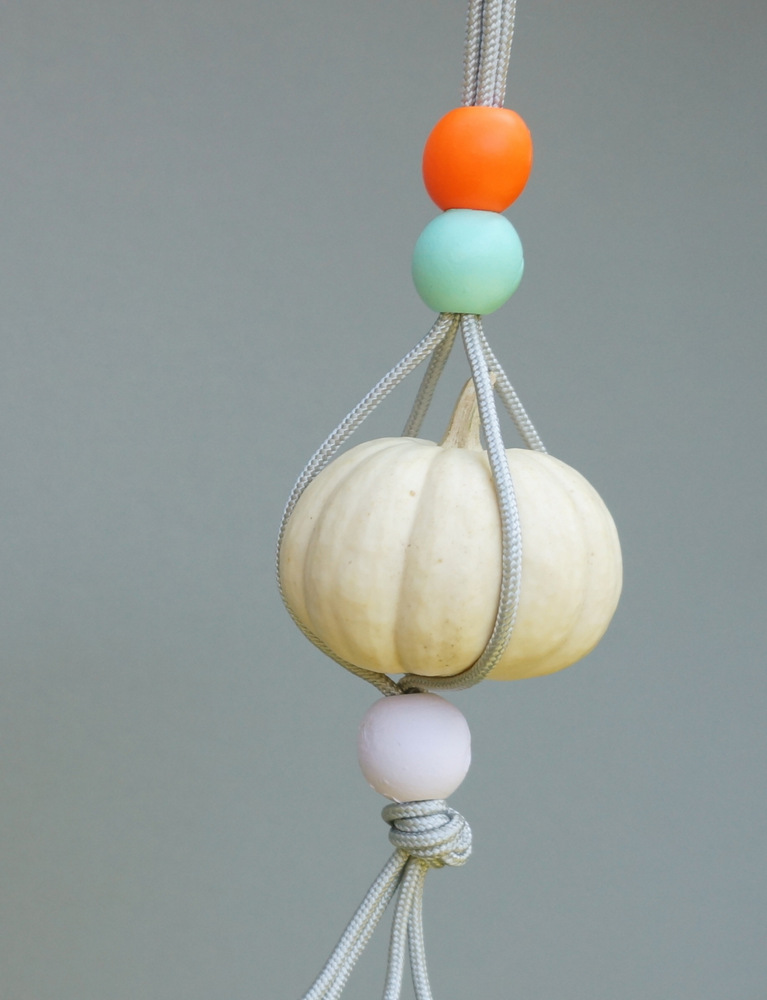
Step 4: Once the beads are dry, string them onto the paracord and tie a knot at the bottom. I started with two beads, then I left a space for the pumpkin. I added the third bead (the lavender one in the photo above) BEFORE I added to the pumpkin to this project. While no knots were needed to keep the top two beads in place, I added a knot under the third bead for added sturdiness.
Step 5: Add the pumpkin, lowering the two top beads as needed to secure the pumpkin in place. Since the beads above the pumpkin are not constrained by knots, you can raise and lower them as needed. Once you add the pumpkin to the mix, you’ll know how much you need to lower the beads to make sure the pumpkin stays in place. Adjust the pumpkin within the four strands until it’s balanced and sturdy!
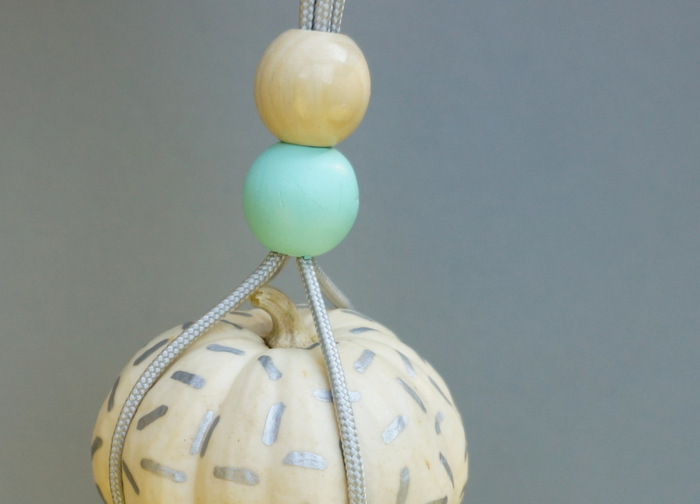
Bonus Step: Decorate your pumpkin before adding it to the hanger. This is totally optional! I added a Memphis-style sprinkle pattern to mine, as you can see in the photos above and below.
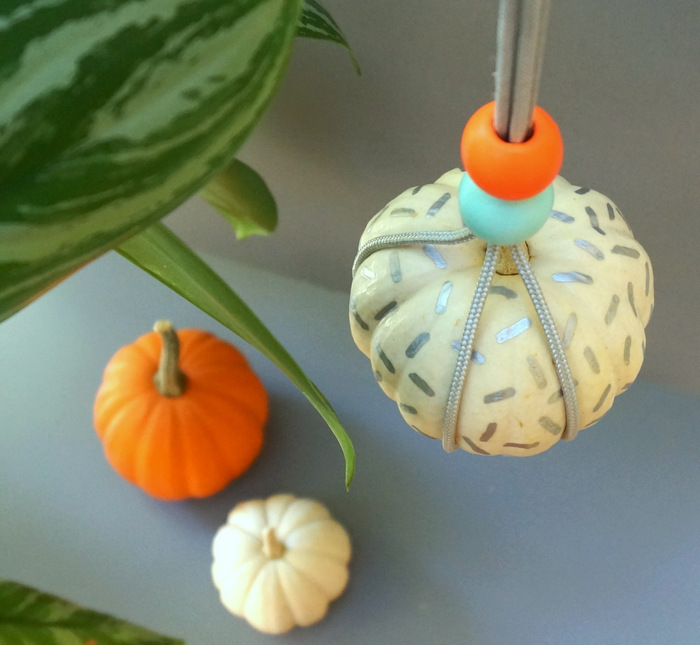
Display your pumpkin with pride, and have a Happy Halloween. That’s an order! Oh, and be sure to keep your hanging pumpkin on display throughout the fall. At that point, think of something else cool to suspend from your hanger. A geo object? A piece of produce? Hmmm…




Leave a Reply