
Ready for another DIY gift idea? I made these modern blocks to give my design-loving friends and family members for the holidays. They were affordable and fun to create, and they definitely personalize the gifting process (since they’re handmade)! Plus, they evoke a retro feel while at the same time reflecting one of today’s top trends: mixed materials. Wood, paint, metal and “stone” contact paper combine in this easy project. Read on for all the details…
DIY Modern Block Supplies
Here’s what you’ll need to get started…
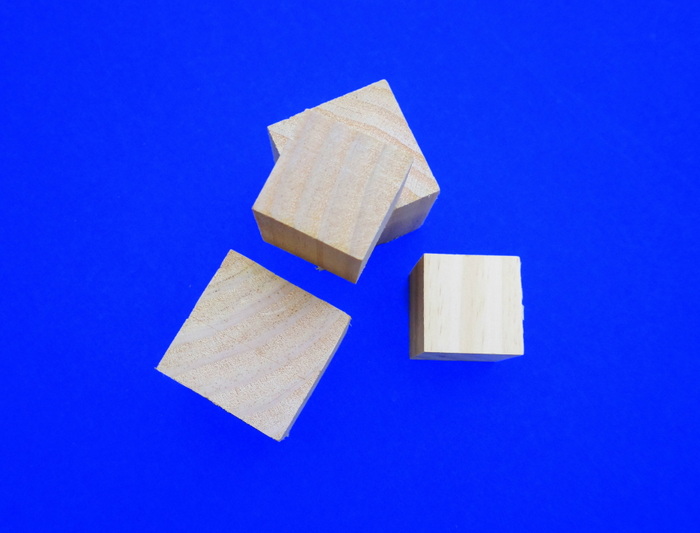
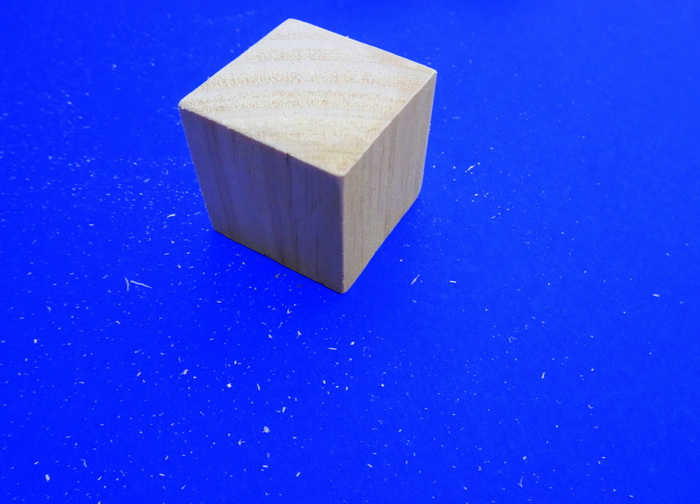
- wooden cubes
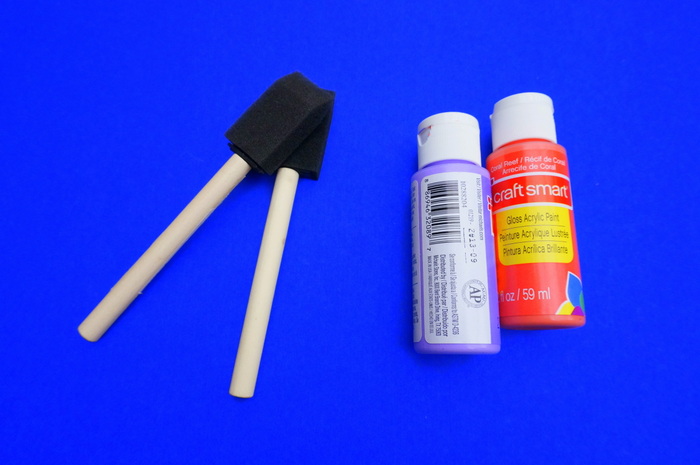
- acrylic craft paint
- foam brushes
- contact paper in stone patterns, such as marble and granite
- sandpaper
- copper sheeting
- a pencil
- scissors
- glue

I found the marble contact paper at a local hardware store, and the granite contact paper was a Target purchase. The rest of the supplies were purchased at craft stores, including the copper sheeting, which I ordered online through Jo-Ann.
Ready to get started?…
Project Steps
Step 1: Sand your wooden blocks.
This step is particularly important for the sides of the blocks that will be covered in contact paper, as contact paper is quick to show bumps and other imperfections.
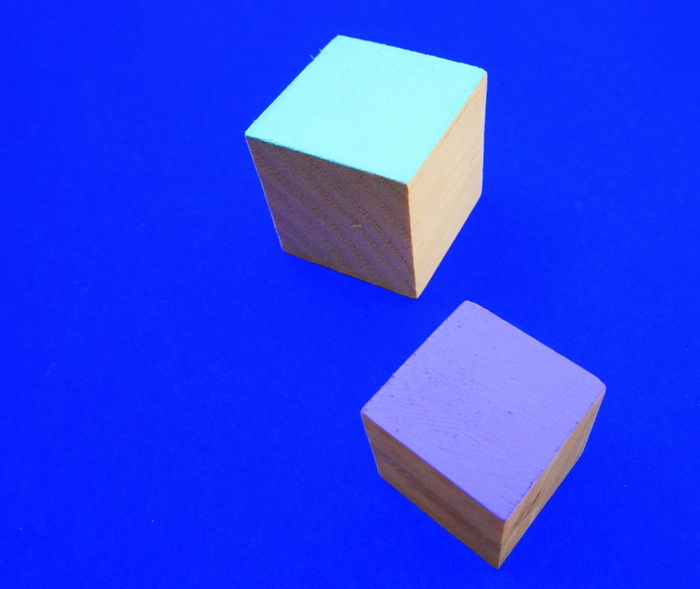
Step 2: Paint 2 sides of each wooden cube.
I chose to paint sides that were opposite one another on the cubes. Coral, lavender and mint were the colors I used, and I selected two hues for each block.
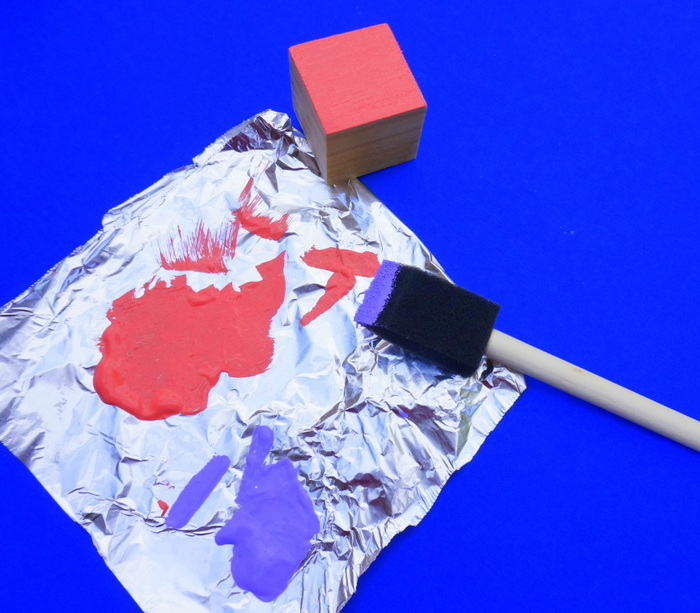
Step 3: Allow the paint to dry, and add another coat of paint if needed.
For the lavender and coral tones, I was able to paint a second coat immediately after the first, making this a one-step painting process. For the mint, I needed to wait for the first coat to dry before thickening the color with another coat.
Step 4: Use your block as the guide for measuring and cutting contact paper to fit 1-2 sides of each cube. Attach the contact paper to the blocks.
I used a pencil to trace the cube on the back of the contact paper, which has a handy grid for measuring and cutting purposes! It may also help to add a bit of glue to the corners of your contact paper squares if the adhesive backing isn’t strong enough to prevent peeling.

Step 5: Cut pieces of copper sheeting to cover one more side of each cube.
A word about the copper sheeting: it’s sharp! Obviously these blocks are not meant to be gifts for kids, but you should also take care while cutting and gluing the copper to the cubes. I used scissors to cut the sheeting, and I noticed that it helps to make the copper squares a tiny bit smaller than the sides of the cubes they will cover. That way there are no sharp corners sticking out. Either way, give your giftees a heads-up about handling these with care while unwrapping them!
Step 6: Use glue to fasten the copper sheeting to the cubes, and set the cubes with the copper side down to dry.
Steps 5 and 6 are the most involved part of today’s featured project. I had enough copper sheeting to cover one side of each cube, and honestly, that’s about all I was up for! The copper bends easily, so handle it with care. It also helps to set something heavy on top of each cube during the drying process, to help adhere the wood to the copper. I actually used Elmer’s glue for this step, as hot glue created lumps. However, wood glue may be the better choice.
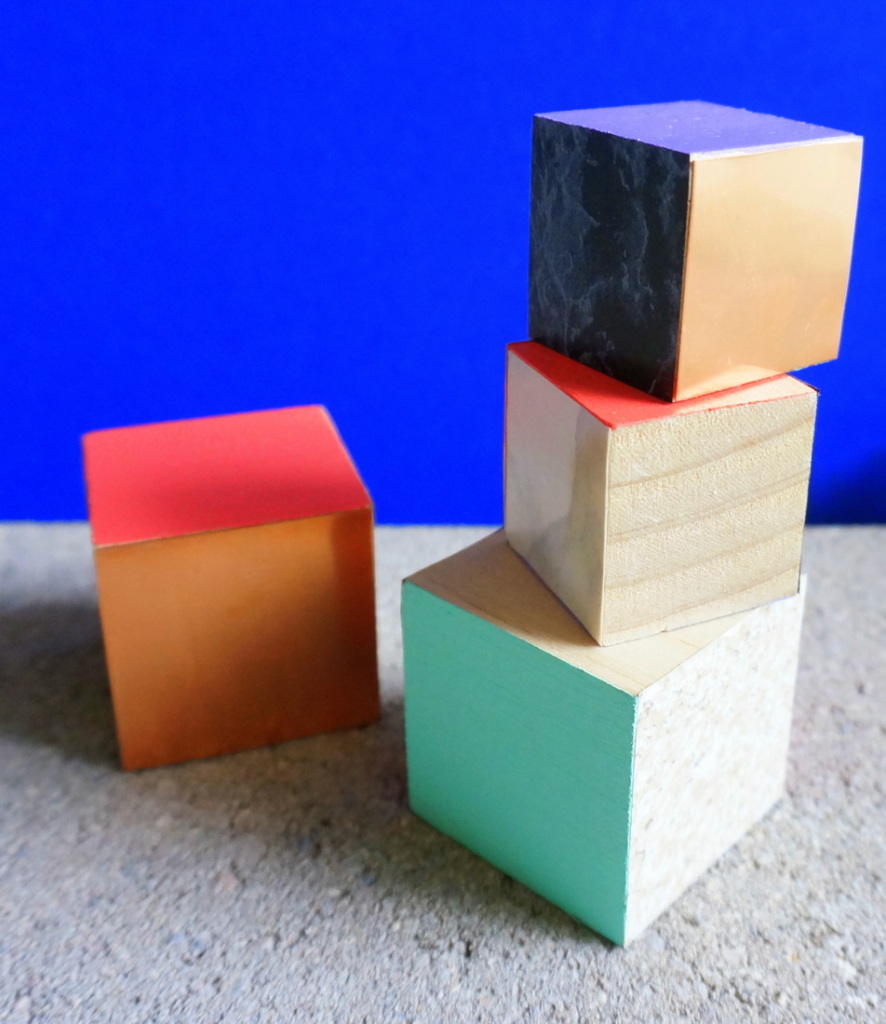
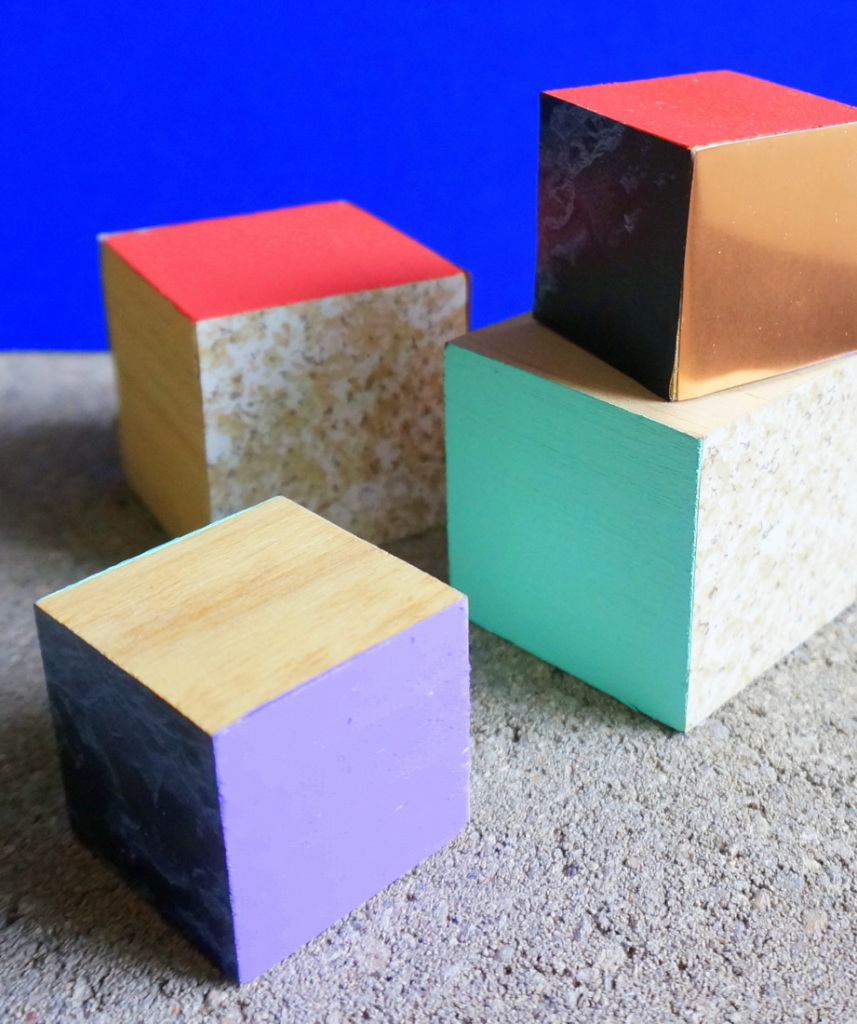
Not up for working with copper sheeting? Instead, skip the copper and leave two sides of each cube in their natural wooden states (instead of just one, like I did). This project is fun, and it makes the perfect gift for aficionados of modern design. Paint + stone contact paper + natural wood + copper sheeting = design perfection! Enjoy! And Happy Holidays!


Leave a Reply