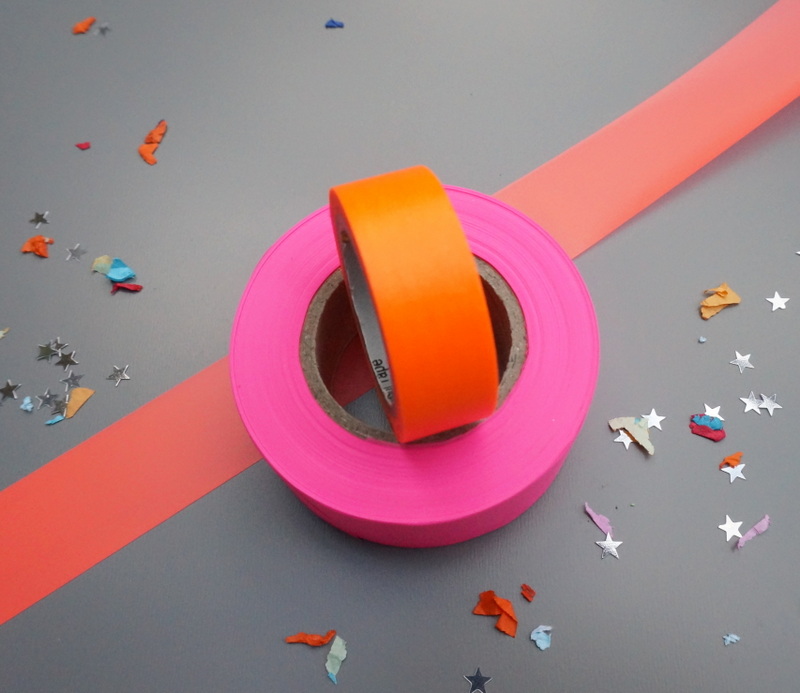
By now, you all know how much I love neon, and as I prepare to wrap my holiday gifts this year, vivid hues are taking center stage! Today’s post is dedicated to colorful DIY gift wrap ideas. Colorful AND affordable. Because supplies such as flagging tape and neon washi tape are inexpensive and pack a powerful punch! Read on for all of the vibrant details…
Neon Tape Bows
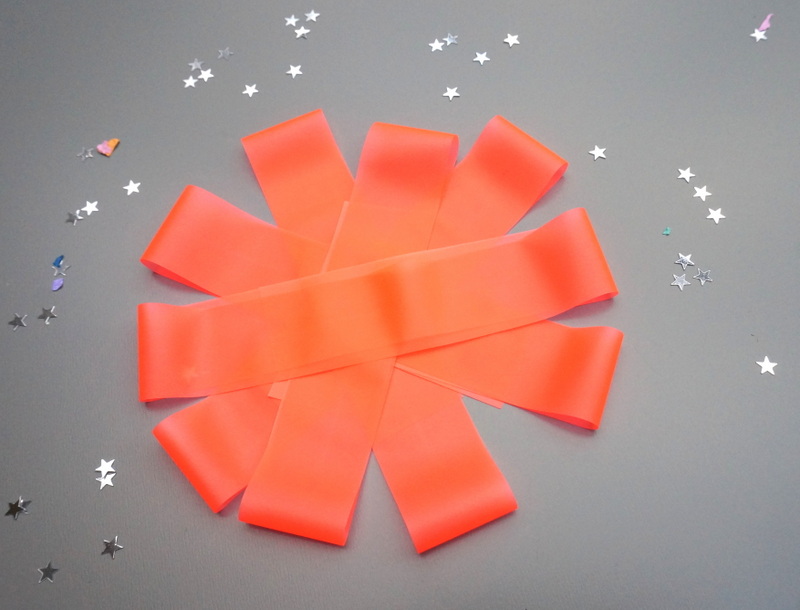
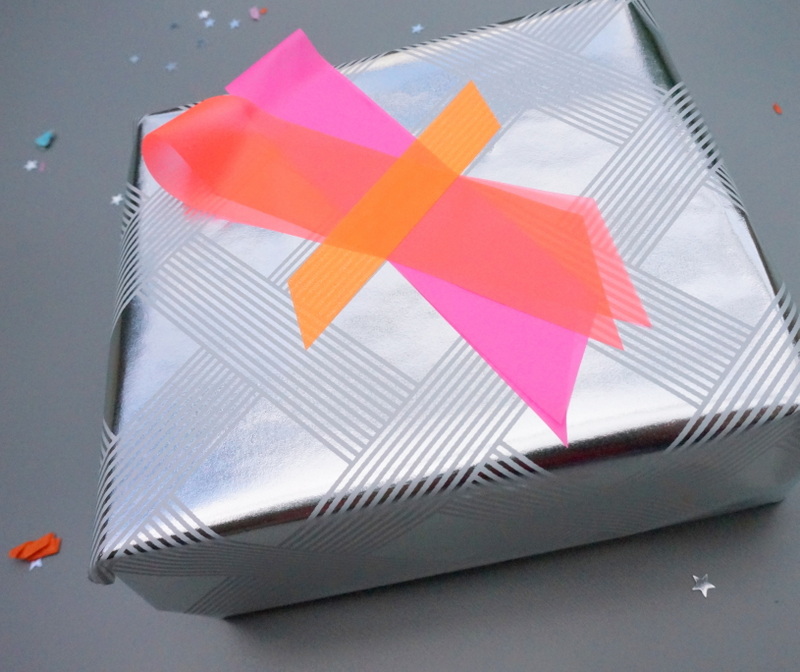
One of my favorite ways to add color to my gift packages is through the use of neon tape. I especially love flagging tape, which is available at many home improvement stores. It’s ultra-radiant, and it seems like no matter how much I use, there’s always more on that roll I bought years ago! To make an easy bow, cut sections of flagging tape and make a series of “loops”. Layer them in a sunburst formation, and secure them around the middle with a piece of neon washi tape.
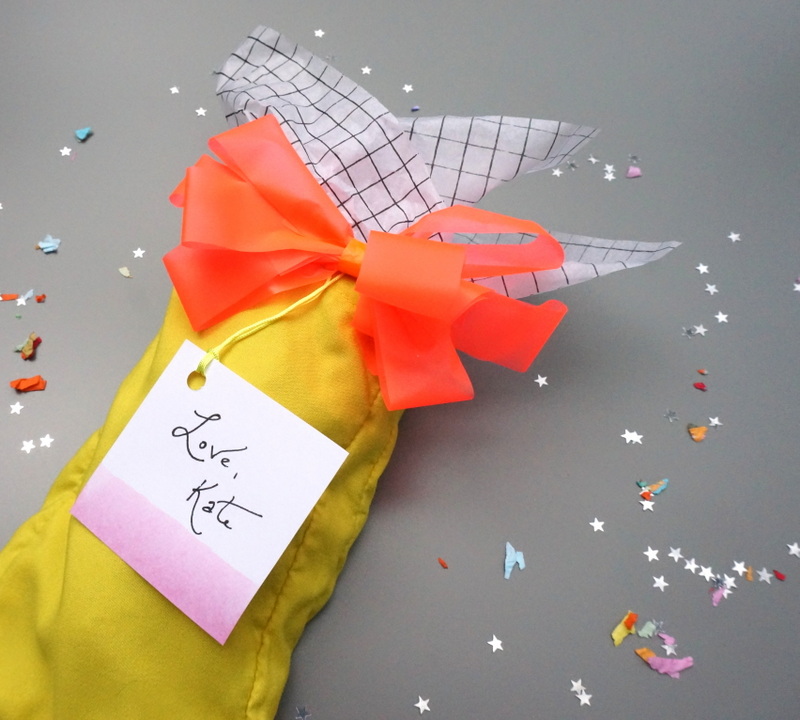
Use your fingers to puff up the bow for fullness, and you’re set! This next flagging tape idea is super easy and fast…
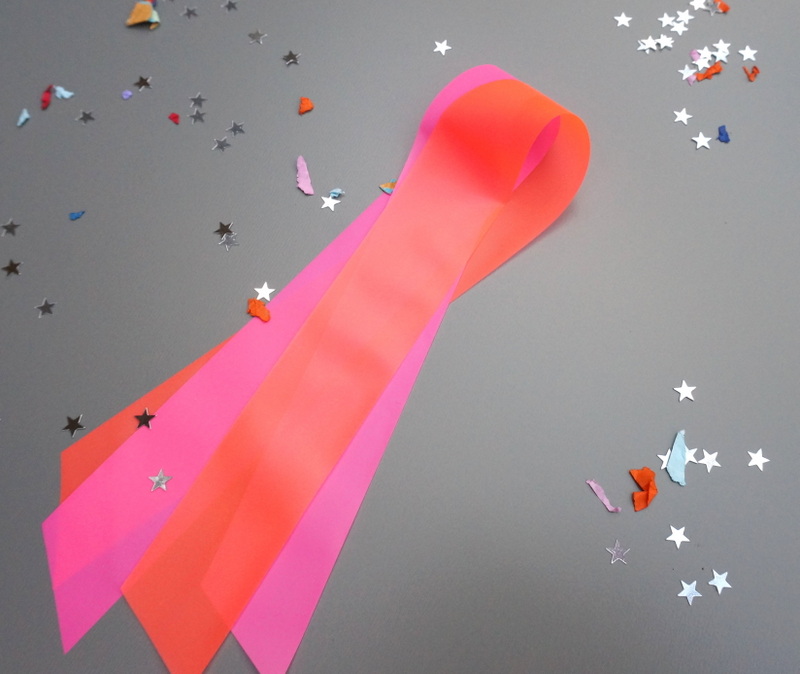
Use two different colors of flagging tape (I used neon orange and neon pink) and form a loop, as shown above and below.
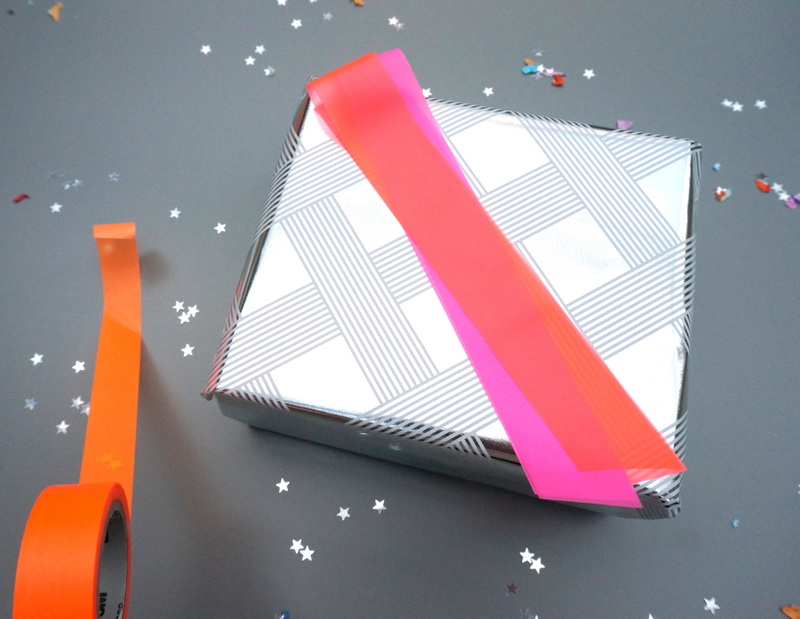
Add a piece of washi tape to secure the loops in place on top of your gift. I chose metallic IKEA wrapping paper as a shiny contrast to the bright tape:
Neon Gift Tags
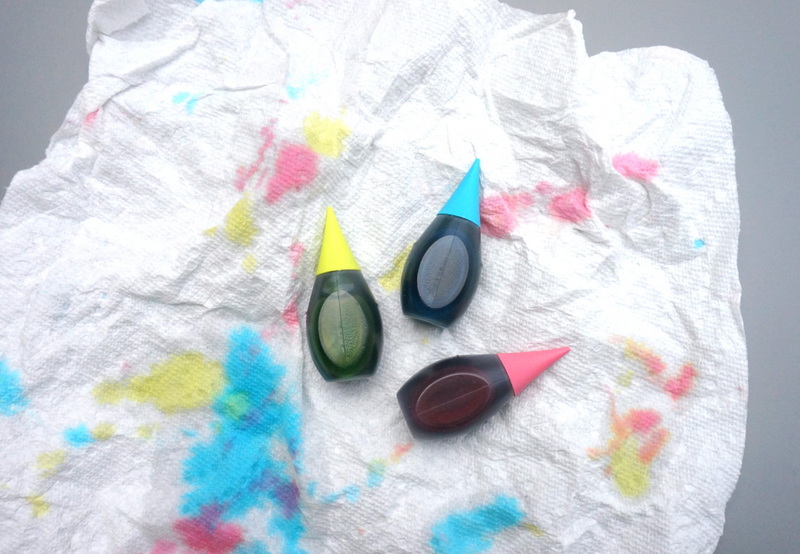
I absolutely LOVE working with neon food coloring. It’s another super affordable craft supply that has endless applications! I recently created a dip-dyed gift tag tutorial for Decoist. Check out the full post here. Today I’m sharing a few pics…
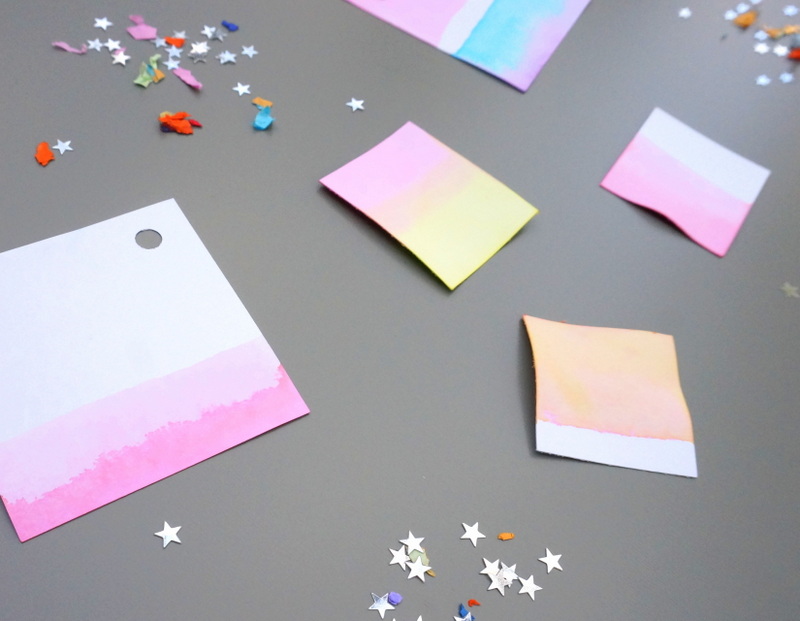
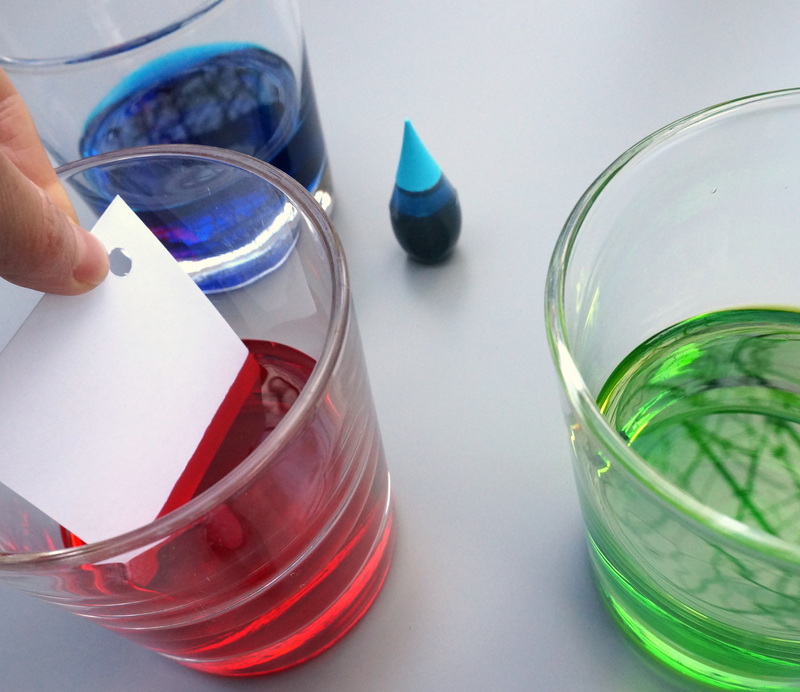
To make these colorful embellishments, simple dip pre-cut tags into containers filled with neon food coloring and water. I used about 10 drops of food coloring in each container, except for the green (which required more droplets to achieve a strong color).
I even went back for a second dunking on some of the tags, creating an ombre look by dipping the very bottom of the tags in the food coloring mixture for an extra strong stripe of color at the base. I also dipped the tops of some of the tags for a dual-color effect.
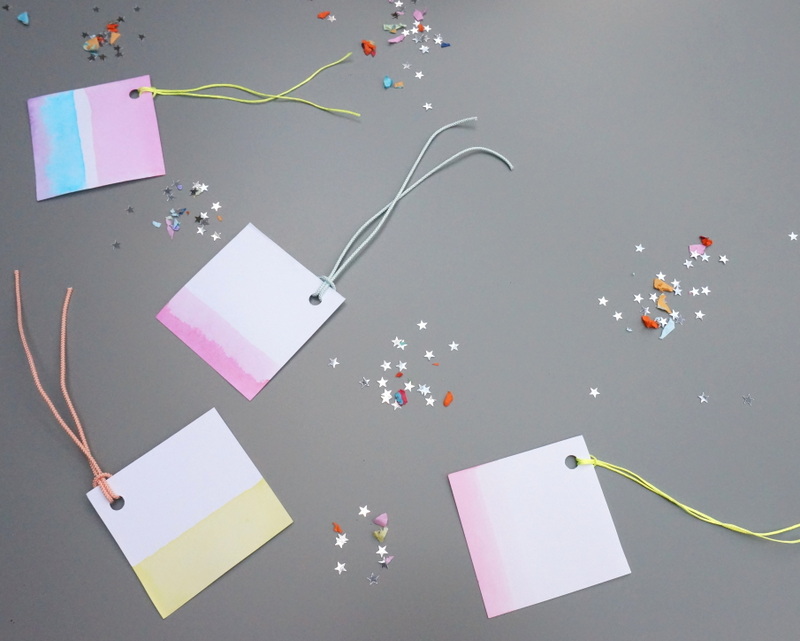
Add some ribbon and you’re done! For lots more pics and a step-by-step tutorial, be sure to visit the full post here.
Use What You Have
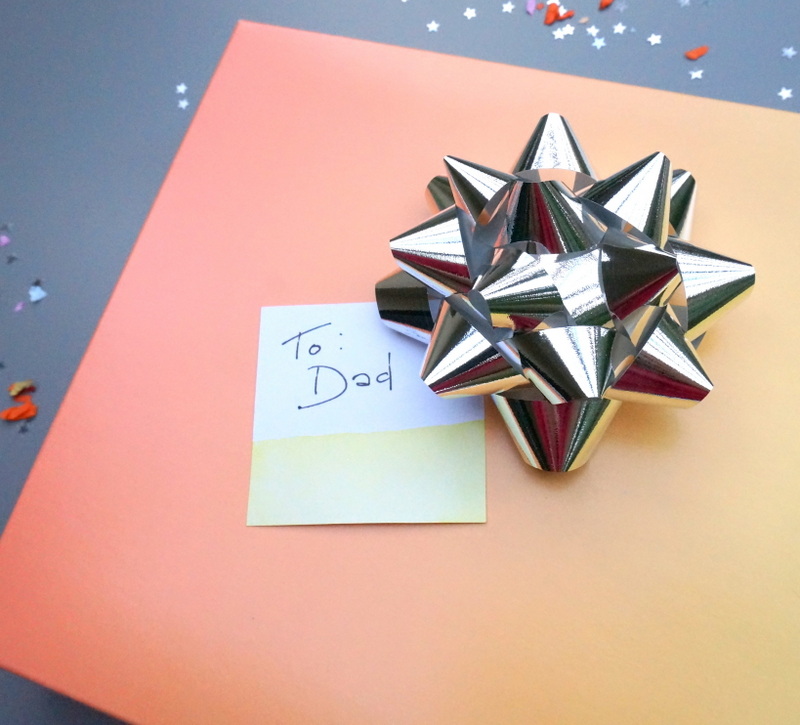
My third idea of the day involves repurposing items you already have in your possession. For example, the gift box above is from American Apparel. I’ve shopped there on a few occasions, and the clothing items are often placed in a sunset-style ombre box. I stockpile the boxes and use them when it’s time to gift friends and family!
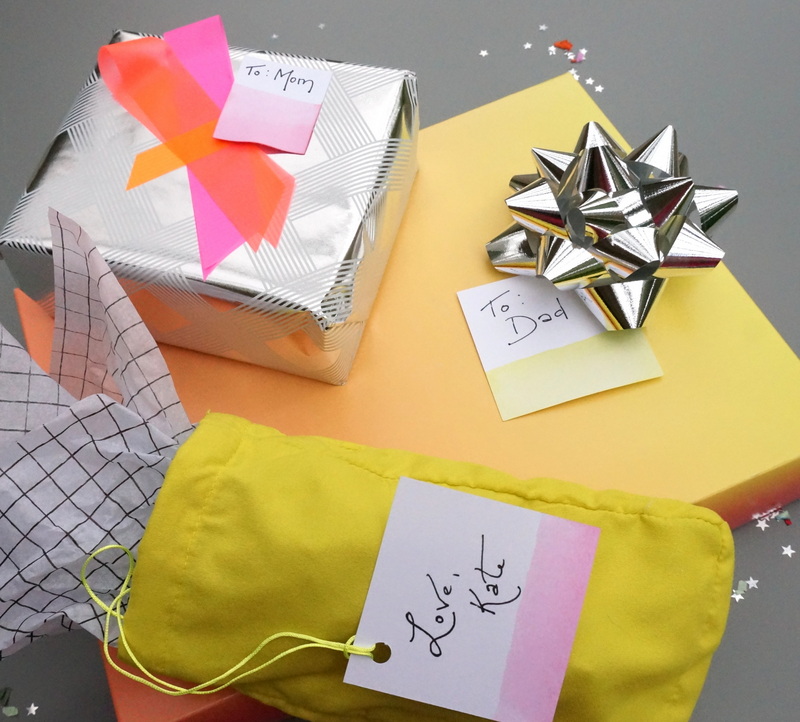
And that grid tissue paper above? Also from American Apparel (they wrap the clothes in the paper before they’re placed in the ombre box)! The yellow cloth bag once held a pillowcase that I purchased from Target. You may remember it from my DIY necklace tutorial, posted earlier this month. It’s the perfect size for holding jewelry and other smalls. I’m all about saving clever packaging and reusing it as my own gift wrap! Why not?!
Happy Wrapping!







Leave a Reply