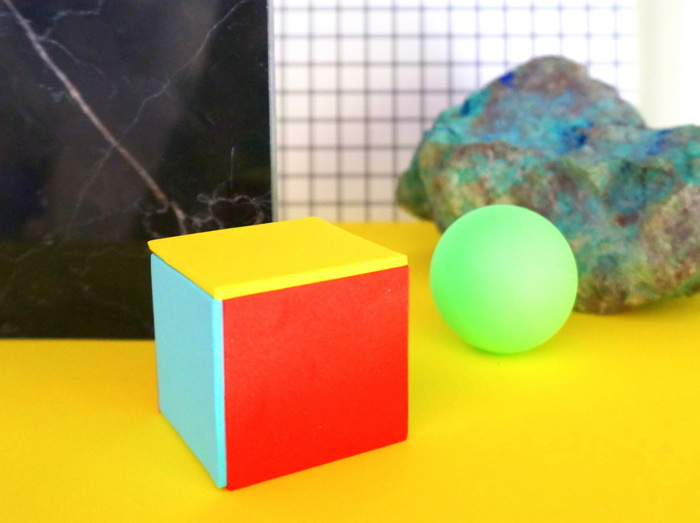
This weekend I filled my $50 IKEA display case with still life vignettes! It’s a project I’ve been dreaming of creating for quite some time. There is a TON of still life inspiration to draw from, as ’80s-influenced still life photography has experienced a huge revival in recent years, thanks to photographers such as Richie Talboy and design studios like Ladies & Gentlemen. And don’t get me started on the slew of still life images on Pinterest! Read on for all the project details…
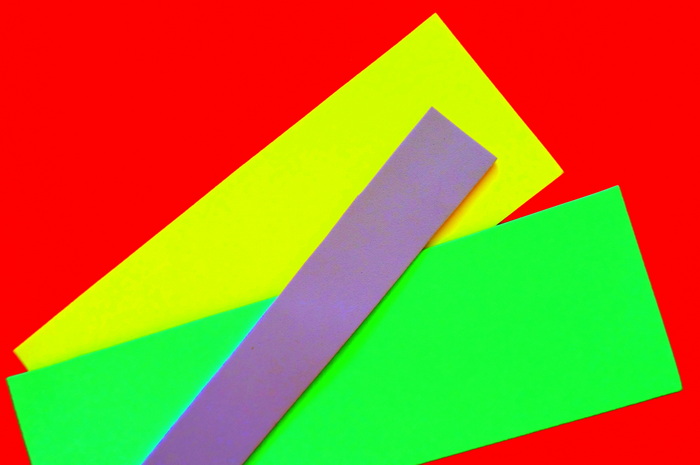
The beauty of the current still life phenomenon: simple materials and everyday objects are the materials, making this art form accessible to everybody. With influences that range from Memphis-Milano to the current interior decor trend of mixing materials (metal, wood, marble, glass, etc.), still life art encourages us to take a second look at the items that surround us on a daily basis.
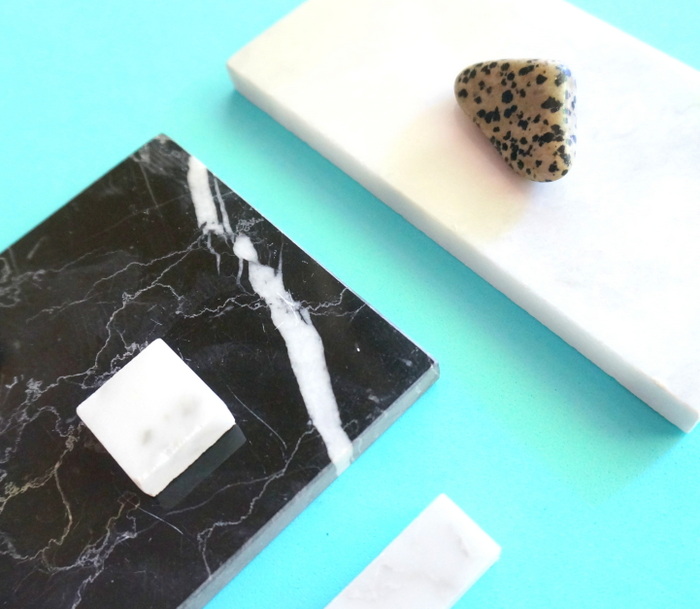
Excellent still life supplies include the following:
- foam sheets
- marble tiles
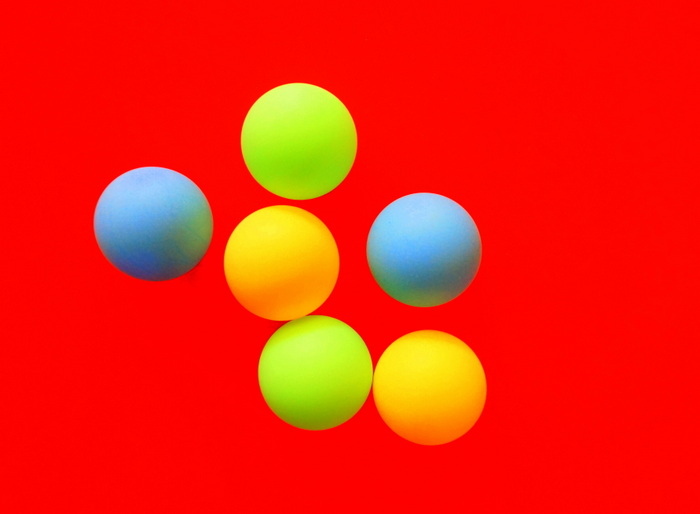
- sporting goods and equipment (such as ping pong balls and colorful hand weights)
- wooden geometric forms
- everyday metal objects (such as washers and hex nuts)
- rocks and minerals
- colorful dollar store items (anything goes)
About those dollar store finds… This rubber band ball grabbed my attention, as did a foam and plastic super soaker and a sculptural ball that resembled a badminton birdie.
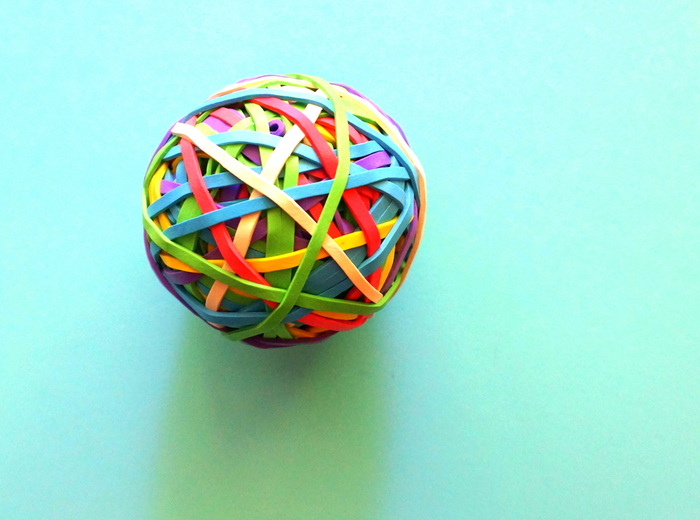
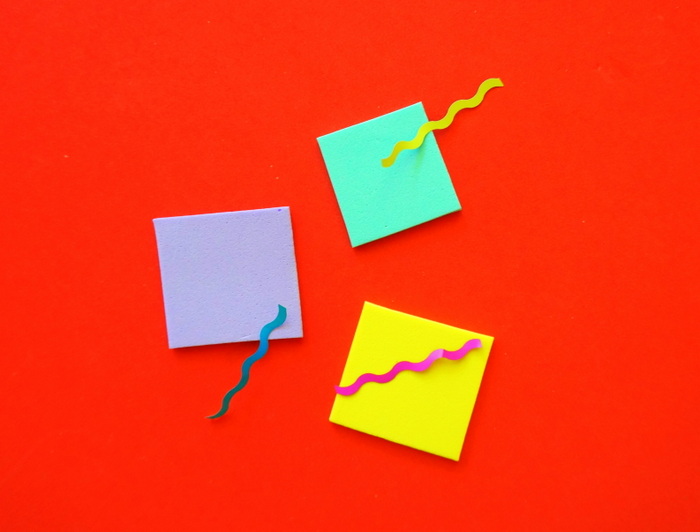
The sky is the limit when it comes to still life ingredients. Below we see foam squares and wavy “confetti” that I snipped from a party garland:
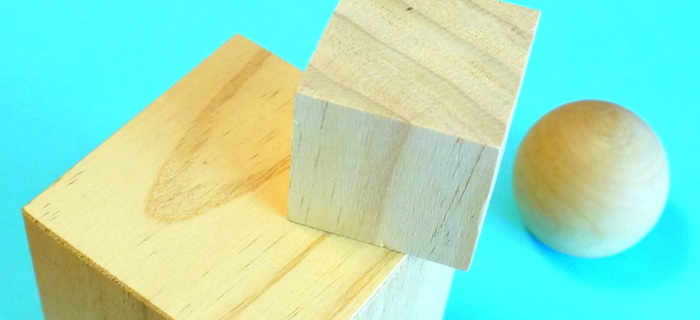
I was excited to find wooden geo forms at my local craft store for a few dollars apiece. I left some of them in their natural state and covered the others in foam to create vibrant cubes in Memphis-Milano hues.
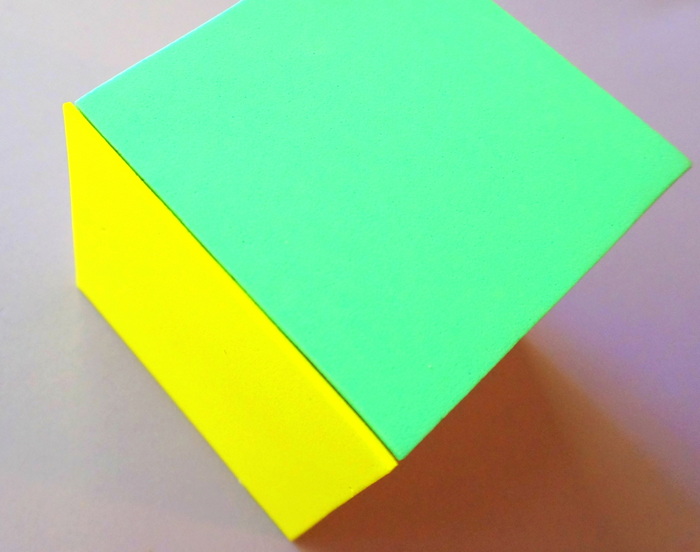
To cover the wooden cubes, I used them to trace foam squares, leaving each square a little bit longer on one side. You’ll see why in a minute…
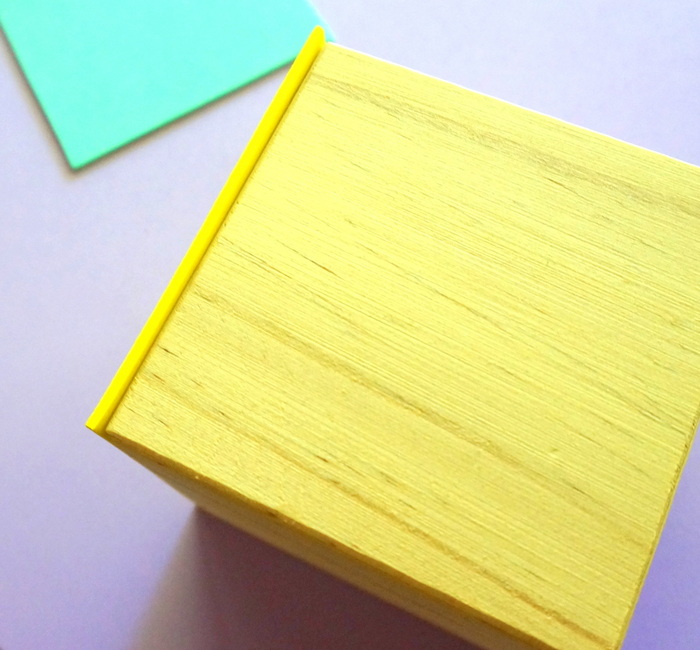
If you leave one side of the square a tad longer, the foam corners of the cube come together perfectly. There’s no right way to do this, folks. I simply used a foam brush to paint each side of the cube with Elmer’s glue (hot glue leaves bumps), and then I attached the foam. Easy and fun!
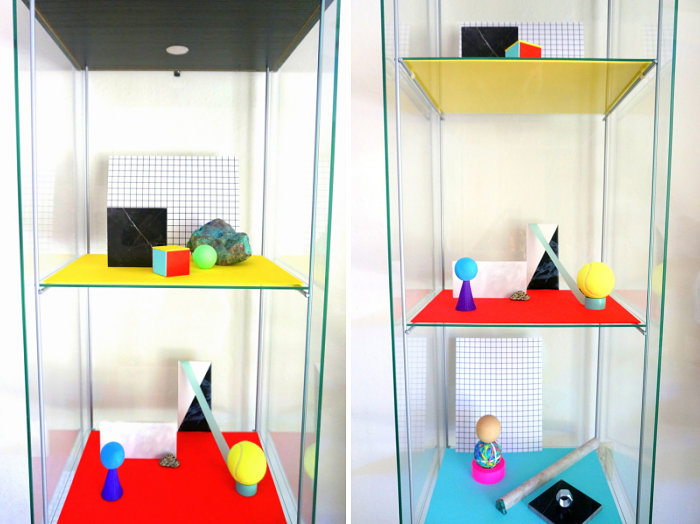
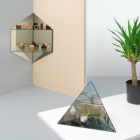
Here are some pics of the end result! I printed a grid pattern onto cardstock as a backdrop for a couple of shelves, and I used foam sheets as the “ground” for each vignette. Arranging the different components is the fun part. Tape, tile, rocks and minerals, and everyday items were stacked and layered until I came up with arrangements I liked.
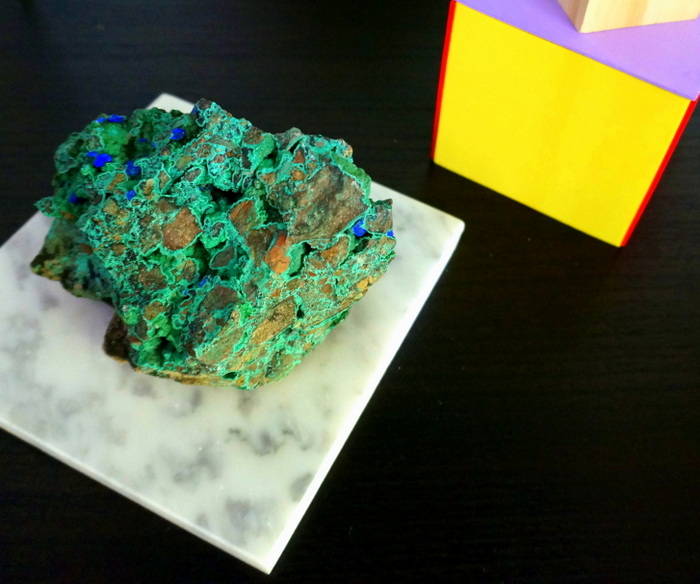
Here’s a close-up:
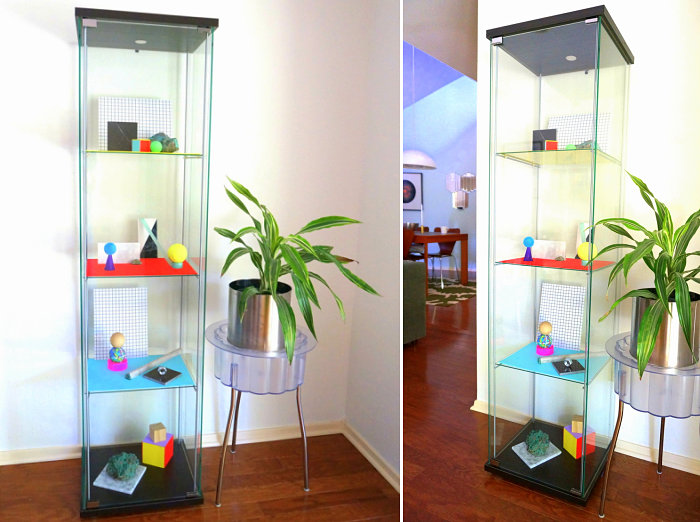
I have a feeling this project will be ever-evolving! Thanks for letting me share these pics with you. Grid paper + foam sheeting + everyday items = instant still life!
Stay tuned for another ’80s-style DIY project later this week…




Leave a Reply