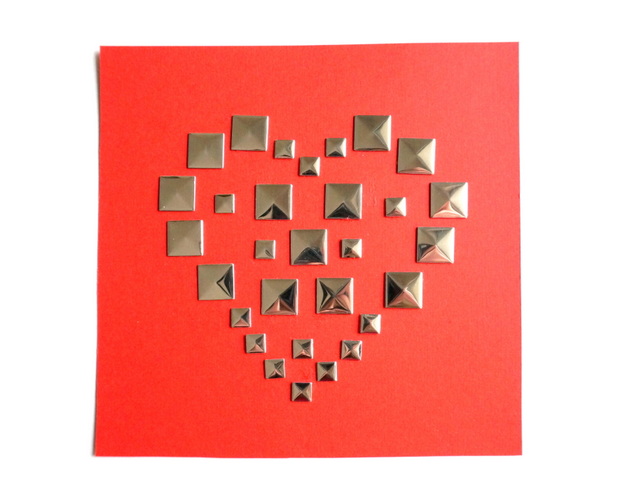
A DIY Valentine with ’80s style
There’s nothing like a handmade valentine! Shower your loved ones with little tokens of your creativity this week. That’s my plan–and I got started on the DIY Valentine’s Day fun this weekend, beginning with a trip to my local craft store. I found a packet of metallic stud stickers, and I knew they would take center stage in at least one handmade creation. Not to mention, when you form a heart using these stickers, the results have an 8-bit look that’s retro and fun. Read on for all the details…
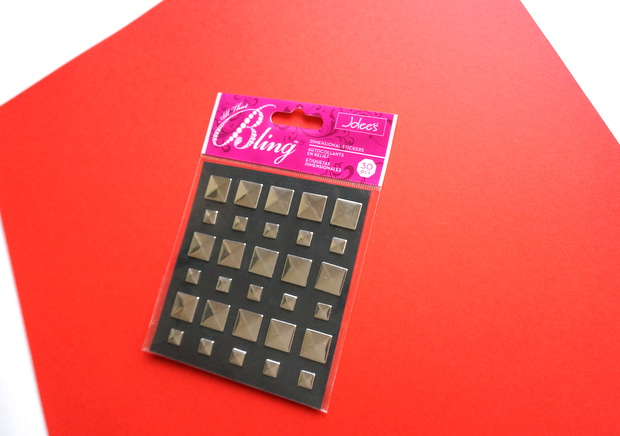
Gather your supplies
Step 1: Gather your supplies. As mentioned above, I used these stickers, as well as paper in a vibrant shade of tomato red. Not pictured: scissors and scrap paper. If you can’t find stud stickers, you can use rhinestones, or any other fancy stickers of your choice. The scrapbooking section of the craft store is a great place to find these!

Cut out your heart stencil
Step 2: Make a heart stencil from scrap paper. You may already have a heart stencil that you can use for this step. If not, no worries! Remember in grade school when you used to fold a piece of paper in half, then draw half a heart? All you had to do was cut along the curved line and unfold, and you had a perfectly symmetrical finished product! Time to revive this timeless technique to make your stencil for the studly design that will follow…
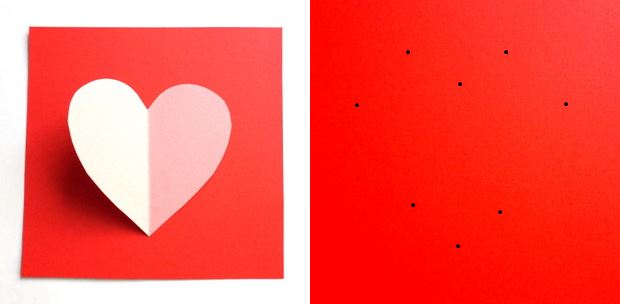
Let the stencil be your guide
Step 3: Use your stencil to mark a series of dots to guide you as you form your heart. It’s nice to have a little guide! Tracing the heart will leave pencil lines that will be hard to erase once you start attaching the stud stickers to the paper. But a series of dots at key points is the perfect guide for this Valentine’s Day DIY project.
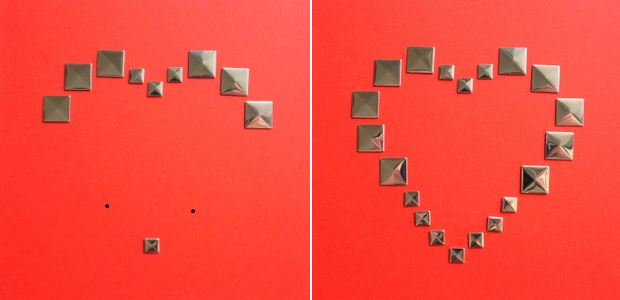
Complete the heart
Step 4: Let the dots be your guide as you use stickers to form the outline of a heart. Don’t worry if the shape of your heart changes a bit once you get going. You can always gently un-stick the studs as needed until you’re happy with the outline.
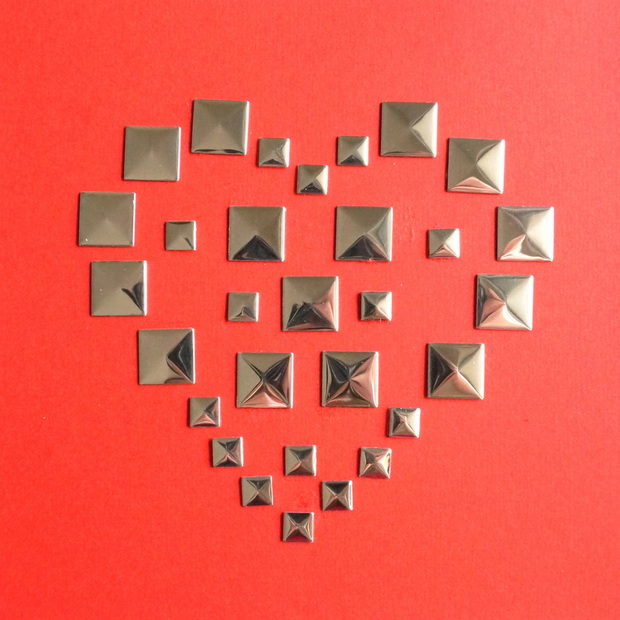
An 8-bit stud valentine
Step 5: Fill in the center of the heart with the remaining stud stickers. Get creative with this step, and don’t worry if there’s some empty space involved. Seeing it all come together is the best part!
Don’t forget to write a message on the back of this valentine for your special someone! In fact, you may want to do this first to ensure a smooth surface. Enjoy! We know the recipient of this valentine sure will!










Love the idea…….it is so easy & looks great. It could also just be used as a Valentine decoration in the home, but what a special treat to give to your Valentine.