’80s DIY Paper Strip Art
Hi Everyone! I’ve been excited to share this ’80s-style paper strip DIY project with you for awhile now…but first I had to finish it! Like many worthwhile projects, this one had many phases, and the best developments occurred when I hit some major roadblocks. But I’m finally done with the wall art, and now that the kinks are ironed out, I have a pretty easy set of steps for you to follow if you want to try creating one of your own. Read on for the details. If you’re a talker, the text will provide a detailed explanation. If you’re more of a visual learner, the pictures should be a big help…
1. Gather your supplies.
You will need paper in the colors of your choice, glue, and a paper cutting device. Scissors are great, but if you have a paper cutter on hand, it will save you much time! There are many affordable selections to choose from, and they are worth the investment if you are crafty in any way, shape or form…
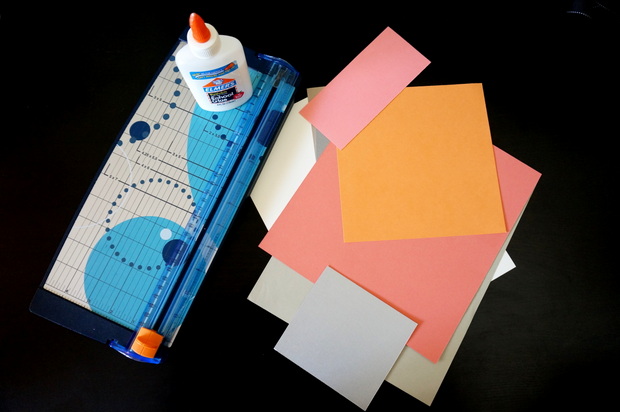
’80s DIY supplies
2. Select and cut paper for the background and the “mat.” Set them aside.
If you are framing the piece, let the size of the frame guide you as you cut your background paper (you’ll glue the paper strips to this piece of paper). You’ll want to cut one piece as your background paper, then a larger piece on which you’ll mount the background paper. This will give your art a matted effect. Make sure your background paper is a little wider than you need (you’ll be cutting a strip from this paper in Step 5, so give yourself some leeway).
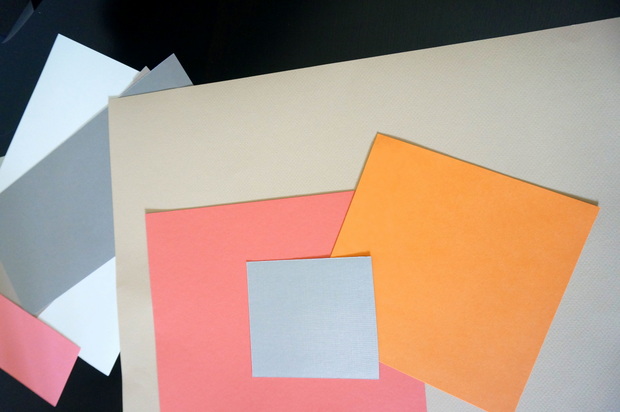
Be sure to purchase paper in a variety of sizes
3. Cut the remaining paper into strips.
Now have fun cutting strips for the artwork. Choose a variety of sizes for your strips–it will give the art more depth and variety!
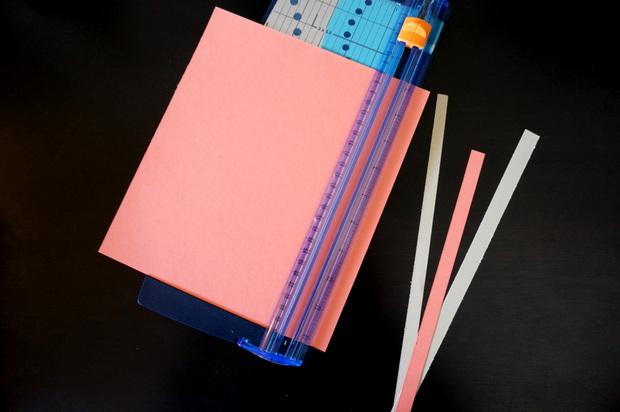
Cutting the paper into strips
4. Glue the paper strips in diagonals at the corners of the background paper.
Begin gluing the paper strips in diagonals on opposite corners of your background paper. You may choose to orient the artwork either horizontally or vertically. Either way works–it truly is your preference!
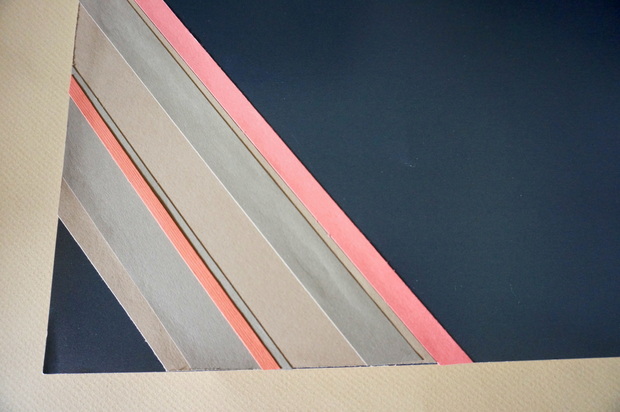
Diagonal strips make a big impact
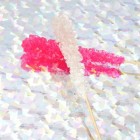
5. Cut a strip off the side of your artwork. You will use these strips in the art at a later point.
When you’ve finished placing the diagonal strips onto your background paper and the glue has dried, cut a thin strip off the side of the artwork. This will give you an interesting strip to use in the artwork at a later point. I made two pictures, so I cut a strip off the side of each piece, as you can see below…
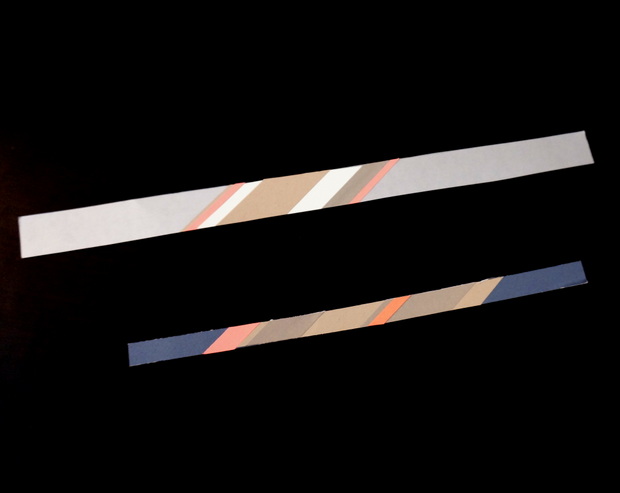
Cut paper strips
6. Mount the artwork onto a larger piece of paper.
Now your artwork is just the right size to mount to the matting paper! I used double-sided tape to secure the artwork in place.
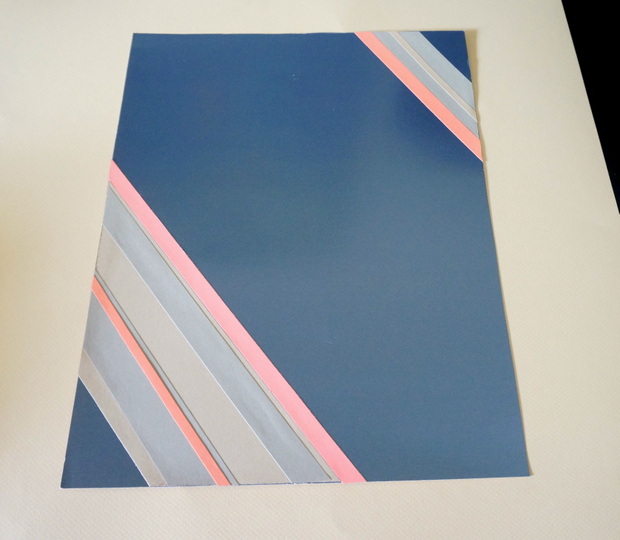
Phase one is complete…
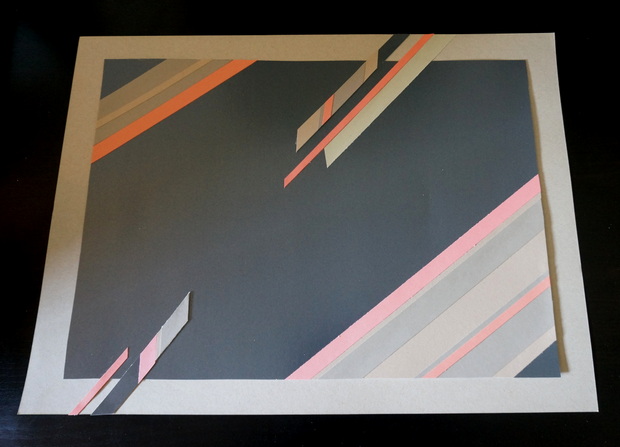
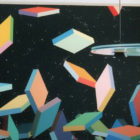
7. Take the remaining paper strips and glue them from the outer edges of the mat to the center of the artwork in a design of your choice.
See how the strips you cut from the artwork now come back into play? To give the art a fluid look, glue the final strips from the edge of the matting paper to the middle of the artwork! I also added some strips in solid colors. You can see the results below, as well as at the top of today’s post!
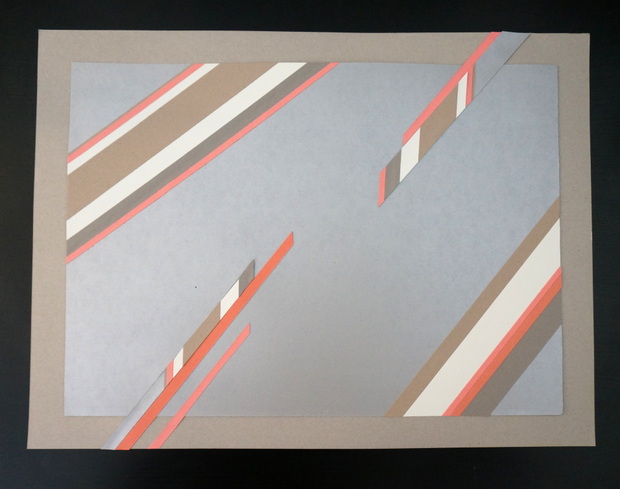
’80s DIY paper strip project
Did I mention that today’s art project is hanging in my ’80s-style bathroom? I’ll give you a tour of that space on Saturday! Stay tuned, and thanks for reading…


!
Kate, I LOVE this!
Thanks so much! It was the product of easy crafting and a couple of happy accidents!